
- You are here:
- AM.CO.ZABuythisCNC Utilities Homepage
- EasyRoute-CNC-Router
- EasyRoute CNC Control Panel Manufacture Manual.pdf
- Page 77 of 114
Specialized Concentrated Focused
X
0.000 Idle
Y
0.000 SOff
Z
0.000 Slow
Jog
100%
MCS
1X
0.000 Idle
1Y
0.000 SOff
1Z
0.000 Slow
Jog
100%
WCS
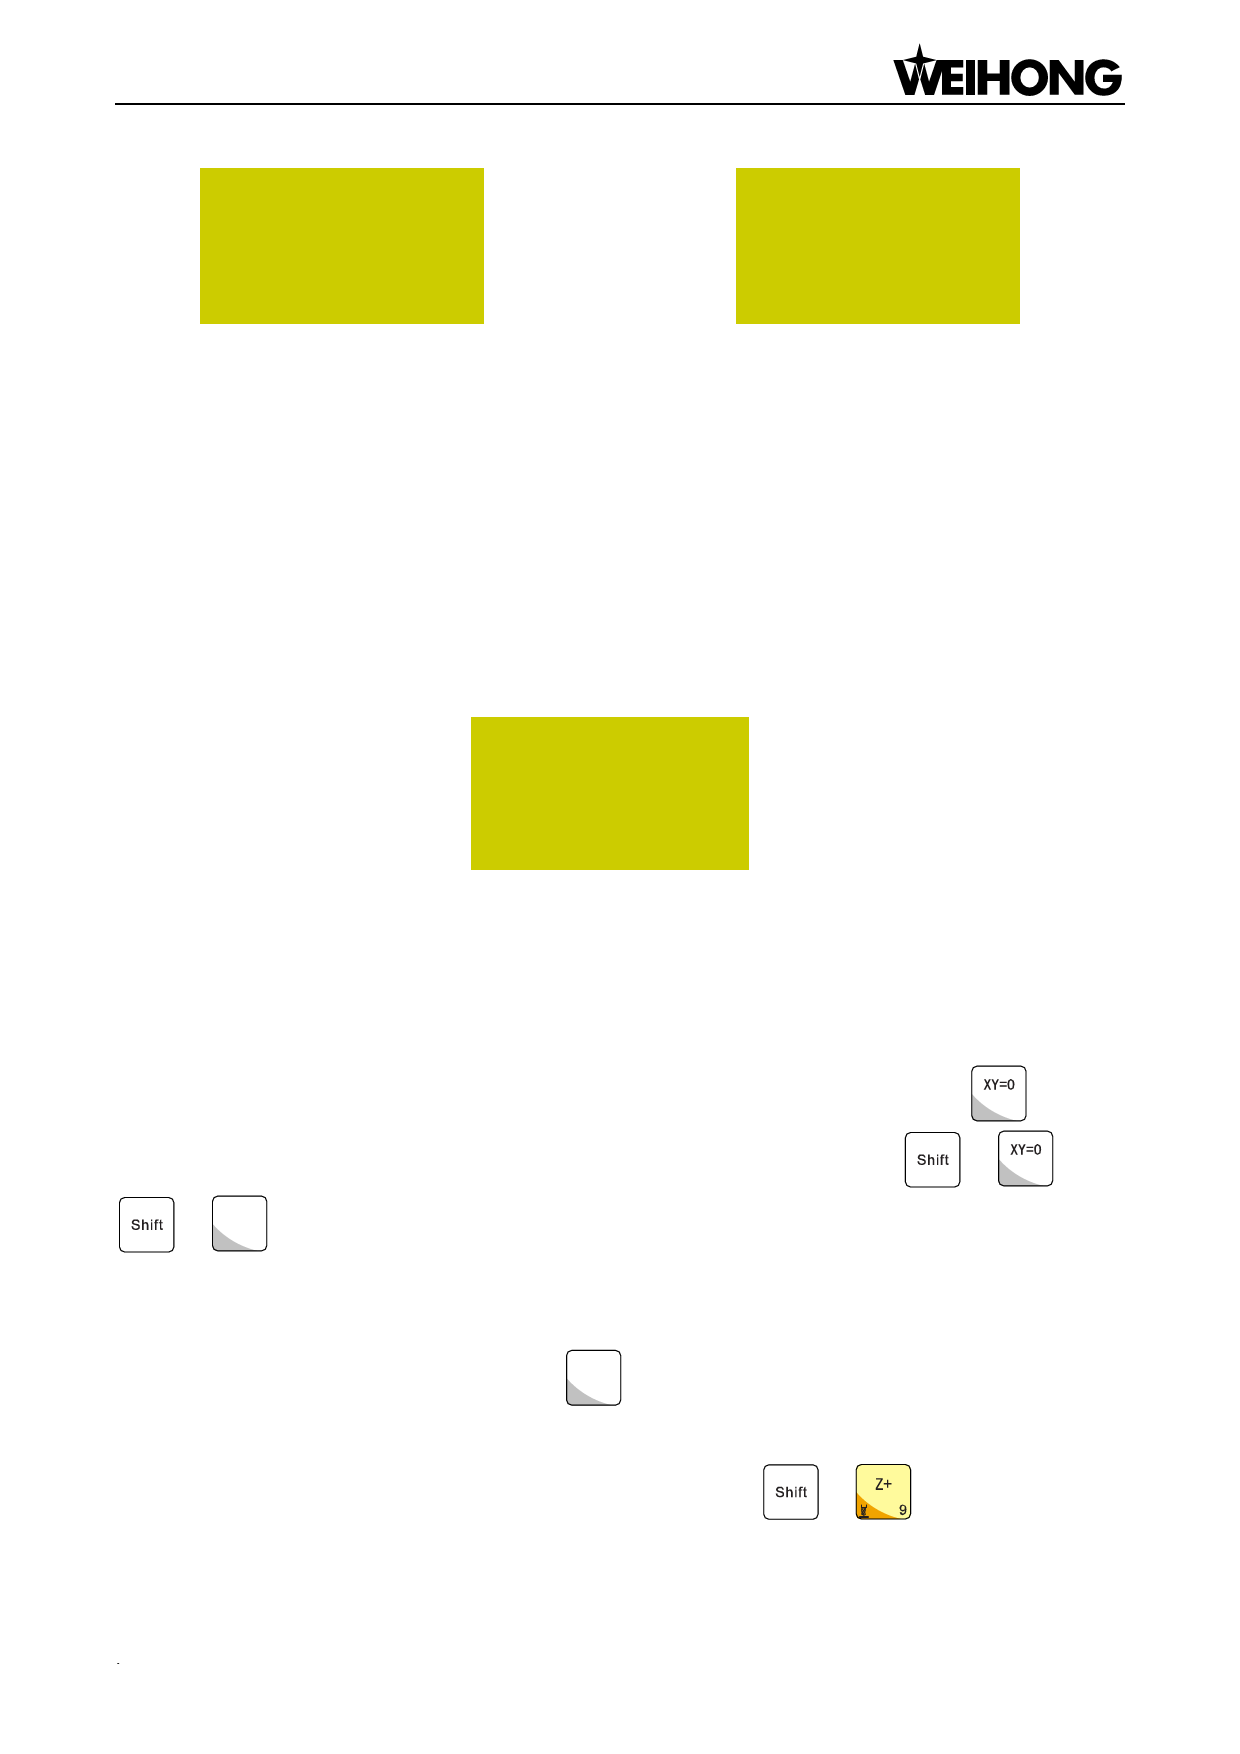
Fig. 7-5 Screen display of WCS and MCS
Number 1~6 in front of X/Y/Z in WCS indicates G54~G59 respectively, while there is no number
before X/Y/Z in MCS. A sign * will appear after each axis in MCS after the completion of backing to
machine origin.
Press the “Menu” key→ 3. Operations→ 6. Select WCS, and then press [OK] to enter the setup
page, in which press the “Up” and “Down” keys to select the desired WCS. After selection, the contents
in the main page will change accordingly. For instance, after “G55 WCS” is selected, the number in
front of each axis will change to 2, as shown in Fig. 7-6.
2X
0.000 Idle
2Y
0.000 SOff
2Z
0.000 Slow
Jog
100%
7.2.3.
Fig. 7-6 Main page under WCS G55
Set Workpiece Origin
Workpiece origin is the zero of X, Y, and Z in the machining file. Before machining, you must set
workpiece origin to determine its actual position.
Manually move the X and Y axes to the desired origin position, and then press X=0 for XY
clearing, i.e. to confirm the position of XY workpiece origin. You can also press
Z=0
+ Y=0 to execute X clearing and Y clearing separately.
For Z workpiece origin, there are two ways to set it:
+ X=0
and
Method one is the same as that to set XY workpiece origin. Manually move the Z axis to the
Z=0
desired origin position. And then press Y=0
workpiece origin.
for Z clearing, i.e. to confirm the position of Z
Method two takes advantages of tool measurement. Press
+
to execute mobile
tool measurement. After measurement completed, the coordinate of Z axis is Z workpiece origin.
Machining Operations of NK105G3「65」
 EasyRoute CNC Control Panel Manufacture Manual")
 EasyRoute CNC Control Panel Manufacture Manual")
 EasyRoute CNC Control Panel Manufacture Manual")
 EasyRoute CNC Control Panel Manufacture Manual")
 EasyRoute CNC Control Panel Manufacture Manual")
 EasyRoute CNC Control Panel Manufacture Manual")
 EasyRoute CNC Control Panel Manufacture Manual")
 EasyRoute CNC Control Panel Manufacture Manual")
 EasyRoute CNC Control Panel Manufacture Manual")
 EasyRoute CNC Control Panel Manufacture Manual")
 EasyRoute CNC Control Panel Manufacture Manual")
 EasyRoute CNC Control Panel Manufacture Manual")
 EasyRoute CNC Control Panel Manufacture Manual")
 EasyRoute CNC Control Panel Manufacture Manual")
 EasyRoute CNC Control Panel Manufacture Manual")
 EasyRoute CNC Control Panel Manufacture Manual")
 EasyRoute CNC Control Panel Manufacture Manual")
 EasyRoute CNC Control Panel Manufacture Manual")
 EasyRoute CNC Control Panel Manufacture Manual")
 EasyRoute CNC Control Panel Manufacture Manual")
 EasyRoute CNC Control Panel Manufacture Manual")
 EasyRoute CNC Control Panel Manufacture Manual")
 EasyRoute CNC Control Panel Manufacture Manual")
 EasyRoute CNC Control Panel Manufacture Manual")
 EasyRoute CNC Control Panel Manufacture Manual")
 EasyRoute CNC Control Panel Manufacture Manual")
 EasyRoute CNC Control Panel Manufacture Manual")
 EasyRoute CNC Control Panel Manufacture Manual")
 EasyRoute CNC Control Panel Manufacture Manual")
 EasyRoute CNC Control Panel Manufacture Manual")
 EasyRoute CNC Control Panel Manufacture Manual")
 EasyRoute CNC Control Panel Manufacture Manual")
 EasyRoute CNC Control Panel Manufacture Manual")
 EasyRoute CNC Control Panel Manufacture Manual")
 EasyRoute CNC Control Panel Manufacture Manual")
 EasyRoute CNC Control Panel Manufacture Manual")
 EasyRoute CNC Control Panel Manufacture Manual")
 EasyRoute CNC Control Panel Manufacture Manual")
 EasyRoute CNC Control Panel Manufacture Manual")
 EasyRoute CNC Control Panel Manufacture Manual")
 EasyRoute CNC Control Panel Manufacture Manual")
 EasyRoute CNC Control Panel Manufacture Manual")
 EasyRoute CNC Control Panel Manufacture Manual")
 EasyRoute CNC Control Panel Manufacture Manual")
 EasyRoute CNC Control Panel Manufacture Manual")
 EasyRoute CNC Control Panel Manufacture Manual")
 EasyRoute CNC Control Panel Manufacture Manual")
 EasyRoute CNC Control Panel Manufacture Manual")
 EasyRoute CNC Control Panel Manufacture Manual")
 EasyRoute CNC Control Panel Manufacture Manual")
 EasyRoute CNC Control Panel Manufacture Manual")
 EasyRoute CNC Control Panel Manufacture Manual")
 EasyRoute CNC Control Panel Manufacture Manual")
 EasyRoute CNC Control Panel Manufacture Manual")
 EasyRoute CNC Control Panel Manufacture Manual")
 EasyRoute CNC Control Panel Manufacture Manual")
 EasyRoute CNC Control Panel Manufacture Manual")
 EasyRoute CNC Control Panel Manufacture Manual")
 EasyRoute CNC Control Panel Manufacture Manual")
 EasyRoute CNC Control Panel Manufacture Manual")
 EasyRoute CNC Control Panel Manufacture Manual")
 EasyRoute CNC Control Panel Manufacture Manual")
 EasyRoute CNC Control Panel Manufacture Manual")
 EasyRoute CNC Control Panel Manufacture Manual")
 EasyRoute CNC Control Panel Manufacture Manual")
 EasyRoute CNC Control Panel Manufacture Manual")
 EasyRoute CNC Control Panel Manufacture Manual")
 EasyRoute CNC Control Panel Manufacture Manual")
 EasyRoute CNC Control Panel Manufacture Manual")
 EasyRoute CNC Control Panel Manufacture Manual")
 EasyRoute CNC Control Panel Manufacture Manual")
 EasyRoute CNC Control Panel Manufacture Manual")
 EasyRoute CNC Control Panel Manufacture Manual")
 EasyRoute CNC Control Panel Manufacture Manual")
 EasyRoute CNC Control Panel Manufacture Manual")
 EasyRoute CNC Control Panel Manufacture Manual")
 EasyRoute CNC Control Panel Manufacture Manual")
 EasyRoute CNC Control Panel Manufacture Manual")
 EasyRoute CNC Control Panel Manufacture Manual")
 EasyRoute CNC Control Panel Manufacture Manual")
 EasyRoute CNC Control Panel Manufacture Manual")
 EasyRoute CNC Control Panel Manufacture Manual")
 EasyRoute CNC Control Panel Manufacture Manual")
 EasyRoute CNC Control Panel Manufacture Manual")
 EasyRoute CNC Control Panel Manufacture Manual")
 EasyRoute CNC Control Panel Manufacture Manual")
 EasyRoute CNC Control Panel Manufacture Manual")
 EasyRoute CNC Control Panel Manufacture Manual")
 EasyRoute CNC Control Panel Manufacture Manual")
 EasyRoute CNC Control Panel Manufacture Manual")
 EasyRoute CNC Control Panel Manufacture Manual")
 EasyRoute CNC Control Panel Manufacture Manual")
 EasyRoute CNC Control Panel Manufacture Manual")
 EasyRoute CNC Control Panel Manufacture Manual")
 EasyRoute CNC Control Panel Manufacture Manual")
 EasyRoute CNC Control Panel Manufacture Manual")
 EasyRoute CNC Control Panel Manufacture Manual")
 EasyRoute CNC Control Panel Manufacture Manual")
 EasyRoute CNC Control Panel Manufacture Manual")
 EasyRoute CNC Control Panel Manufacture Manual")
 EasyRoute CNC Control Panel Manufacture Manual")
 EasyRoute CNC Control Panel Manufacture Manual")
 EasyRoute CNC Control Panel Manufacture Manual")
 EasyRoute CNC Control Panel Manufacture Manual")
 EasyRoute CNC Control Panel Manufacture Manual")
 EasyRoute CNC Control Panel Manufacture Manual")
 EasyRoute CNC Control Panel Manufacture Manual")
 EasyRoute CNC Control Panel Manufacture Manual")
 EasyRoute CNC Control Panel Manufacture Manual")
 EasyRoute CNC Control Panel Manufacture Manual")
 EasyRoute CNC Control Panel Manufacture Manual")
 EasyRoute CNC Control Panel Manufacture Manual")
 EasyRoute CNC Control Panel Manufacture Manual")
 EasyRoute CNC Control Panel Manufacture Manual")