CypCut Laser Cutting Control System
14
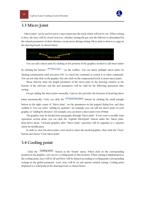
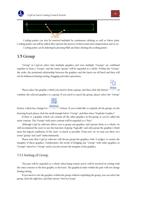
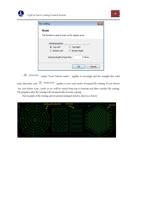
When the status of lock of the interface is
, the length and width are locked as the
proportion of the original graphics. If you want to separately input length and width, you can cancel
the cancel lock status by clicking the button
, and then the button will become .
“Zoom Center” can determine the location relations between the new graphics and original
graphics after being zoomed. For example, when you select “Upper Left”, it means that the new
graphics and original graphics are aligned in accordance with the upper left corner after the
transformation, and other parts are zoomed by taking the upper left as a basis.
Note: The lead and slotted compensation set for graphics cannot be transformed at the same
time, and the numerical value of lead and slotted compensation will not change after the size is
changed.
2.3.2 Interactive Geometric Transformation
CypCut provides 3 kinds of interactive geometric transformation, including interactive zooming,
rotation and mirror, and you can achieve more detailed geometric transformation through them.
Before doing these operations, you need to firstly select the operation graphics, click the
corresponding menu or button, and then conduct operations in accordance with the tips at the
bottom of the screen.
For example, if you want to rotate a rectangle by taking its lower left corner as a basis, you can
conduct the operations as follows:
1) Firstly, you need to select the rectangle for operation;
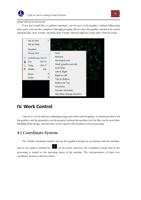
2) You need to click the small triangle below the “Transform” and opening the drop-down
menu, and select “Rotate”, and then there will be a prompt “Please Specify Base Point” in the
lower part of the screen;
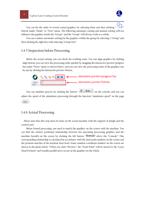
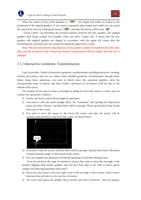
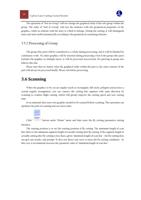
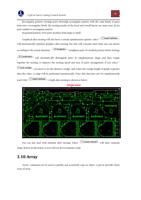
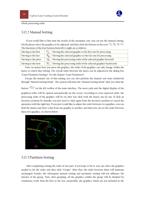
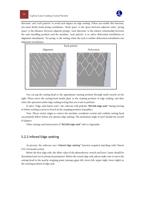
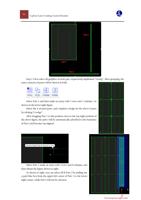
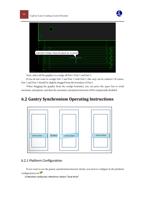
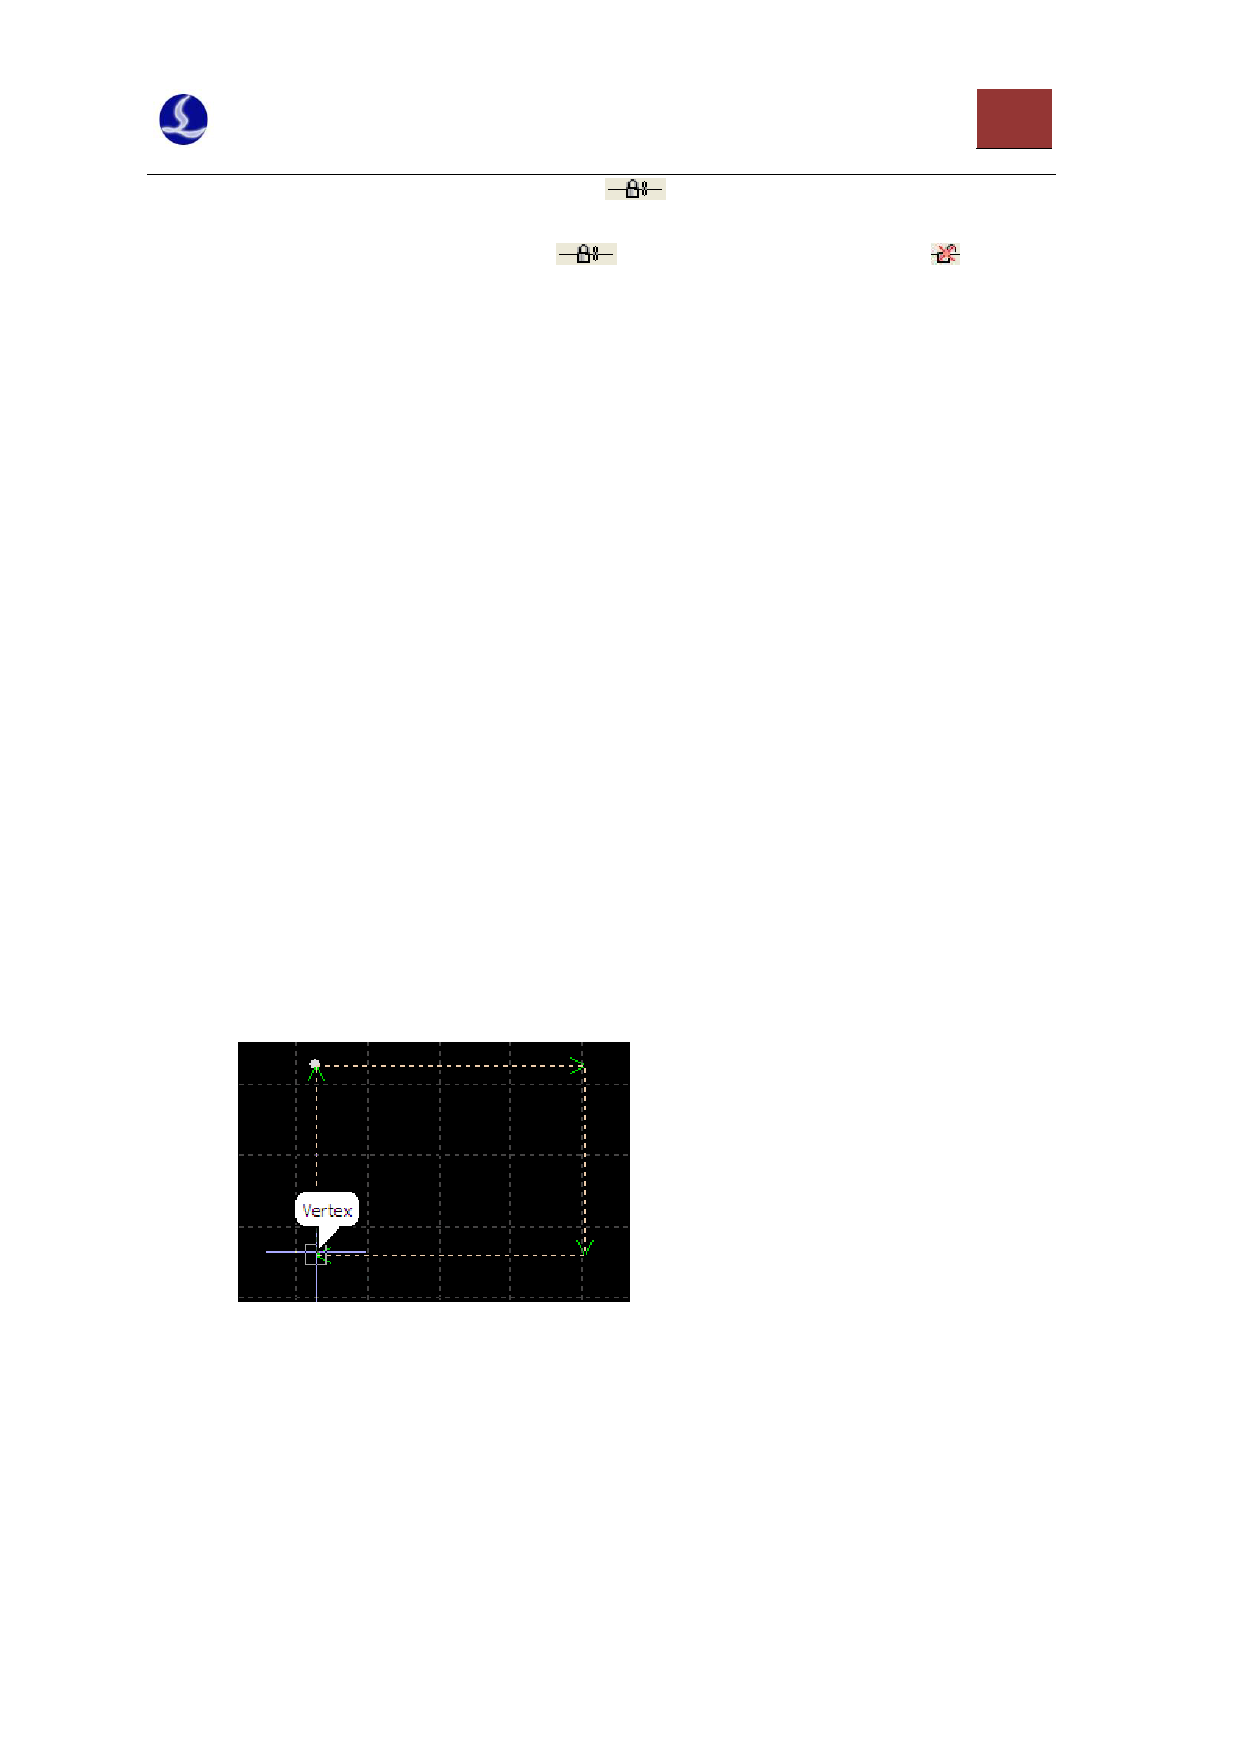
3) You need to move the mouse to the lower left corner, and then the mouse will be
automatically absorbed to the lower left corner. As shown below:
4) You need to click the mouse, and then there will be a prompt “Specify Start Point of Rotation
or Input Rotation Angle” at the bottom of the screen;
5) You can complete the operations by directly inputting 45 and then clicking Enter.
If you do not know the angle of rotation in advance but want to rotate the rectangle to the
position aligning with another graphic, then the first four steps is the same as above, please
conduct the following operations from step 5:
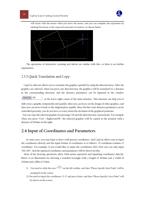
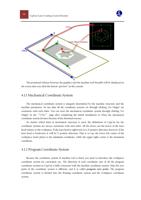
6) Please move the mouse to the lower right corner of the rectangle, at this moment, click to form a
horizontal line and take it as the start line of rotation.
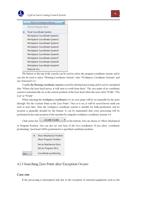
7) The screen shall appear the prompt “Please Specify End Point of Rotation”. Then the graphics

