
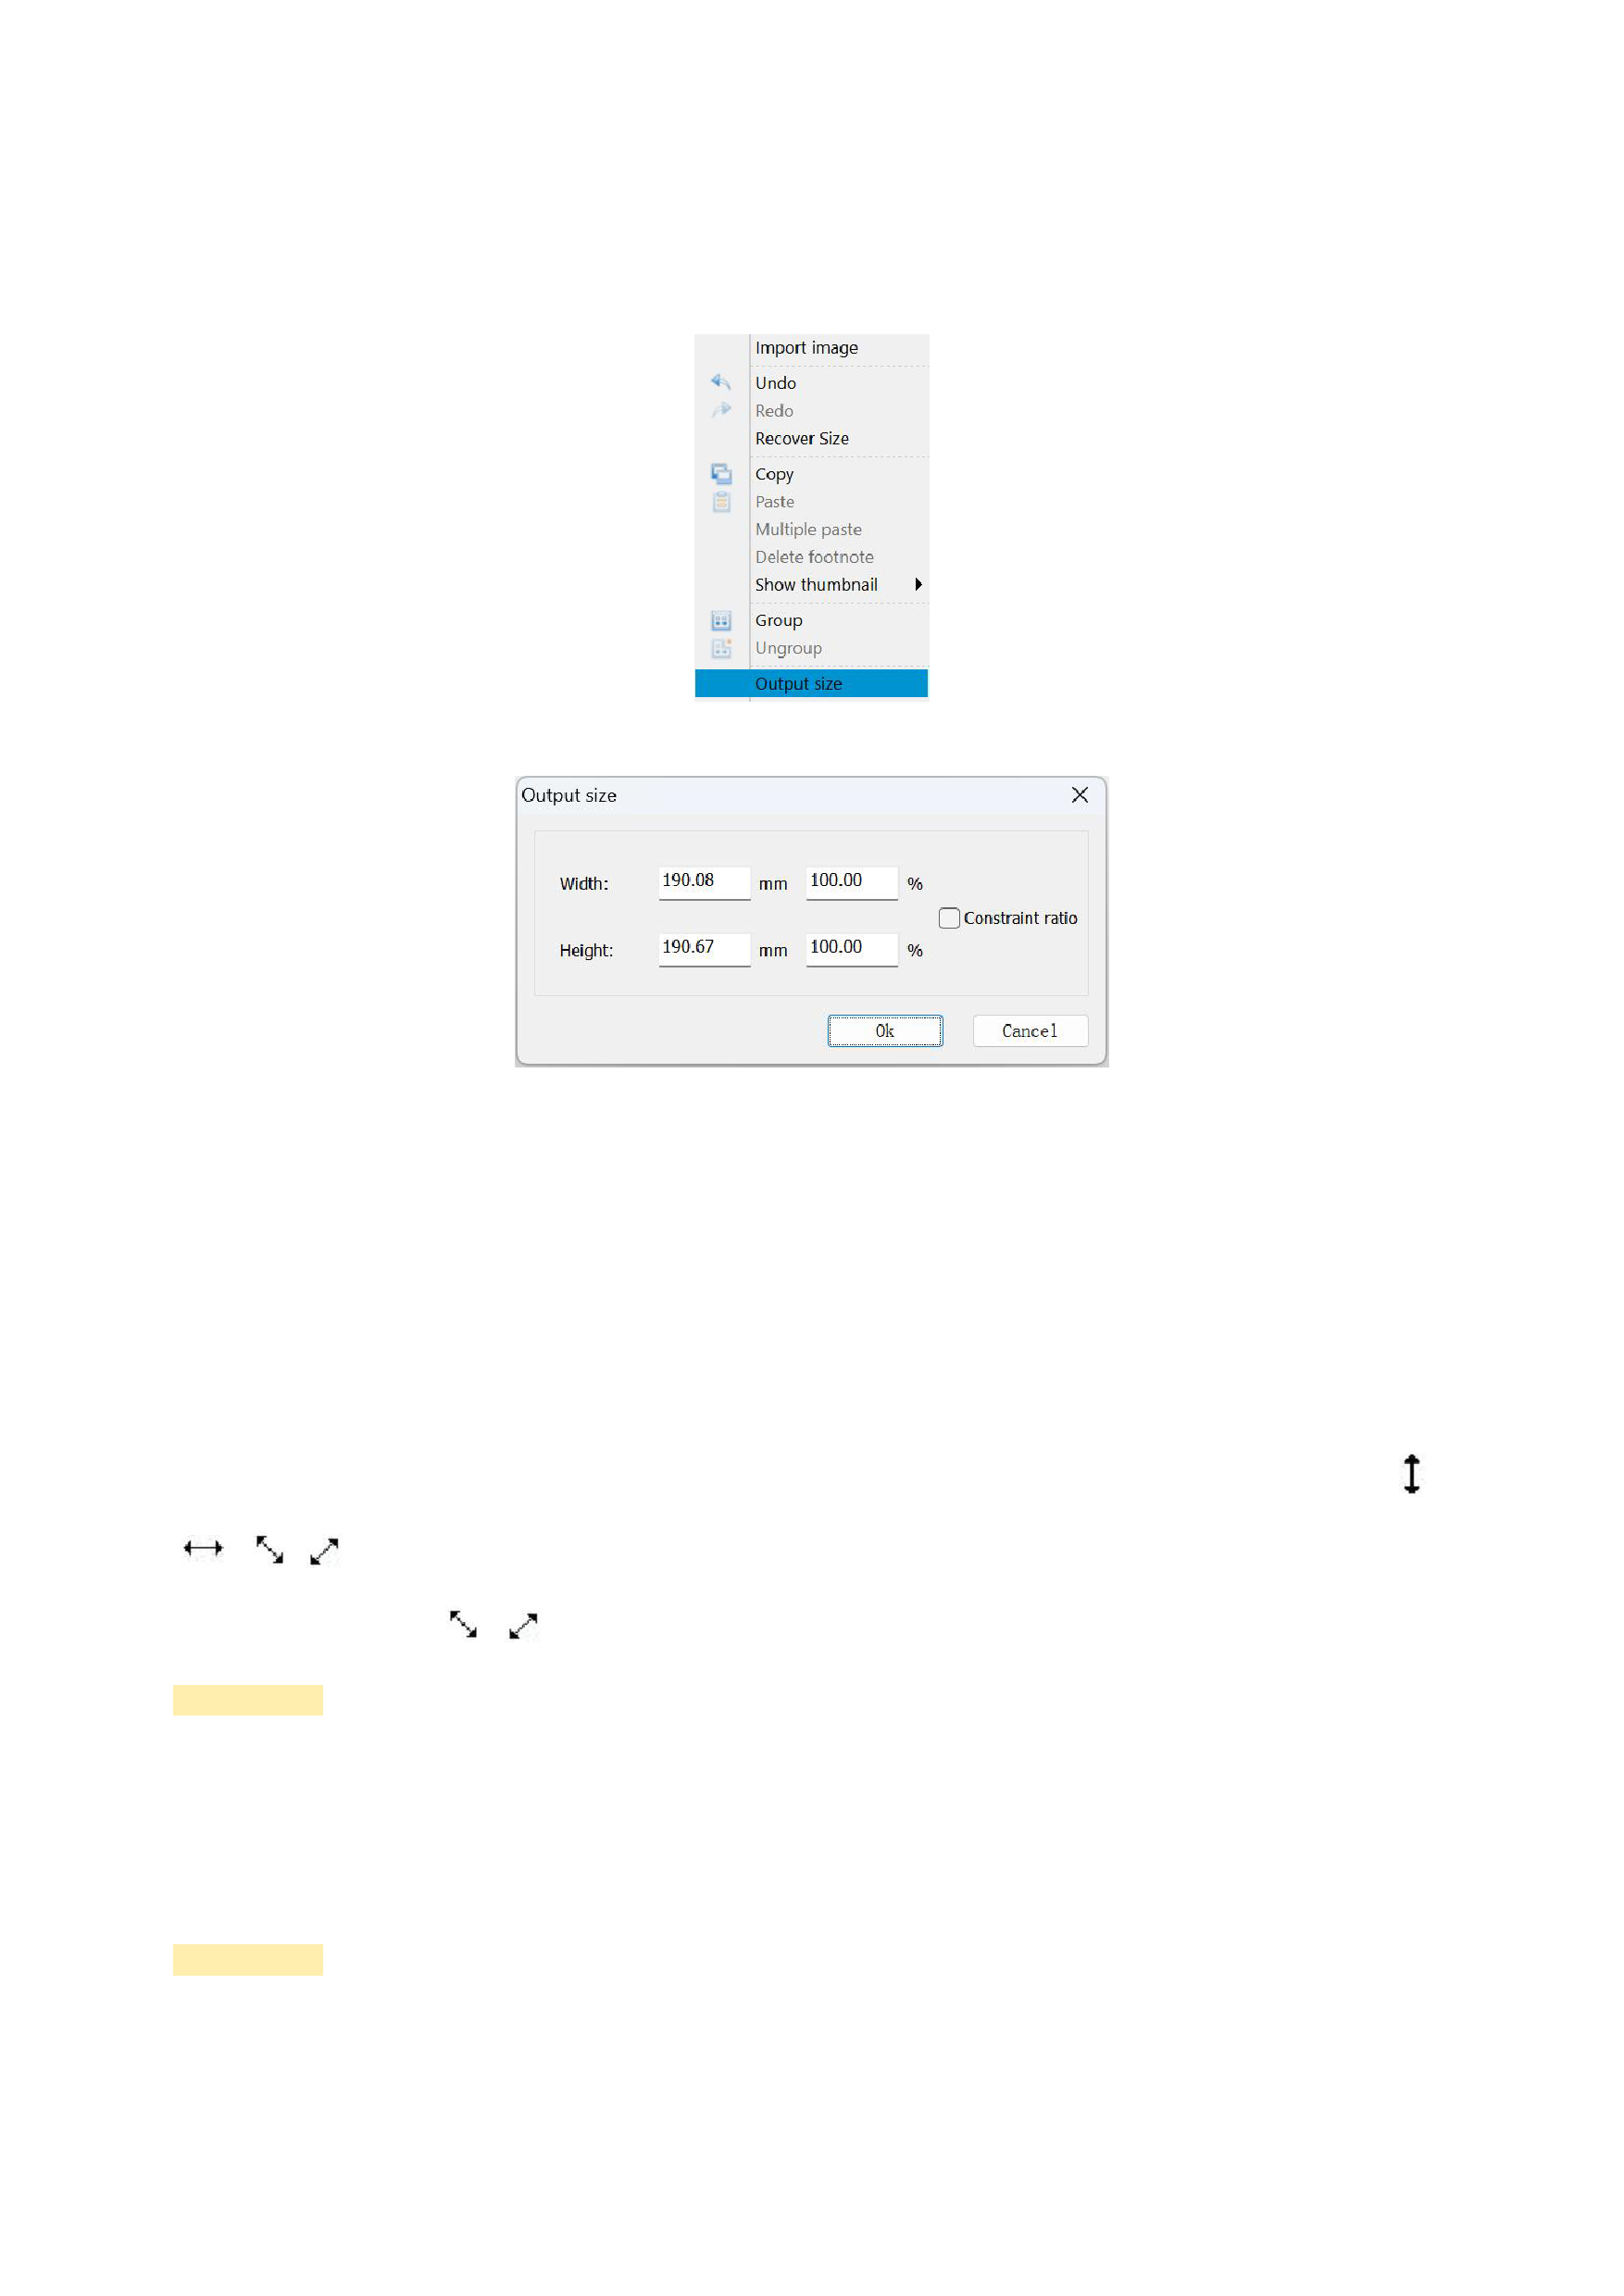
1)If you want to precisely position the output position and size of the image, you need to complete the following image settings.
Select the image to be set, right-click the mouse, select the output size, and the program will pop up a dialog box as shown in the
figure below.
Set the horizontal height and vertical height, and you can also use proportions to set the output size.
When you are setting the output size of the image, please input the horizontal width and vertical width separately if you do not
choose to constrain the aspect ratio; if you choose to constrain the aspect ratio, then you only need to input one of the horizontal
width or vertical width, and the software will automatically fill in the other item, and the output width-to-height ratio of the image
will be consistent with the original width-to-height ratio of the image input.
2)In addition, you can also adjust the approximate output size of the image by using the mouse:
Select an image that is going to be adjusted, move the mouse to a certain marker block on the image (all eight small black
blocks around the image are image selection marker blocks), and at this time, the mouse will change into a draggable style( 、
、 、 ),Press the left mouse button and move the mouse, and you can freely modify the output size of the image. If what
you are dragging is the style 、 ,The program will control the image to scale proportionally in terms of width and height.
Precautions:
Modifying the output size of the image is only valid when one image is selected
3)Image Layout: Use the layout toolbar or manually drag the images for layout. For details on using the layout toolbar, see the
02 Interface Introduction.
Precautions:
Except for operations such as [Vertical Flip], [Horizontal Flip], [Rotate Right], [Rotate Left], [Horizontally Center], and
[Vertical Center], you must select two or more images before performing other arrangement operations.
20
 help-Eng")
 help-Eng")
 help-Eng")
 help-Eng")
 help-Eng")
 help-Eng")
 help-Eng")
 help-Eng")
 help-Eng")
 help-Eng")
 help-Eng")
 help-Eng")
 help-Eng")
 help-Eng")
 help-Eng")
 help-Eng")
 help-Eng")
 help-Eng")
 help-Eng")
 help-Eng")
 help-Eng")
 help-Eng")
 help-Eng")
 help-Eng")
 help-Eng")
 help-Eng")
 help-Eng")
 help-Eng")
 help-Eng")
 help-Eng")
 help-Eng")
 help-Eng")
 help-Eng")
 help-Eng")
 help-Eng")
 help-Eng")
 help-Eng")
 help-Eng")
 help-Eng")
 help-Eng")
 help-Eng")
 help-Eng")
 help-Eng")
 help-Eng")
 help-Eng")
 help-Eng")
 help-Eng")
 help-Eng")
 help-Eng")
 help-Eng")
 help-Eng")
 help-Eng")
 help-Eng")
 help-Eng")
 help-Eng")
 help-Eng")
 help-Eng")
 help-Eng")
 help-Eng")
 help-Eng")
 help-Eng")
 help-Eng")
 help-Eng")