
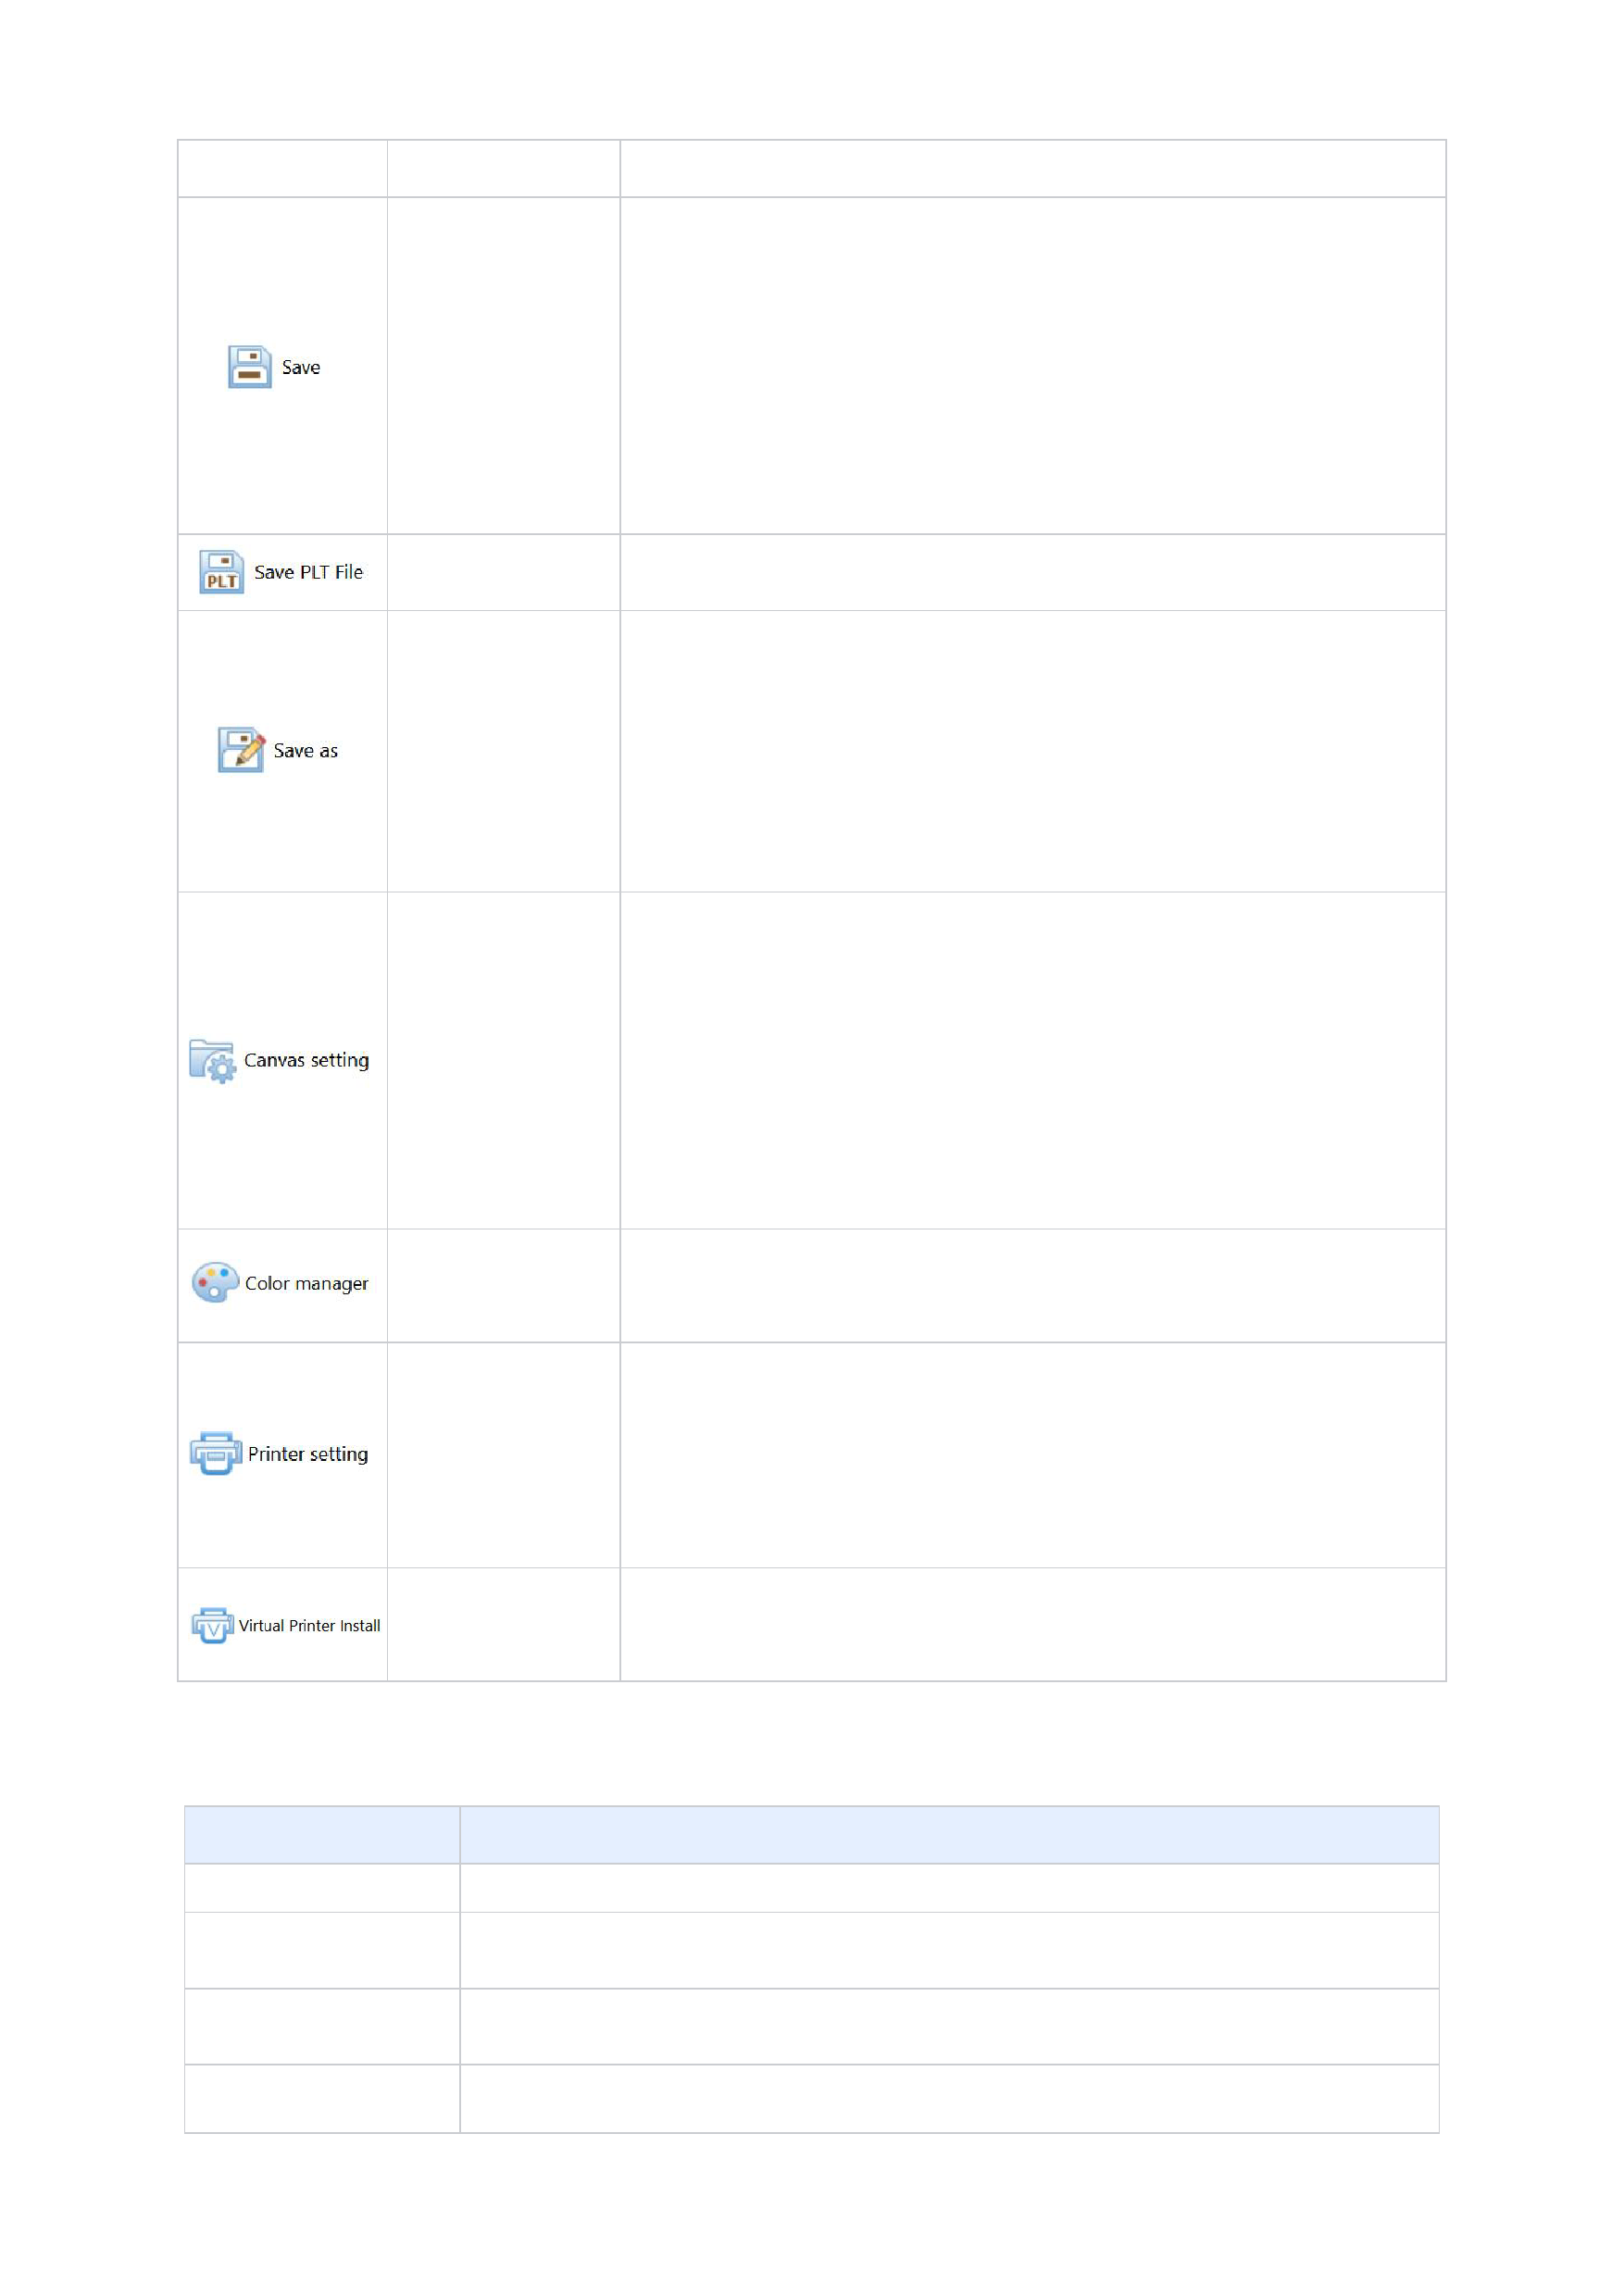
Ctrl + S
canvases, you can create canvases one by one and open new canvases in turn.
Save the current canvas project with the current name and directory. When you save the
project for the first time, the software will display the save dialog box. The default
directory of the system is the file output directory in the option settings, and the file is set
to the.rcf format by default. You can name the canvas project.
If you want to change the existing project name or path before saving, please select the
Save As command.
/
Save the file in the PLT file format for cutting.
Ctrl + Shift + S
Save the current canvas project as a new file. The software will display a dialog box
asking whether to save, allowing you to rename or change the saving directory. After
saving, the system will change the current file name and directory to those after using the
Save As command. If you want to save the canvas project with the existing name and
directory, please use the Save command.
Ctrl + Shift + M
Set the current canvas. You can set the size (i.e., width and height) of the canvas and the
margins. You can determine the canvas width based on the width of the paper you will
print on. If you want to set the printing margins, you can set different margins for the left,
right, top, and bottom respectively. If you want to set equal margins on all sides, you can
select the equal margin option, so you only need to set any one margin value, and the other
three will be automatically set to the same value.
Ctrl + Shift + C
Enter color management to create curves and set curve parameters. For details, see the
Color Management chapter.
Ctrl + Shift + P
Perform printer driver setting management, set relevant printer parameters, and operate the
printer. Such operations include installing printers, deleting printers, viewing printer
properties, setting the printer as the default printer, custom installing printers, deleting
existing manufacturers, and so on.
After installing a virtual printer, you can select images and curves in PS and directly send
/
the printing task to the Ruiyin software for operation.
8. Help Menu Bar
When you click on the question mark icon in the upper right corner of the software, the following menu appears:
Function
Function Details
Help Documentation
Hosonsoft Online
Contact Us
Used to open the software help documentation.
It is used to access the homepage of Hosonsoft Company to obtain more help information and understand
the dynamics of this software.
It is used to send an email to our technical support, providing feedback on your usage, any problems
encountered, and requirements. We will reply to you at the first opportunity after receiving the message.
About RIIN
Used to display the version information and authorization information of the software you are using.
13
 help-Eng")
 help-Eng")
 help-Eng")
 help-Eng")
 help-Eng")
 help-Eng")
 help-Eng")
 help-Eng")
 help-Eng")
 help-Eng")
 help-Eng")
 help-Eng")
 help-Eng")
 help-Eng")
 help-Eng")
 help-Eng")
 help-Eng")
 help-Eng")
 help-Eng")
 help-Eng")
 help-Eng")
 help-Eng")
 help-Eng")
 help-Eng")
 help-Eng")
 help-Eng")
 help-Eng")
 help-Eng")
 help-Eng")
 help-Eng")
 help-Eng")
 help-Eng")
 help-Eng")
 help-Eng")
 help-Eng")
 help-Eng")
 help-Eng")
 help-Eng")
 help-Eng")
 help-Eng")
 help-Eng")
 help-Eng")
 help-Eng")
 help-Eng")
 help-Eng")
 help-Eng")
 help-Eng")
 help-Eng")
 help-Eng")
 help-Eng")
 help-Eng")
 help-Eng")
 help-Eng")
 help-Eng")
 help-Eng")
 help-Eng")
 help-Eng")
 help-Eng")
 help-Eng")
 help-Eng")
 help-Eng")
 help-Eng")
 help-Eng")