CREATE THE PARTIAL PROTOTPYE
end-mill change, position the holes toolpath
first in the cut sequence, so you only need a
single tool change.
07: Save the toolpath operations for fabrica-
tion.
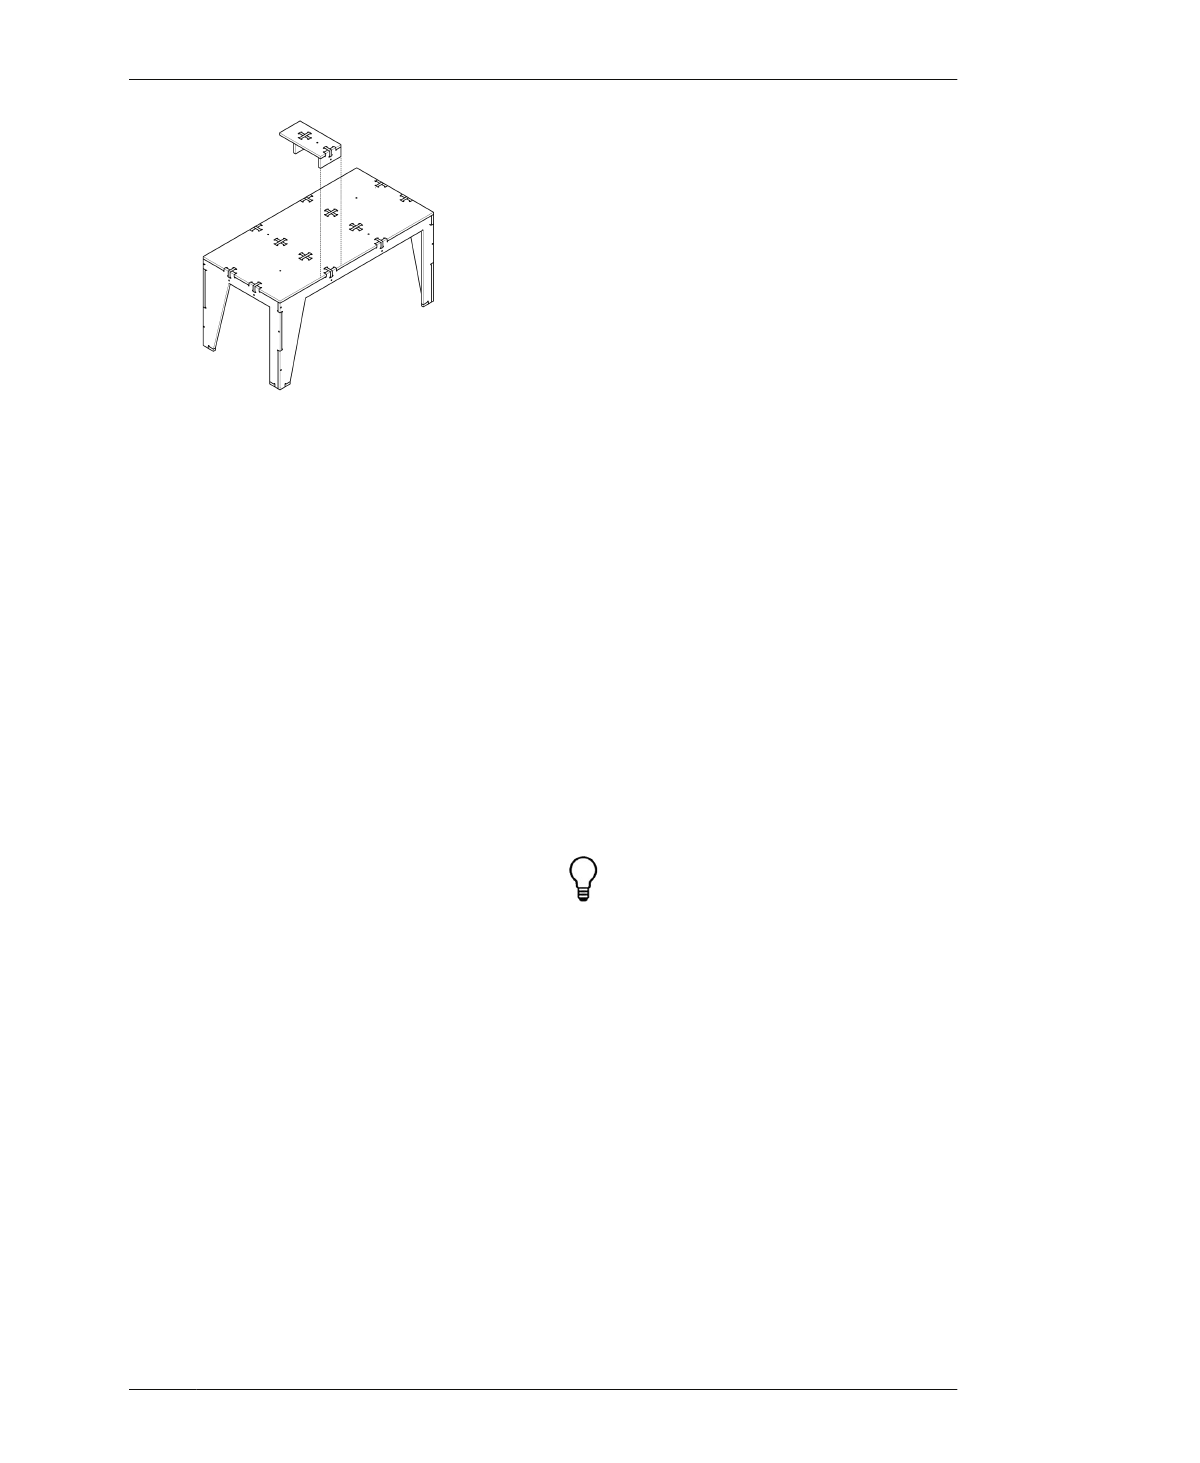
FIGURE 13-8 Test piece in context
PREPARE FILE
Since the One to Several Table’s test piece was
modeled for ¾″ (19mm) thick material, you will
first need to scale the part profiles by S so they
match TMAX.
02: Open the test piece file
(AtFAB_TBL_TEST.skp) in Sketchup, and scale
all parts by S, so slots match TMAX.
03: Select Save as a SketchUp Release 14 file,
adding S to the filename (e.g.,
AtFAB_TBL_TEST_9842.skp).
CUT, ASSEMBLE, AND EVALUATE
08: Cut out all test piece parts, assemble the
test piece, and evaluate the fit.
If you want to add a coating or finish to your
table, ensure that you apply the finish on the
test piece parts and evaluate their fit.
If your joinery doesn’t match the fit described
in “Cut and Evaluate Fit” on page 201, consult
“Troubleshooting” on page 202 for additional
techniques and steps for perfecting joinery fit.
09: Continue making CAD and CAM adjust-
ments and cutting test pieces until you are sat-
isfied with the joinery. Make a note of the total
scaling adjustment and save the final VCarve
file (e.g., AtFAB_TBL.crv) that yielded the suc-
cessful test piece.
PREPARE TOOLPATHS
04: Following the steps in “Job Setup” on page
170, import the scaled test piece file into
VCarve. Locate the test piece on a clear area
on one of your sheets.
05: Assign toolpaths to each of its three
toolpathing layers. Outside toolpaths cut
around the outside of all table parts. An inside
toolpath cuts the crosshair shape in the tab-
letop. The holes toolpath for fastener holes
uses a smaller end-mill diameter.
If you need to make fit adjustments with a
parametrically customized file, there are two
ways to correct for fit. You can either follow
the instructions in “Troubleshooting” on page
202. Alternatively, you can return to the app
to produce a new file with a material thickness
setting that better matches the actual mate-
rial.
06: Program the cut sequence so fastener
holes and the crosshair shape are cut prior to
the outside profiles, so they stay aligned within
the parts. Since the fastener holes require an
13/ONE TO SEVERAL TABLE
271
