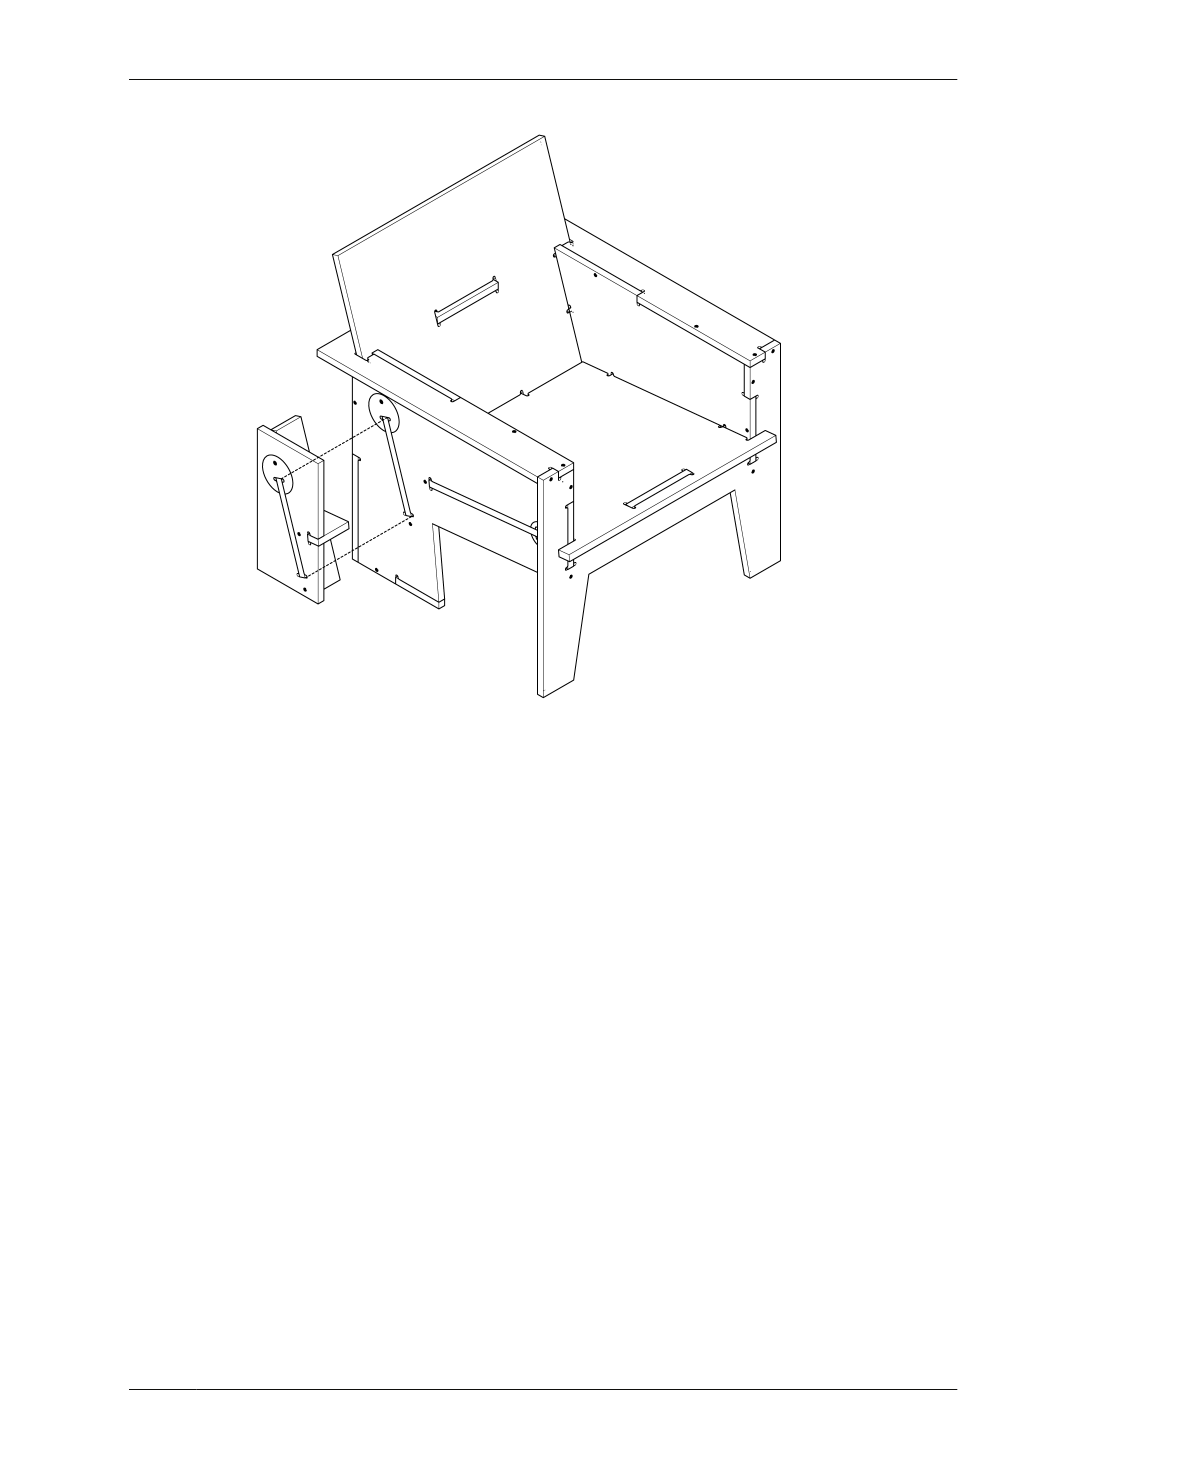
ASSEMBLE AND EVALUATE THE TEST PIECE
FIGURE 11-12
Test piece in context
ASSEMBLE AND EVALUATE THE
TEST PIECE
Dust off the test piece parts and pay special
attention to cleaning debris from the pocket
and the keys. If you are finishing your chair, fin-
ish the test piece parts according to the manu-
facturer’s instructions.
EVALUATE FIT
01: Using Figure 11-13 as a guide, assemble the
test piece parts, fitting the keys into the pock-
ets. If your joinery doesn’t match the fit
described in “Cut and Evaluate Fit” on page
201, the key diameter will likely be too big or
too small compared to the pocket.
02: Consult “Troubleshooting” on page 202 for
additional techniques and steps for achieving
the optimal fit.
EVALUATE CUT DEPTH
03: Evaluate the cut depth settings by compar-
ing the flushness of the key and the surround-
ing face material.
If the key is perfectly aligned, then your pocket
depth setting was correct. If the key sticks out
too far or not enough, the pocket depth needs
to be adjusted.
04: Using your calipers, measure the material
thickness of the key and the pocket.
05: Compare with the adjacent, overall material
thickness (TMAX).
06: Increase or decrease the cut depth to
accommodate the difference, and consult
“Pocket Cutting: Top Down or Bottom Up?” on
page 244 for detailed troubleshooting.
11/90-MINUTE LOUNGE CHAIR
245
