APPLY TEST PIECE SETTINGS TO THE FULL-SCALE FILE
01: Return to SketchUp and open
AtFAB_CiBii.skp.
02: Scale the CiBii toolpath layers in SketchUp
to match the successful test piece.
03: Follow the steps in “Scale Test Piece CAD
file” on page 213 and save the scaled CAD file
for import into VCarve.
04: In VCarve, reopen the saved test piece file
(e.g., AtFAB_CiBii.CRV).
05: Delete the test piece parts from the work
zone.
Since toolpathed vectors aren’t needed after
cutting a successful test piece, you can
delete test piece vectors from the VCarve
work zone. If you want to keep the test piece
vectors, keep them out of the way by either
placing the vectors on a separate layer or
saving a copy of the file.
When you deleted the test piece vectors, the
inside, outside, and (optional) hole toolpaths
that you already defined/adjusted remain in
the file. You can now apply the toolpaths and
cut sequence that produced a perfectly fitting
test piece to the vectors of the CiBii file, once
you import them.
06: Import the scaled CiBii CAD file, ensuring
that the table parts are placed on the free,
uncut zone of your material stock. Refer to
CAM setup steps in “Job Setup” on page 170,
as needed.
07: Assign the defined inside, outside, and
optional hole toolpaths to vectors.
You can assign old toolpaths to newly impor-
ted vectors by clicking into the toolpaths
menu and selecting the appropriate toolpath
type from the Toolpath List.
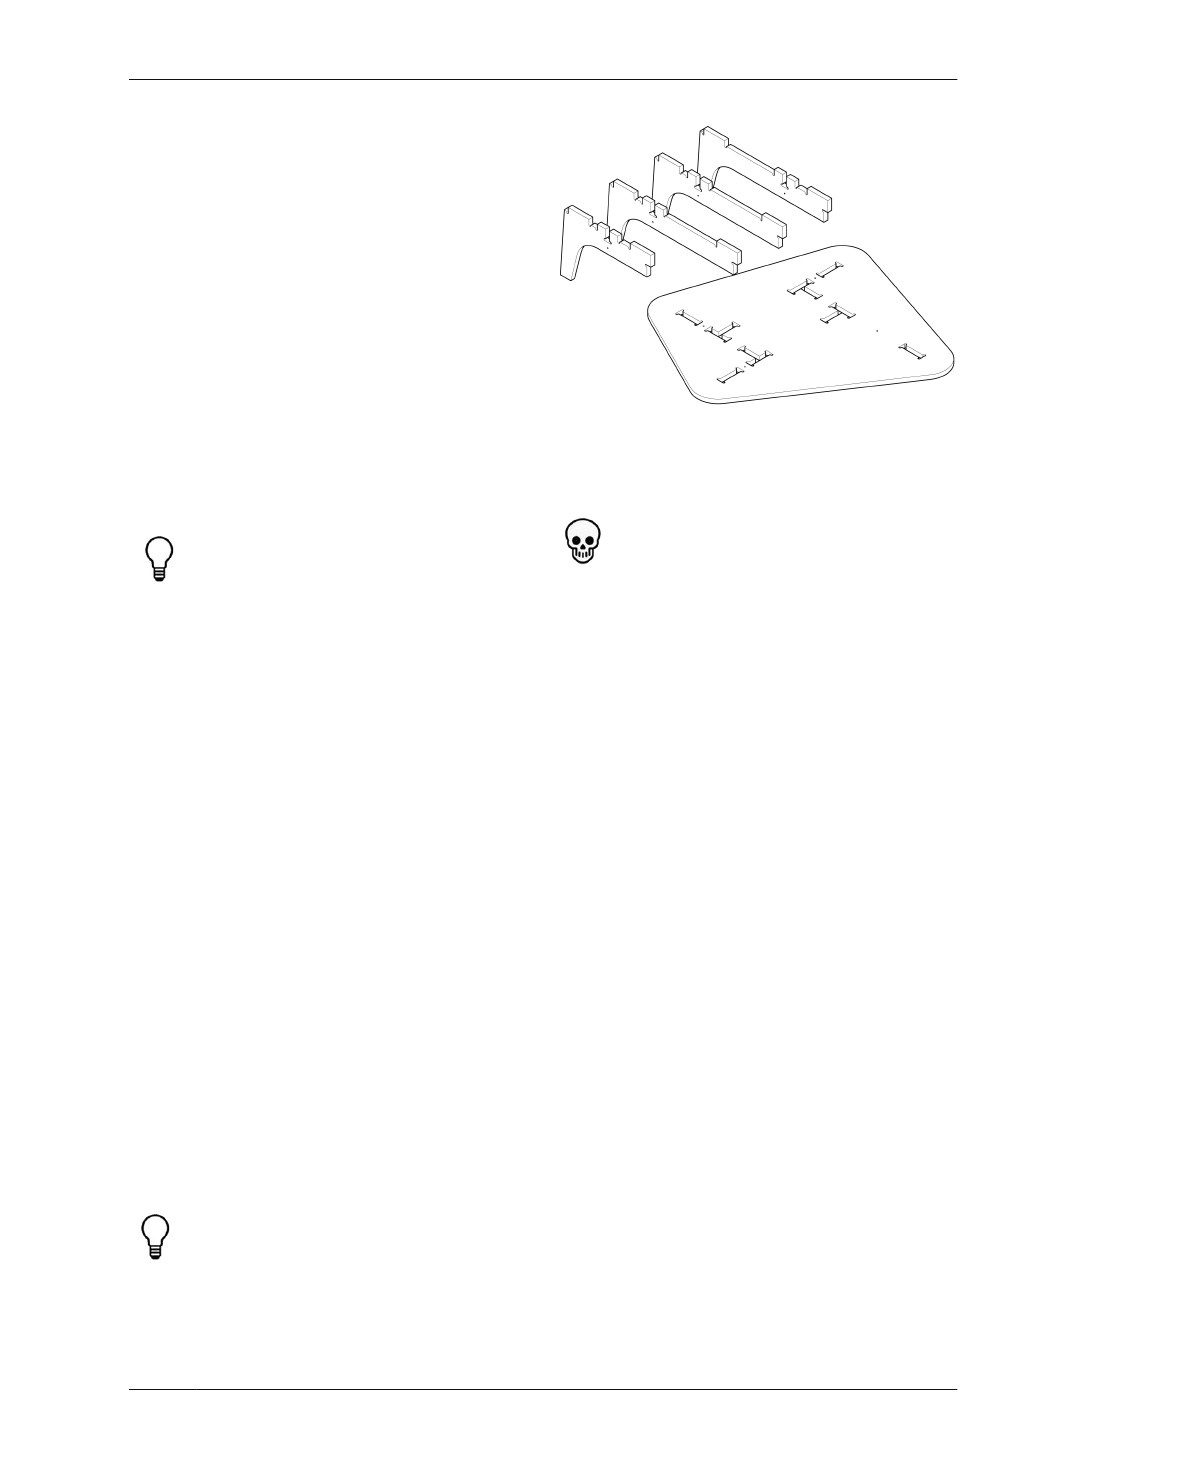
FIGURE 9-7
Cat in Bag ii Table
parts, ready for assem-
bly
08: Order toolpaths into correct cut sequence:
inside profiles first, outside profiles second.
If you’ve chosen to keep the optional holes,
cut them first. Remember that they need to
be cut with a 1⁄8″ tool, so you’ll need to run
that toolpath alone and then change to a ¼″
tool to cut the profiles.
09: Save toolpath operations for output to your
CNC machine.
CUT AND FINISH
10: Fabricate the parts by sending the tool-
paths to the machine.
11: As you cut your Cat in Bag ii Table parts,
clean and store them as they come off the
machine. It’s especially critical to handle parts
carefully, so they don’t get damaged during
fabrication.
12: Brush sawdust from each part with a non-
abrasive brush, ensuring that you remove dust
from sniglets (and holes). File or lightly sand
part edges as necessary.
13: Store your parts carefully, either laid out flat
on a blanket or stacked with protective paper,
fabric, or foam sheets between parts. Clean
and prepare parts according to finish manufac-
turer instructions.
09/CAT IN BAG II TABLE
217
