ASSEMBLE
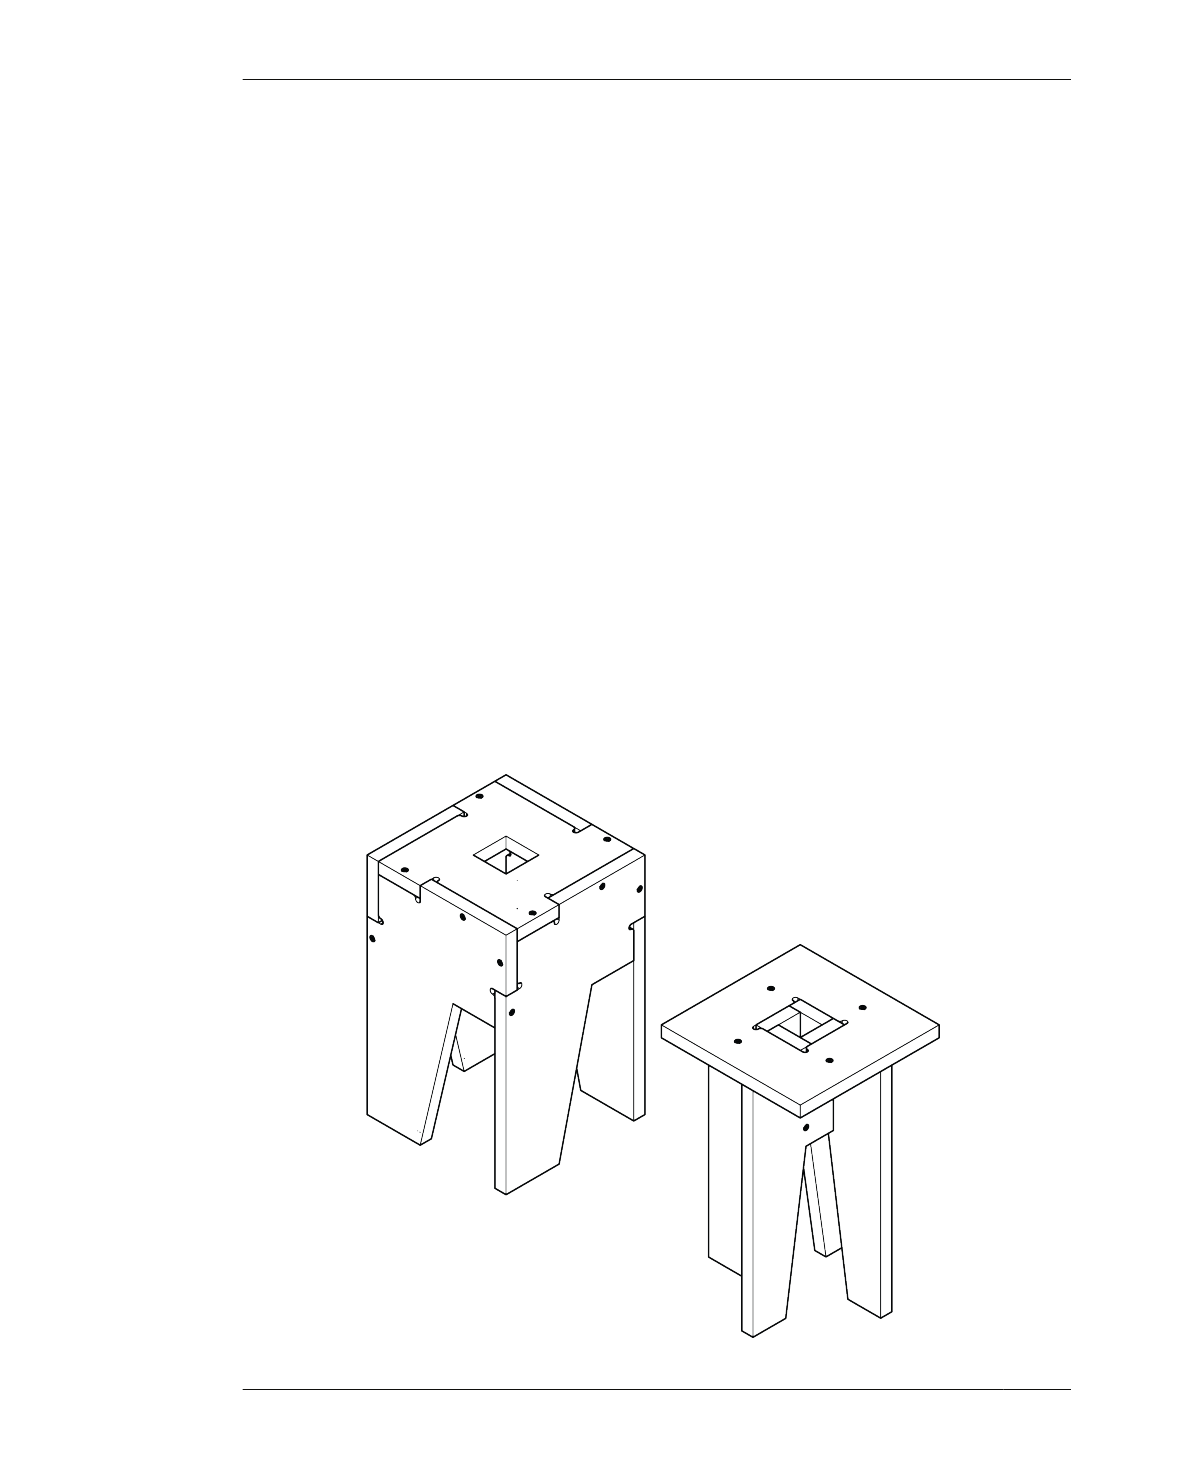
FIGURE 8-4
Lazy and Lively Rota-
tional Stools
has been cut. Having a clear record becomes
especially helpful when making multiple adjust-
ments and evaluating several Rotational Stool
versions or test pieces alongside one another.
ASSEMBLE
After you have successfully cut a pair of Rota-
tional Stools with parts that fit perfectly, you
are ready to assemble them. Collect your parts,
and very lightly file or sand any rough edges.
Keep the sanding block and file parallel to the
edge and don’t oversand or round the edges.
Carefully dust off each part and stack similar
parts together on a protected work surface. It
helps to use a cloth or moving blanket, so as
not to scratch the parts or damage the work-
top.
Prior to assembly, gather your hardware and
matching drill bit, drill, and blue tape, as well as
an Allen wrench or screwdriver that matches
your fasteners. Place everything within easy
reach. Lay your recently cut stool parts out in
the order of assembly, with the right sides fac-
ing upward.
The Lively Stool is best assembled upside
down. First, place the seat with the top face-
down on your work surface. Interlock the four
legs and snap the four leg tabs into the center
hole of the seat. You might find blue tape and
an extra set of hands especially helpful in keep-
ing the Lazy Stool parts together during
assembly. Start by placing the seat with its top
facedown on the work surface. Piece all four
legs together and secure them firmly with blue
tape.
FASTENERS
Since the furniture joinery does most of the
structural work, the lighter load on your fasten-
ers means you have some flexibility in your
204
DESIGN FOR CNC
