TROUBLESHOOTING
ADJUST
The extent and magnitude of your discrepan-
cies determine where to make adjustments.
CAD modifications are always a first remedy.
Calculate the difference between slots and
material thickness, and recalculate the scale
percentage of discrepancy.
Open the CAD file and scale the entire file by
this amount (see “Scale Your CAD File” on page
133). Proceed with programming toolpaths and
cutting the adjusted parts exactly as you did
the first time. (When troubleshooting, it helps
to isolate the cause/solution and avoid multiple
adjustments.) Put the newly cut parts together
and evaluate the fit. Repeat this scaling and
recutting process until you arrive at the ideal fit.
Modifying CAM settings is ideal when all of your
parts fit, but they are only slightly greater or
less than flush. When you are a hair off from a
perfect fit, test combinations of machine feed,
speed, and other settings in your CAM software
(see Chapter 6). If these CAM setting modifica-
tions don’t correct the fit, or if part discrepan-
cies are more significant, then further
adjustments to the CAD file are required.
EVALUATE AND ITERATE
After making appropriate CAD and CAM adjust-
ments, go back and rescale the original CAD
file, reassign toolpaths in CAM, and recut the
parts. Compare the fit of your new parts with
the fit of the first round and make new notes on
the new parts. Continue this process until you
have achieved a flush fit. It always helps to
compare and analyze each adjustment, in order
to understand the relationship between scaling,
machine settings, and materials.
Carefully record all adjustments to your
machine settings and CAD file. Starting from
the first modification you make to the original
file, keep a chart of changes to the files and
write settings directly on a test piece after it
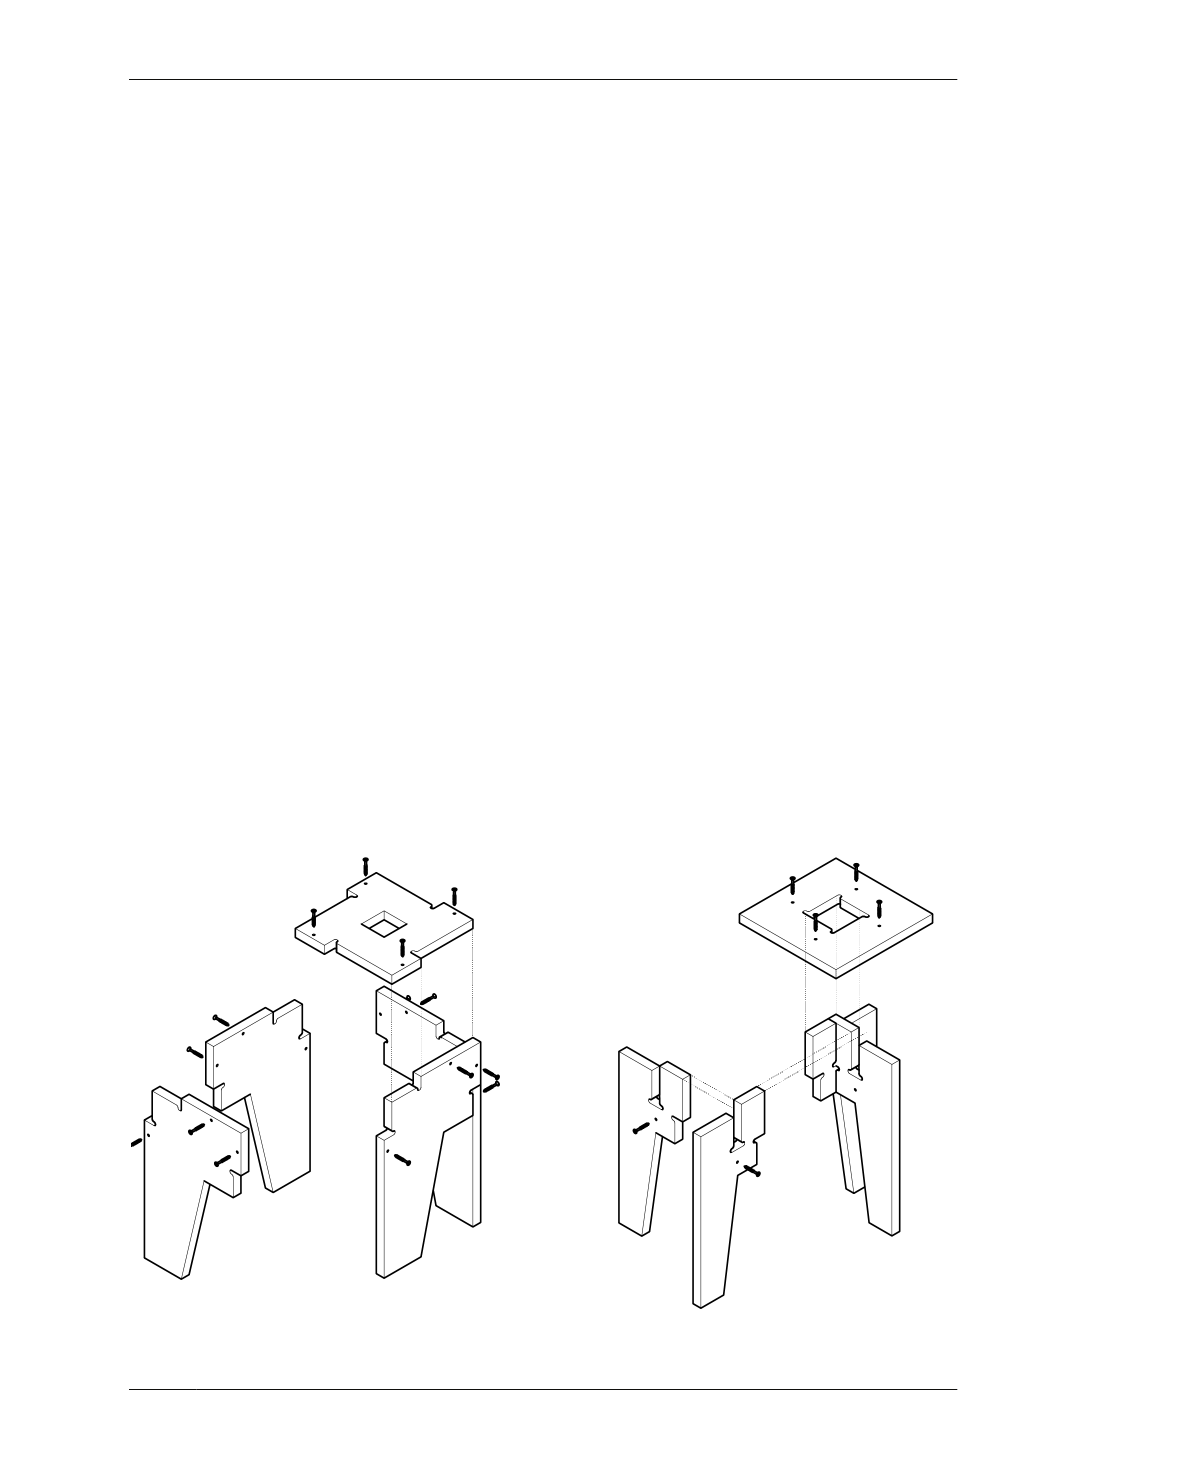
FIGURE 8-3
Assembly diagram of
the Rotational Stools
08/ROTATIONAL STOOLS
203
