
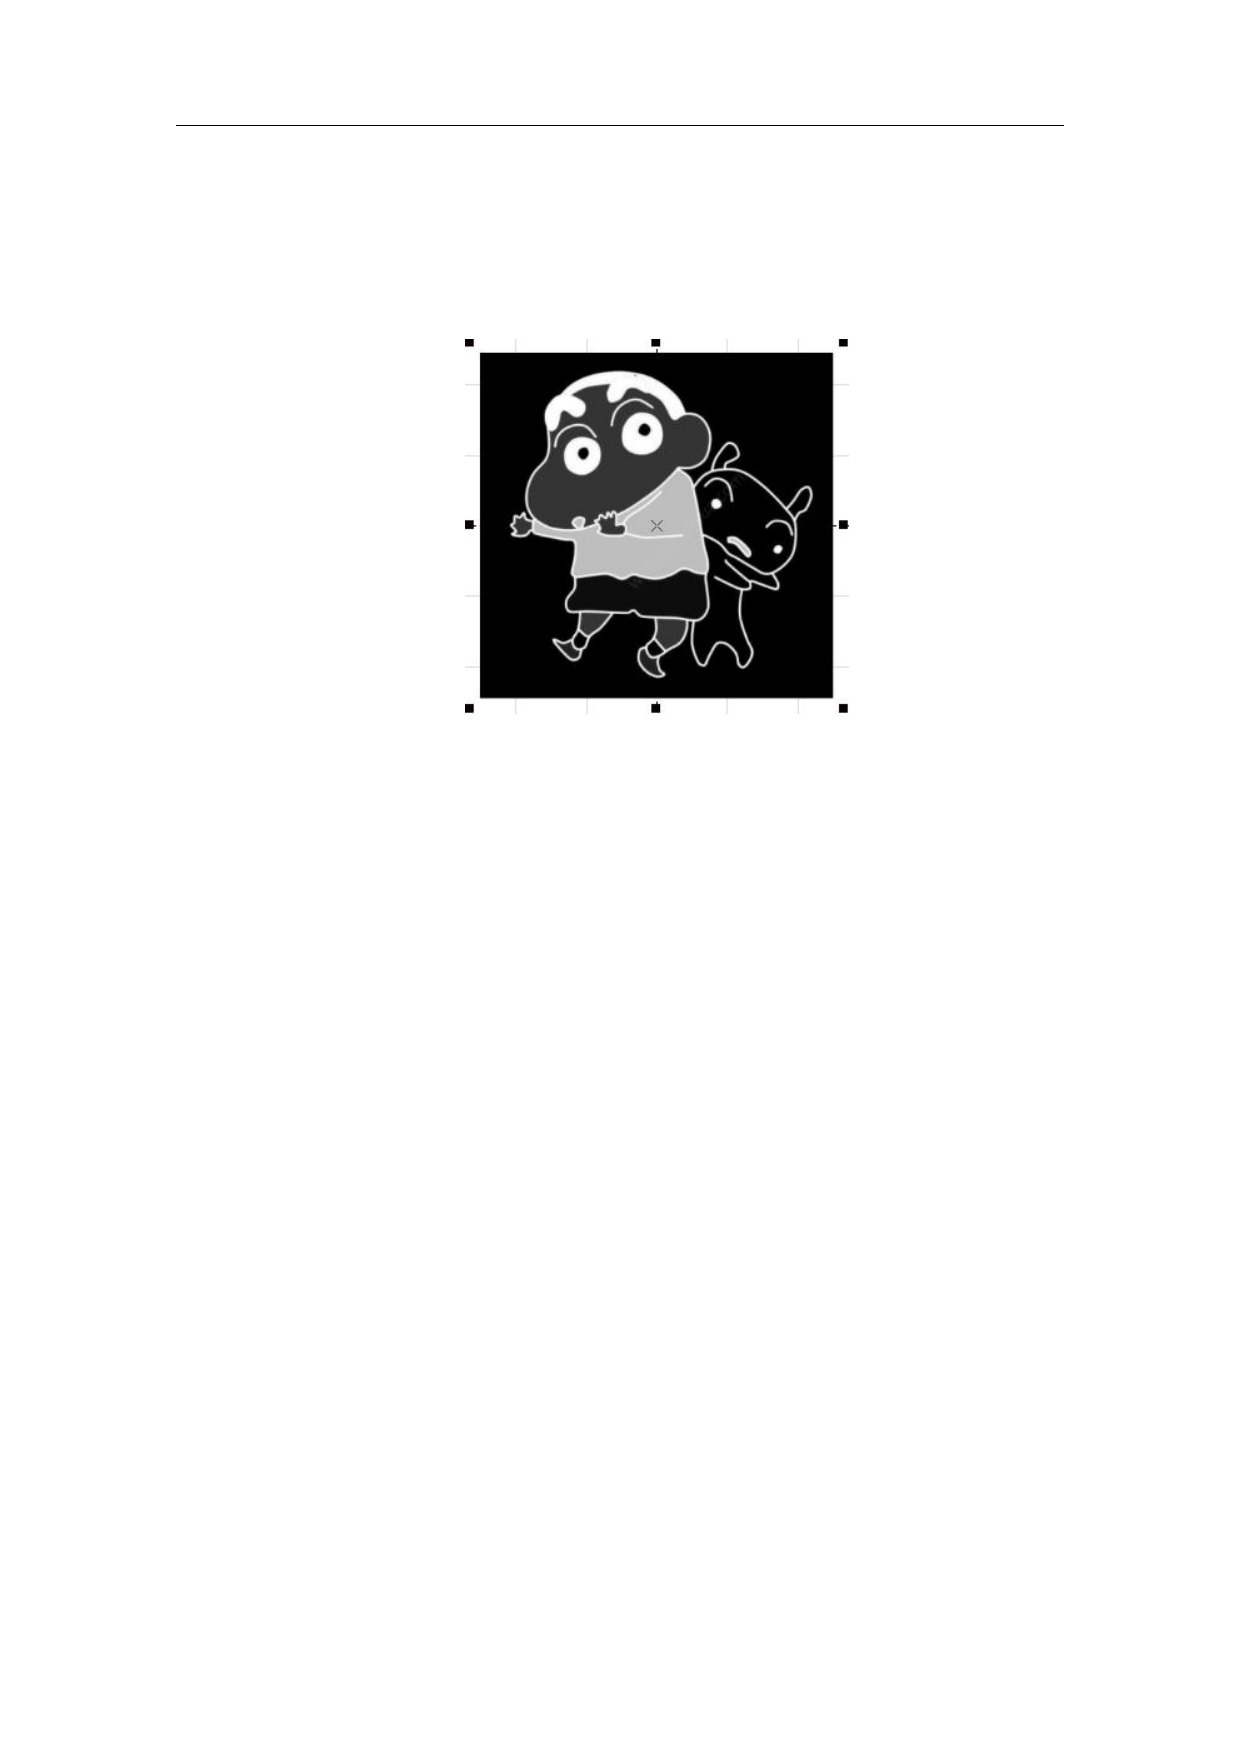
4.9.3. Grey Scal GrayScal
changes a color image into a 256-level grey scale image, as shown in Fig.
4-36. In the state of gray-scale image, the contrast and brightness of the image
can be adjusted to achieve better marking effect.
Fig. 4-36 Grey Scale Marking Image gray processing example
4.9.4. Fixed DPI
It is similar to the resolution of images. When the DPI value of the original
bitmap is not fixed or unclear, the fixed DPI value can be set by means of
“Fixed DPI”. The higher the DPI level is, the closer the dots gather, the higher
the photo precision is and the longer the marking time is.
The concept of DPI is the number of pixels per inch, one inch equals
25.4mm. When the DPI value is higher, the image printing is clearer and the
processing time is longer. Otherwise, the more blurred, the processing time is
shorter. You can use the default DPI value without fixing the DPI.
4.9.5. Dither Outlets
Dither: This effect is similar to the “Halftone Pattern” function in Adobe
PhotoShop. It uses a black-and-white image to simulate a grey scale image
and achieves different grey scale effects by adjusting the density of points
based on black and white colors, as shown in Fig. 4-37.
Outlets: Dot representation is similar to the "halftone pattern" function in
Adobe Photoshop. Black and white dichroic images are used to simulate
gray-scale images, and black and white dichroic images are used to simulate
different gray-scale effects by adjusting the density of points, as shown in
figure 4-37.
103 / 217
 LabelMark 5 Software Manual, v3.6")
 LabelMark 5 Software Manual, v3.6")
 LabelMark 5 Software Manual, v3.6")
 LabelMark 5 Software Manual, v3.6")
 LabelMark 5 Software Manual, v3.6")
 LabelMark 5 Software Manual, v3.6")
 LabelMark 5 Software Manual, v3.6")
 LabelMark 5 Software Manual, v3.6")
 LabelMark 5 Software Manual, v3.6")
 LabelMark 5 Software Manual, v3.6")
 LabelMark 5 Software Manual, v3.6")
 LabelMark 5 Software Manual, v3.6")
 LabelMark 5 Software Manual, v3.6")
 LabelMark 5 Software Manual, v3.6")
 LabelMark 5 Software Manual, v3.6")
 LabelMark 5 Software Manual, v3.6")
 LabelMark 5 Software Manual, v3.6")
 LabelMark 5 Software Manual, v3.6")
 LabelMark 5 Software Manual, v3.6")
 LabelMark 5 Software Manual, v3.6")
 LabelMark 5 Software Manual, v3.6")
 LabelMark 5 Software Manual, v3.6")
 LabelMark 5 Software Manual, v3.6")
 LabelMark 5 Software Manual, v3.6")
 LabelMark 5 Software Manual, v3.6")
 LabelMark 5 Software Manual, v3.6")
 LabelMark 5 Software Manual, v3.6")
 LabelMark 5 Software Manual, v3.6")
 LabelMark 5 Software Manual, v3.6")
 LabelMark 5 Software Manual, v3.6")
 LabelMark 5 Software Manual, v3.6")
 LabelMark 5 Software Manual, v3.6")
 LabelMark 5 Software Manual, v3.6")
 LabelMark 5 Software Manual, v3.6")
 LabelMark 5 Software Manual, v3.6")
 LabelMark 5 Software Manual, v3.6")
 LabelMark 5 Software Manual, v3.6")
 LabelMark 5 Software Manual, v3.6")
 LabelMark 5 Software Manual, v3.6")
 LabelMark 5 Software Manual, v3.6")
 LabelMark 5 Software Manual, v3.6")
 LabelMark 5 Software Manual, v3.6")
 LabelMark 5 Software Manual, v3.6")
 LabelMark 5 Software Manual, v3.6")
 LabelMark 5 Software Manual, v3.6")
 LabelMark 5 Software Manual, v3.6")
 LabelMark 5 Software Manual, v3.6")
 LabelMark 5 Software Manual, v3.6")
 LabelMark 5 Software Manual, v3.6")
 LabelMark 5 Software Manual, v3.6")
 LabelMark 5 Software Manual, v3.6")
 LabelMark 5 Software Manual, v3.6")
 LabelMark 5 Software Manual, v3.6")
 LabelMark 5 Software Manual, v3.6")
 LabelMark 5 Software Manual, v3.6")
 LabelMark 5 Software Manual, v3.6")
 LabelMark 5 Software Manual, v3.6")
 LabelMark 5 Software Manual, v3.6")
 LabelMark 5 Software Manual, v3.6")
 LabelMark 5 Software Manual, v3.6")
 LabelMark 5 Software Manual, v3.6")
 LabelMark 5 Software Manual, v3.6")
 LabelMark 5 Software Manual, v3.6")
 LabelMark 5 Software Manual, v3.6")
 LabelMark 5 Software Manual, v3.6")
 LabelMark 5 Software Manual, v3.6")
 LabelMark 5 Software Manual, v3.6")
 LabelMark 5 Software Manual, v3.6")
 LabelMark 5 Software Manual, v3.6")
 LabelMark 5 Software Manual, v3.6")
 LabelMark 5 Software Manual, v3.6")
 LabelMark 5 Software Manual, v3.6")
 LabelMark 5 Software Manual, v3.6")
 LabelMark 5 Software Manual, v3.6")
 LabelMark 5 Software Manual, v3.6")
 LabelMark 5 Software Manual, v3.6")
 LabelMark 5 Software Manual, v3.6")
 LabelMark 5 Software Manual, v3.6")
 LabelMark 5 Software Manual, v3.6")
 LabelMark 5 Software Manual, v3.6")
 LabelMark 5 Software Manual, v3.6")
 LabelMark 5 Software Manual, v3.6")
 LabelMark 5 Software Manual, v3.6")
 LabelMark 5 Software Manual, v3.6")
 LabelMark 5 Software Manual, v3.6")
 LabelMark 5 Software Manual, v3.6")
 LabelMark 5 Software Manual, v3.6")
 LabelMark 5 Software Manual, v3.6")
 LabelMark 5 Software Manual, v3.6")
 LabelMark 5 Software Manual, v3.6")
 LabelMark 5 Software Manual, v3.6")
 LabelMark 5 Software Manual, v3.6")
 LabelMark 5 Software Manual, v3.6")
 LabelMark 5 Software Manual, v3.6")
 LabelMark 5 Software Manual, v3.6")
 LabelMark 5 Software Manual, v3.6")
 LabelMark 5 Software Manual, v3.6")
 LabelMark 5 Software Manual, v3.6")
 LabelMark 5 Software Manual, v3.6")