Edit IP Address of a Single Camera
You can modify the IP address of a single camera if the camera status is Free or Unreachable.
-
Select the Static IP, DHCP, or
LLA as the IP type.
Note:
You can change the IP type only when the camera status is Free. And if you change the IP type, the camera will be reset to its power up state.
- Static IP
-
For setting the IP type as Static IP, you can modify the IP address, subnet mask, and default gateway.
- DHCP
-
The camera is set to automatically obtain an IP address. This means that the IP address will dynamically change (within a range) every time the camera or computer is restarted.
- LLA
-
The camera uses a default IP address from the link-local address block. Link-local addresses for IPv4 are defined in the address block 169.254.0.0/16 in CIDR notation. In IPv6, they are assigned the address block fe80::/10.
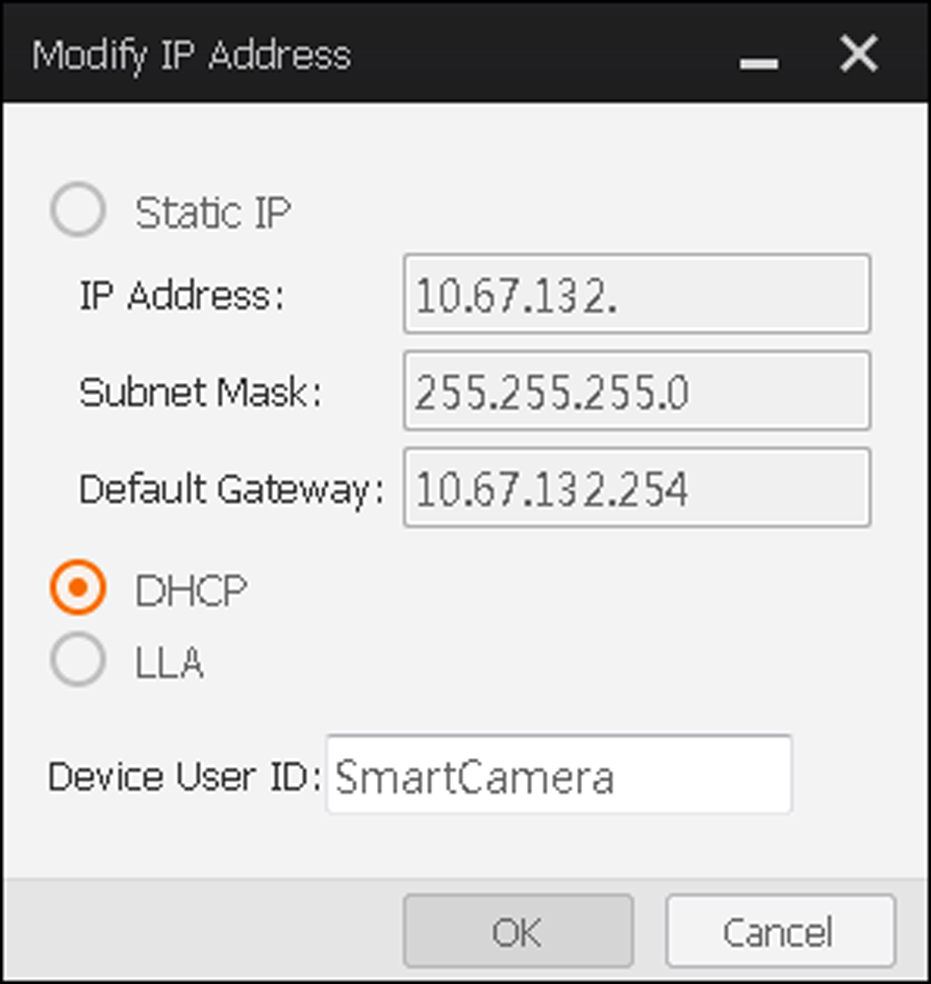 Figure 1 Modify IP Address