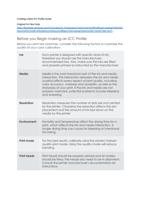
Not all devices support calibration from Color Profiler. If the Calibrate button is
disabled, you should calibrate your device using the software provided with it
before using it with Color Profiler.
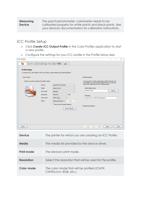
• If desired, click Settings to set advanced settings for the measuring device.
Note that only the Setting supported by your device will be available.
Illuminant The light source currently used by the device.
Observer The observer angle.
Status
The status currently used by your spectrophotometer.
If you are unsure which status to use, we recommend using Status A
(Automatic). This status will be uniform across all
spectrophotometers.
Samples
The number of samples that will be taken of each swatch in a test
pattern for automated measuring devices.
Spacing
The amount of spacing between the samples, expressed as a
percentage of the width of the swatch. This field is disabled when
only 1 sample is specified.The approximate position of the specified
samples is displayed in the square below.
• Click Calibrate and follow the on-screen instructions.
Print and Measure the Linearization Chart
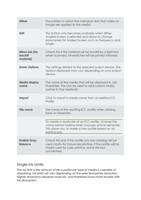
• Select an Increment size. The smaller the % increment, the larger the
number of swatches that will be required in the target.
Enhanced Light and dark swatches print in increments of 2%, while the other
swatches print in increments of 5%.
5%
Swatches print in increments of 5%
10%
Swatches print in increments of 10%
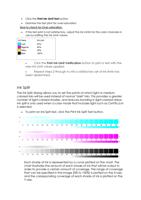
• Click Print Target.
• Click the Measure button to measure the swatches with your measuring
device.
• After you measure the swatches, check to see that the measured swatches
line up with the target swatches.

