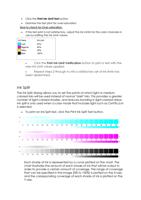
• Click the Print Ink Limit Test button.
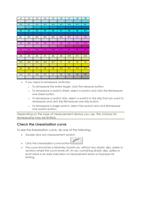
• Examine the test print for over-saturation.
How to check for Over-saturation.
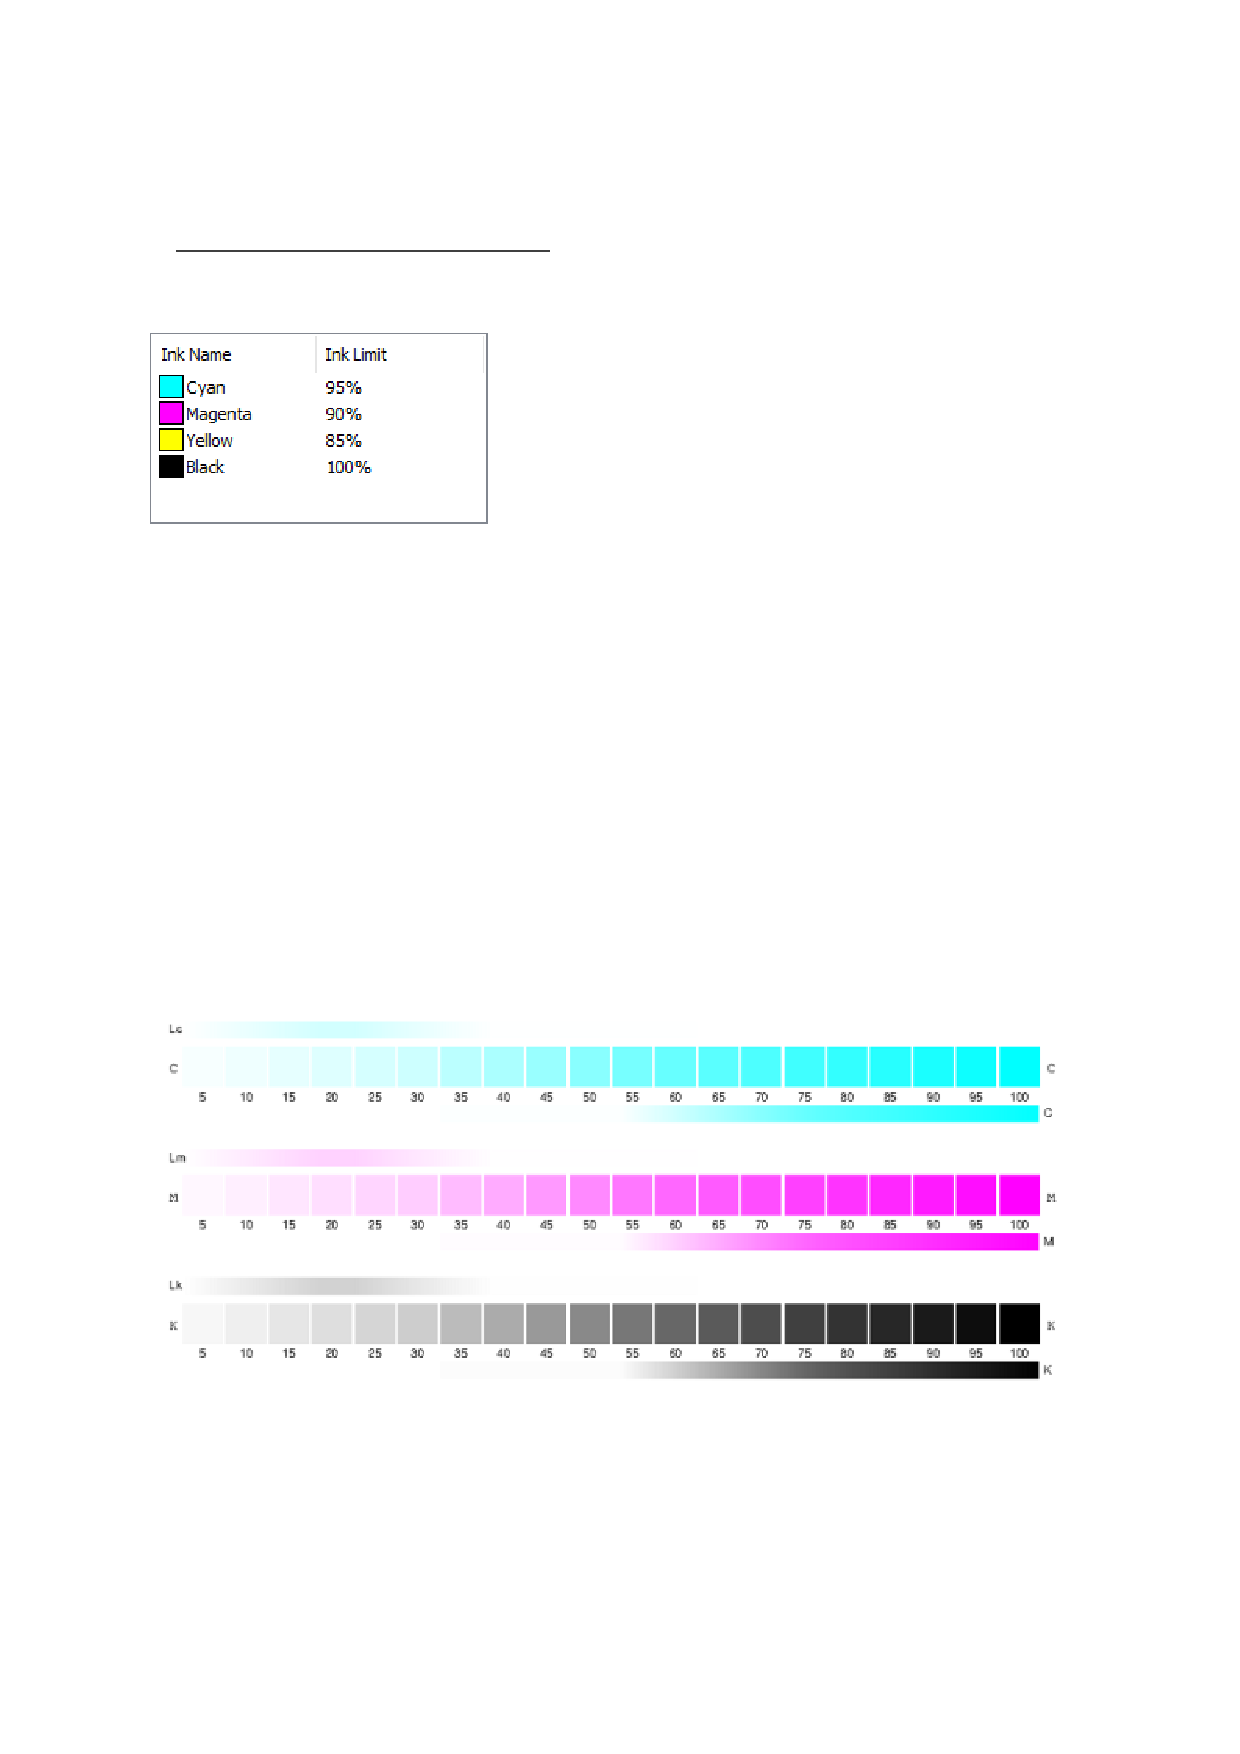
• If the test print is not satisfactory, adjust the Ink Limits for the color channels in
use by editing the Ink Limit values.
•
Click the Print Ink Limit Verification button to print a test with the
new Ink Limit values applied.
•
Repeat steps 2 through 4 until a satisfactory set of ink limits has
been determined.
Ink Split
The Ink Split dialog allows you to set the points at which light or medium
colored inks will be used instead of normal "dark" inks. This provides a greater
number of light-colored shades, and reduces banding in light-colored areas.
Ink split is only used when a color mode that includes light such as CMYKLcLm
is selected.
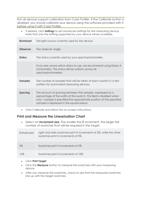
• To print an Ink Split test, click the Print Ink Split Test button.
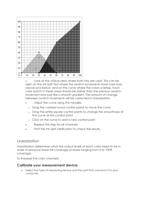
Each shade of ink is represented by a curve plotted on the chart. The
chart illustrates the amount of each shade of ink that will be output in
order to provide a certain amount of coverage. The range of coverage
that can be specified in the image (0% to 100%) is plotted on the X-axis,
and the corresponding coverage of each shade of ink is plotted on the
Y-axis.

