
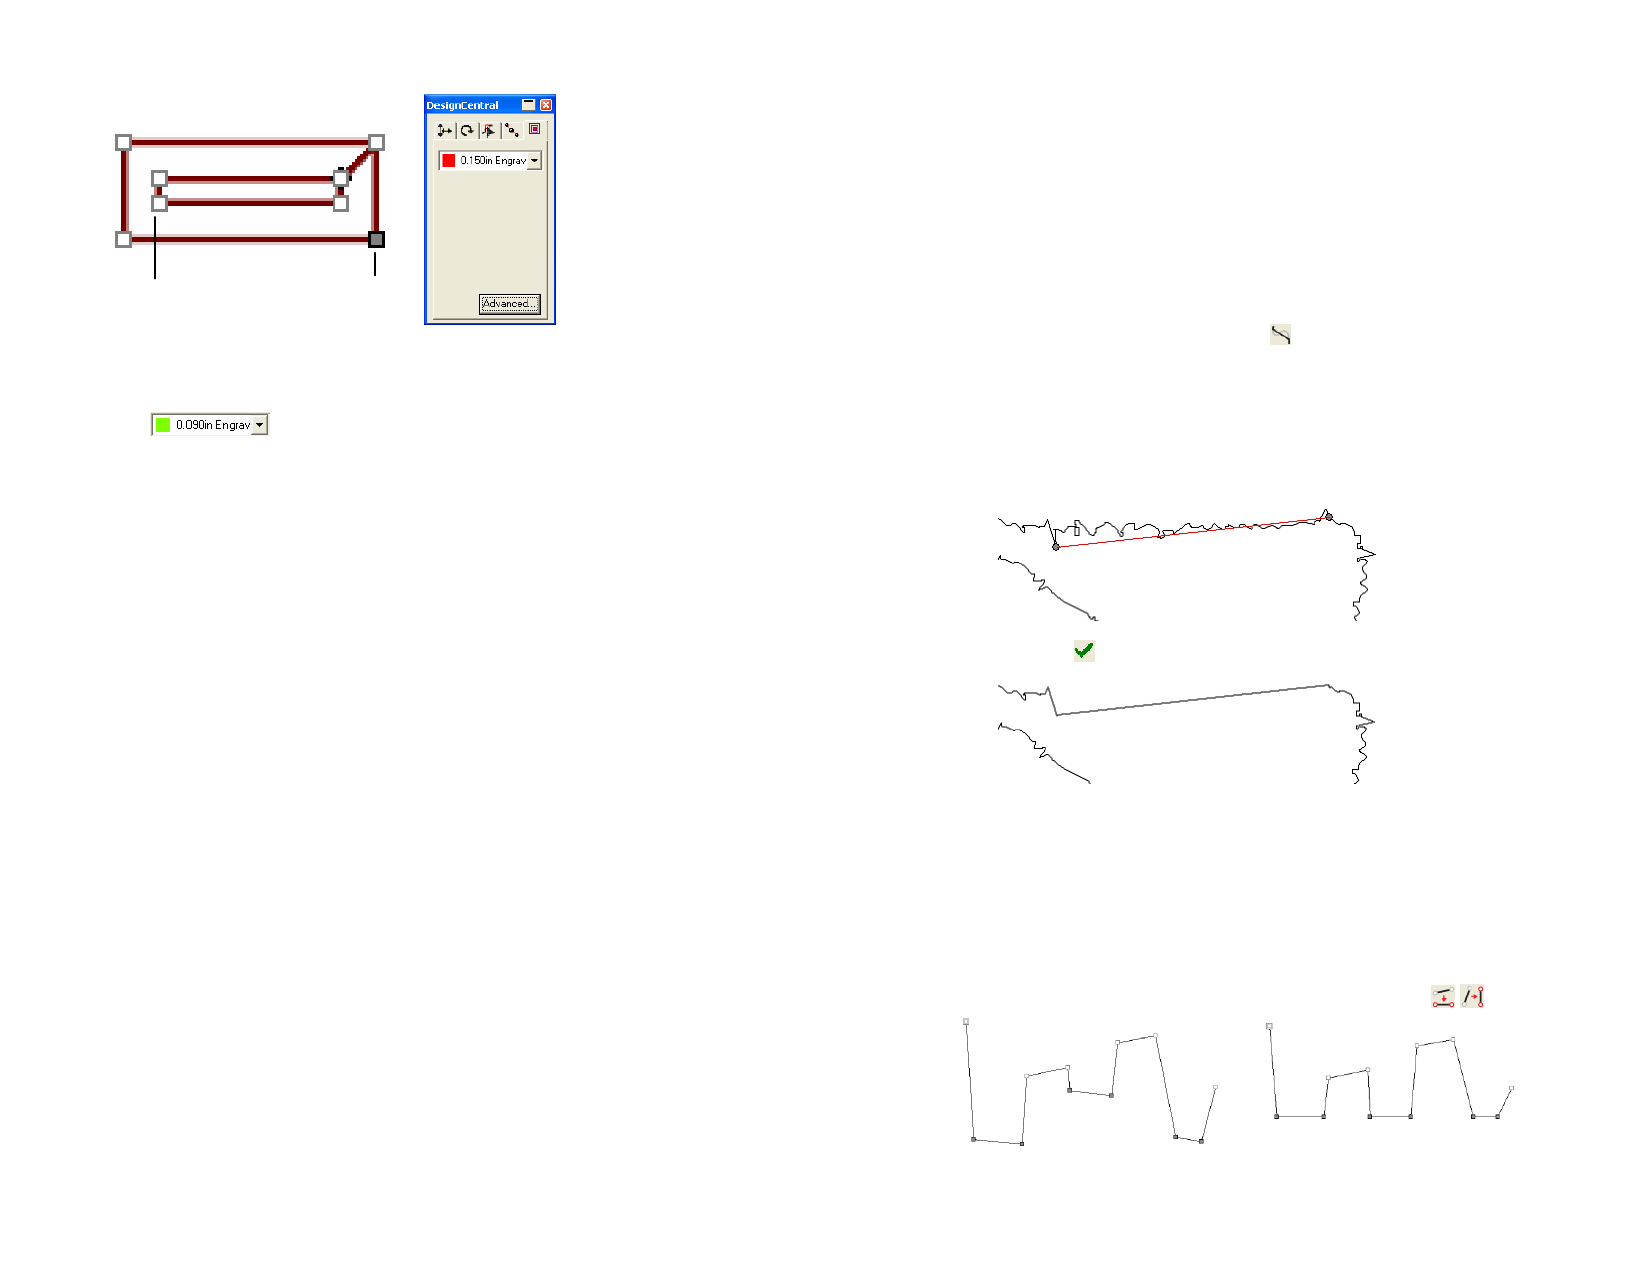
Direction
Handle
Selected
Point
DesignCentral – Engrave Path tab
Attributes in Engrave Path tab
Displays the tool selected from the Tool Library.
Advanced Settings for Engrave Paths
To display Advanced Settings for Engrave Paths, click the Advanced
button in DesignCentral – Engrave Path tab. See “Advanced Settings for
Engraving Fills” on page 123 for more information.
Path Direction
Every path has a direction associated with it. This direction is used when
cutting. See “Showing Path Directions” on page 10 for more information.
Changing Path Direction
1 Select the path.
2 From Arrange menu, point to Path Direction and select the
new direction.
Automatic
The direction of inside paths (holes) in objects are
clockwise and the outside paths are counterclockwise.
Reverse
Inverts the current direction.
Clockwise
All paths have the same clockwise direction.
Counter
Clockwise
All paths have the same counter clockwise direction.
Editing Paths
The Path Edit toolbar contains tools that allow you to edit paths.
Straightening Lines
This Straighten Point tool is used to straighten a section of a path. In some
cases, when you trace an image, extra points are added to the traced path.
Use this tool to eliminate these points.
1 Select the Straighten Points tool.
2 Place the cursor over the path.
3 Click the point where the straight line will begin.
4 Click the point where the straight line will end.
5 Drag the start and end points to adjust the position of the
straight line.
6 Click Apply or double-click anywhere inside the design area.
Aligning Points and Segments Horizontally or
Vertically
Use the Align Horizontal or Align Vertical tools to align several points
along a horizontal or vertical line.
1 Select the points.
2 Select the Align Horizontal or Align Vertical tool.
© 2006 SA International
Selected points
Points aligned horizontally
86
 Flexi Help")
 Flexi Help")
 Flexi Help")
 Flexi Help")
 Flexi Help")
 Flexi Help")
 Flexi Help")
 Flexi Help")