
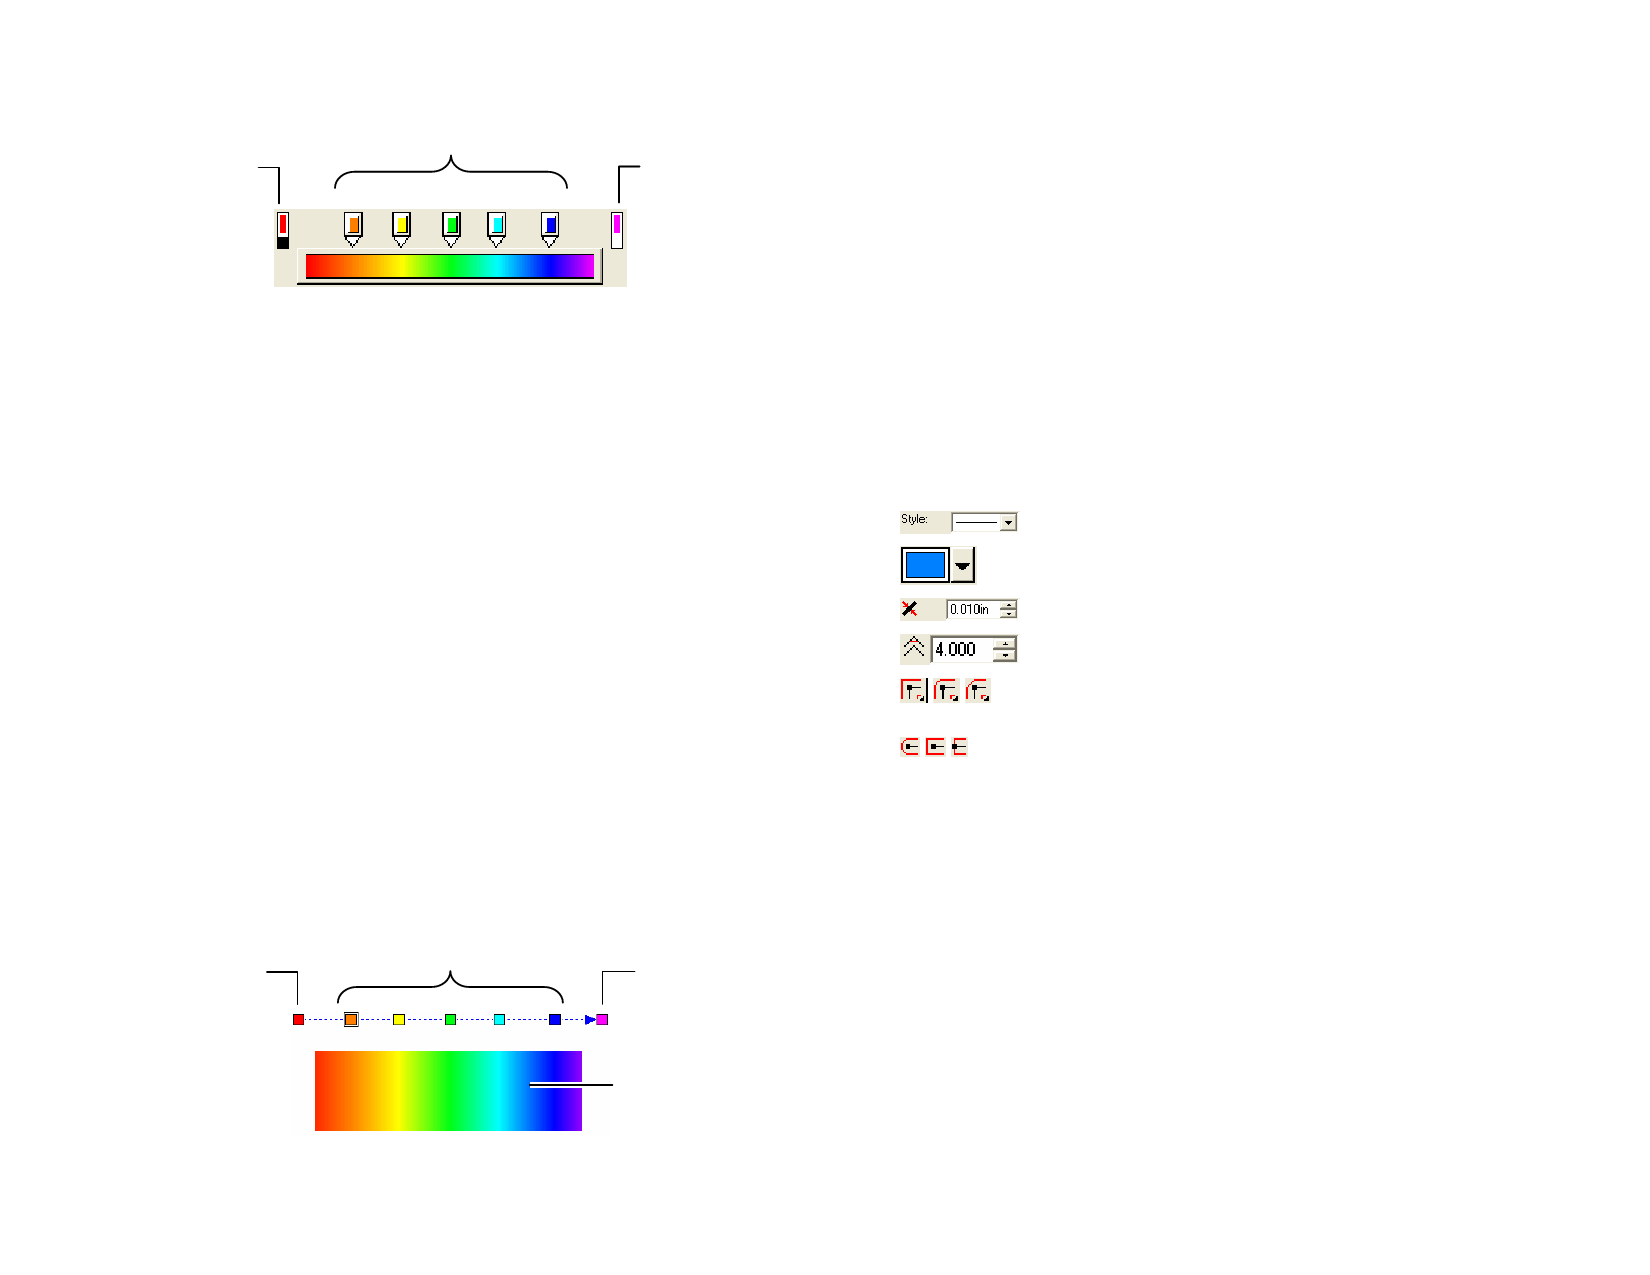
Start Color icon
Intermediate Color icons
End Color icon
• Click any color icon in the Edit Bar to select it. In Advanced
Settings dialog, you can change the color using the swatch on
right side of the dialog.
• In the Fill/Stroke Editor – Fill tab, change or create a new color
in the gradient by dragging the new color from the swatch table
to an existing color or in a blank space between colors.
• Click and drag the color icon to the left / right to change its
position in the gradient. In Advanced Settings dialog, you can
change the position using the position field on right side of the
dialog.
The Start and End Color icons cannot be dragged.
• Click and drag the color icon above the gradient bar to delete it.
• Ctrl and dragging the color icon creates a copy of the dragged
color.
• Click a blank space between color icons to create a new color in
the gradient.
Editing Gradients Using the Edit Line
To display a Gradient Editing Line in the object where the graident is
applied, click the Edit Gradient button in Fill/Stroke Editor – Fill tab.
The Gradient Editing Line can be placed outside the objects.
Start Color icon
Intermediate Color icons
End Color icon
Object where the
gradient is applied
• You can change or create a new color in the gradient, dragging
© 2006 SA International
the new color from the swatch table to an existing color or in a
blank space between colors.
• Click and drag the intermediate color icon to the left / right to
change its position in the gradient.
• Click and drag the start /end color icon to change the gradient
size and the gradient angle.
• Ctrl and dragging the color icon creates a copy of the dragged
color.
Fille/Stroke Editor – Stroke Tab
Editing Stroke Properties of Objects
Fill/Stroke Editor – Stroke tab displays the following vector object’s stroke
properties.
Style of the stroke applied to the objects.
The color applied to the stroke.
Stroke width.
Controls the sharpness of the corners.
Transform
Clear
Select the appropriate Join Type option to specify how corners
are outlined.
Select the appropriate Line Cap style option to specify how
open paths are outlined. Choose from Round, Square or Butt
cap styles.
When this option is checked, the strokes will be proportionally
resized when the object is resized.
Click this button to remove the stroke.
Applying Overprinting
The Overprint setting is used to identify areas of your design that are
covered by multiple layers of ink or vinyl. These areas may require special
treatment in order to be output successfully.
For example, in some output devices, a higher heat setting must be used
when multiple layers are present. This may require that those objects be
output using a separate printing pass.
Overprinting is automatically assigned in some cases:
59
 Flexi Help")
 Flexi Help")
 Flexi Help")
 Flexi Help")
 Flexi Help")
 Flexi Help")
 Flexi Help")
 Flexi Help")