
3 Select the pattern to be used from the list.
4 Select the background color from the list.
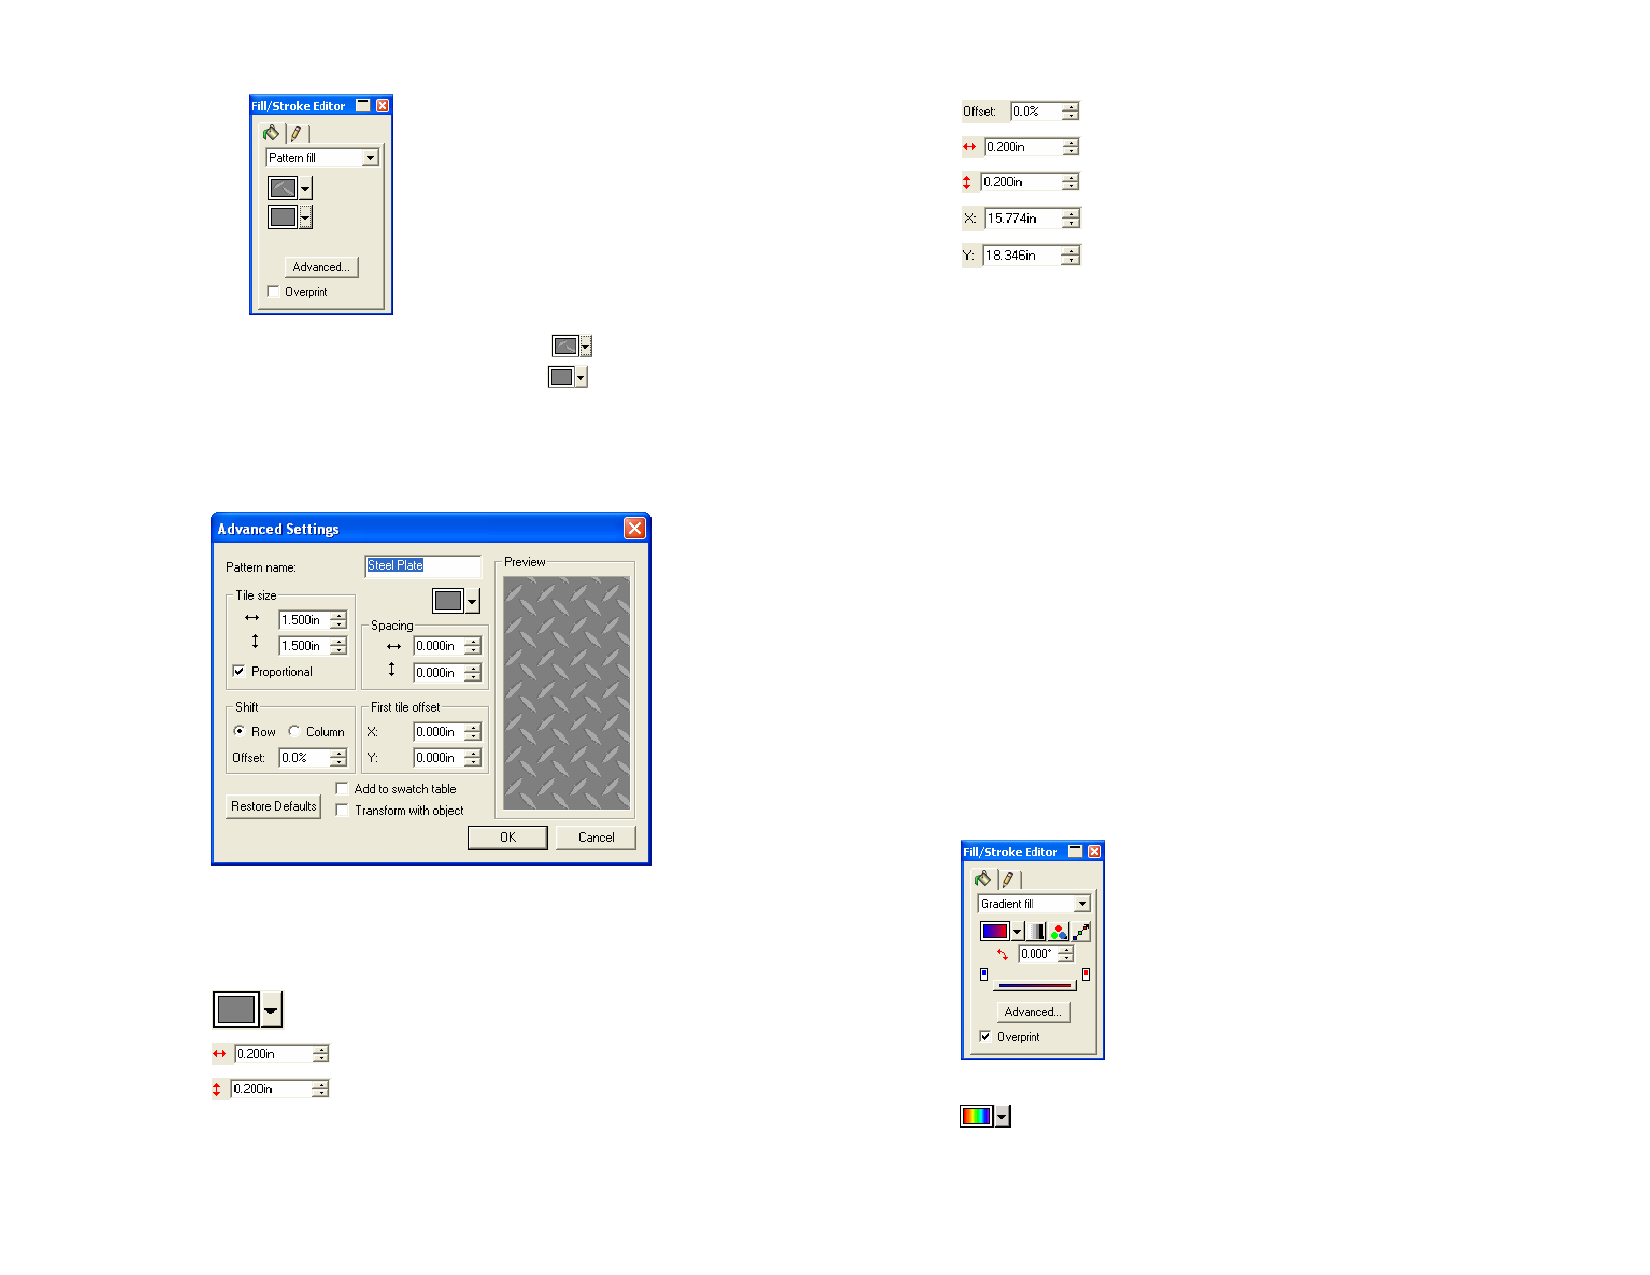
Using Pattern Fill Advanced Settings
When the Advanced button is clicked in Fill/Stroke Editor – Fill tab for
Pattern Fill, the Advanced Settings dialog will be displayed.
1 Select Pattern Fill and click Advanced.
2 Adjust the following parameters:
Pattern Name Name of the pattern.
The background color.
Proportional
Width of each pattern.
Height of each pattern.
Check this option to assure that the pattern will be
resized proportionally.
© 2006 SA International
Amount of offset applied to each column or row.
Space between rows.
Space between columns.
Horizontal offset applied to the first tile.
Vertical offset applied to the first tile.
Add to Swatch When this option is checked, the edited pattern will be
Table
added to the swatch table as a new pattern.
Transform with When this option is checked, each pattern tile will be
Object
proportionally resized when the object is resized.
Restore
Defaults
Restores the default settings for selected pattern.
3 Click OK to save your changes.
Adding a Pattern Fill to a Swatch Table
1 Select the object with the pattern fill.
2 Click on the Advanced button in the Fill/Stroke dialog.
3 Make any needed edits to the pattern fill.
4 Check Add to swatch table.
5 Type in a Pattern name.
6 Click OK.
Applying a Gradient Fill
1 Select the objects.
2 In the Fill/Stroke Editor, select Gradient Fill.
3 If desired, you can select one of the stock gradients from the
list.
4 To make your own gradient, or edit one of the stock gradients:
57
 Flexi Help")
 Flexi Help")
 Flexi Help")
 Flexi Help")
 Flexi Help")
 Flexi Help")
 Flexi Help")
 Flexi Help")