
Editable
Printable
Specifies if the layer is editable or not. Not available for Trash,
Grid and Substrate layers.
Specifies if the layer will be printed or not. Always disabled for
Trash Layer.
Cuttable Specifies if the layer is cuttable or not. Always disabled for
Trash and Grid Layer
Changing Layer Properties
Do one of the following:
• Click the icon on the DesignEditor - Layers tab. When the
property is disabled, it displays an “X” over the icon.
Visible Property Enabled
Visible Property Disabled
• Right-click the layer and select Properties from the menu. Edit
the property in the Layer Properties dialog box that will be
displayed.
Changing Layer Order
The order of the layer in the stack determines how the objects are displayed
in your design area.
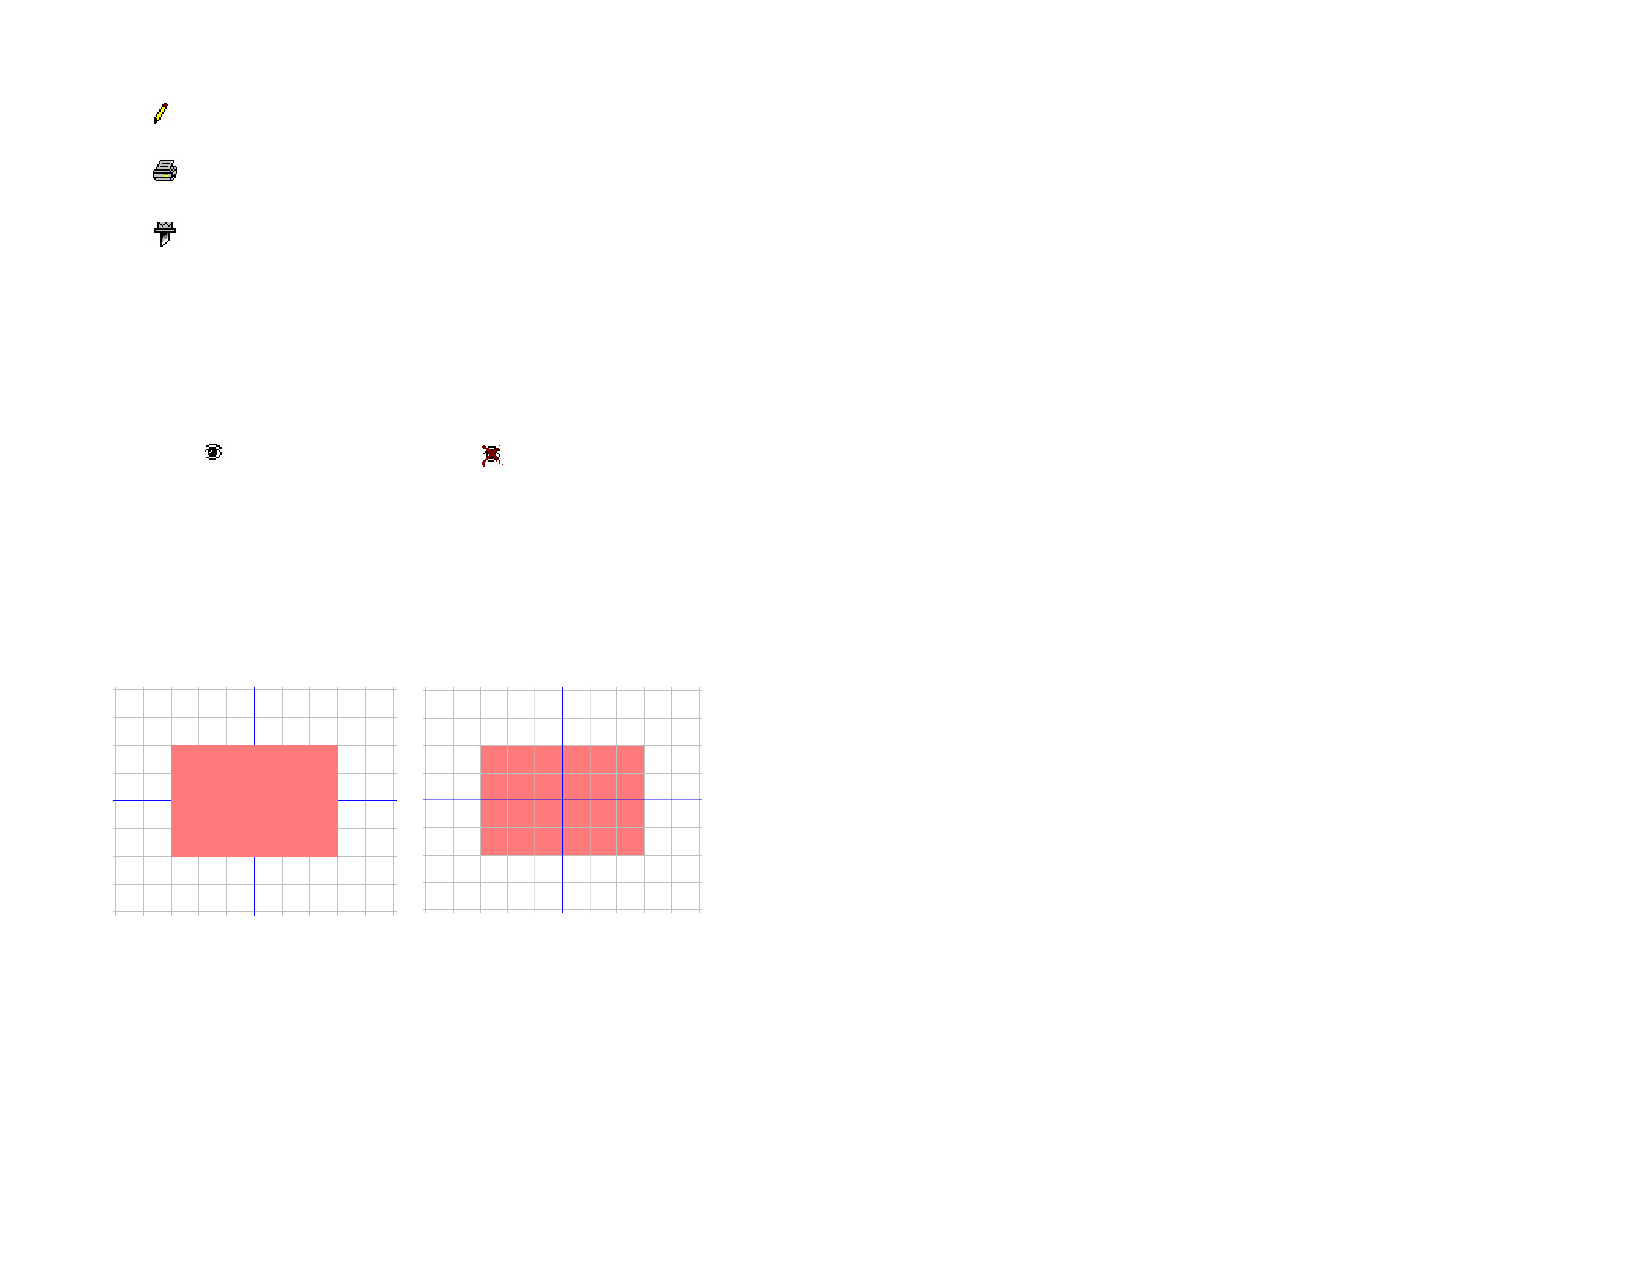
Layer 1 above the Guide and Grid
layers
Layer 1 below the Guide and Grid
layers
To rearrange the order of the stack, by click and drag a layer to a new
position. A horizontal dashed line displays to indicate where in the stack the
layer will be placed.
Merging Layers
When you merge one layer with another, all elements of the layer that you
merged are added to the target layer.
© 2006 SA International
1 Click and hold the mouse on the layer you want to merge.
2 While holding Ctrl, drag the layer to the layer you want to merge
it with.
3 Release the mouse button.
Changing Layer Color
Each layer is associated with a color. For the Guide and Grid layers, this
color is used to show its objects. For the Layers 1, 2, 3… layer, this color is
used for the following:
• Displays objects in wireframe mode. See “Showing Object’s Fill”
on page 9 for more information.
• Colors the border of selected objects.
• Shows the preview for that layer. See “Showing Preview” on
page 10 for more information.
Do one of the following:
• Drag any color from the Color Swatch and drop it directly onto
the color icon on the DesignEditor - Layer tab dialog box.
• Open the Layer Properties dialog box and click the swatch,
then select a color from the list.
DesignEditor - Objects Tab
Every time you draw a shape, create text or add any element to your design,
information about that element is stored in the Objects tab of DesignEditor.
Each object is assigned a number to distinguish it from other objects of the
same type. For example, Rectangle 1, 2, 3...).
Objects are stacked in the order they are created, with new objects being
placed on top of older objects.
Effects, such as shadows, stripes and outlines always appear higher in the
stack than the object to which they are applied.
The Objects tab is an excellent way to view the structure of your document.
You can see the elements in each layer of your document, as well as any
effects and other changes that you’ve applied to each object.
30
 Flexi Help")
 Flexi Help")
 Flexi Help")
 Flexi Help")
 Flexi Help")
 Flexi Help")
 Flexi Help")
 Flexi Help")