3 Working with Files
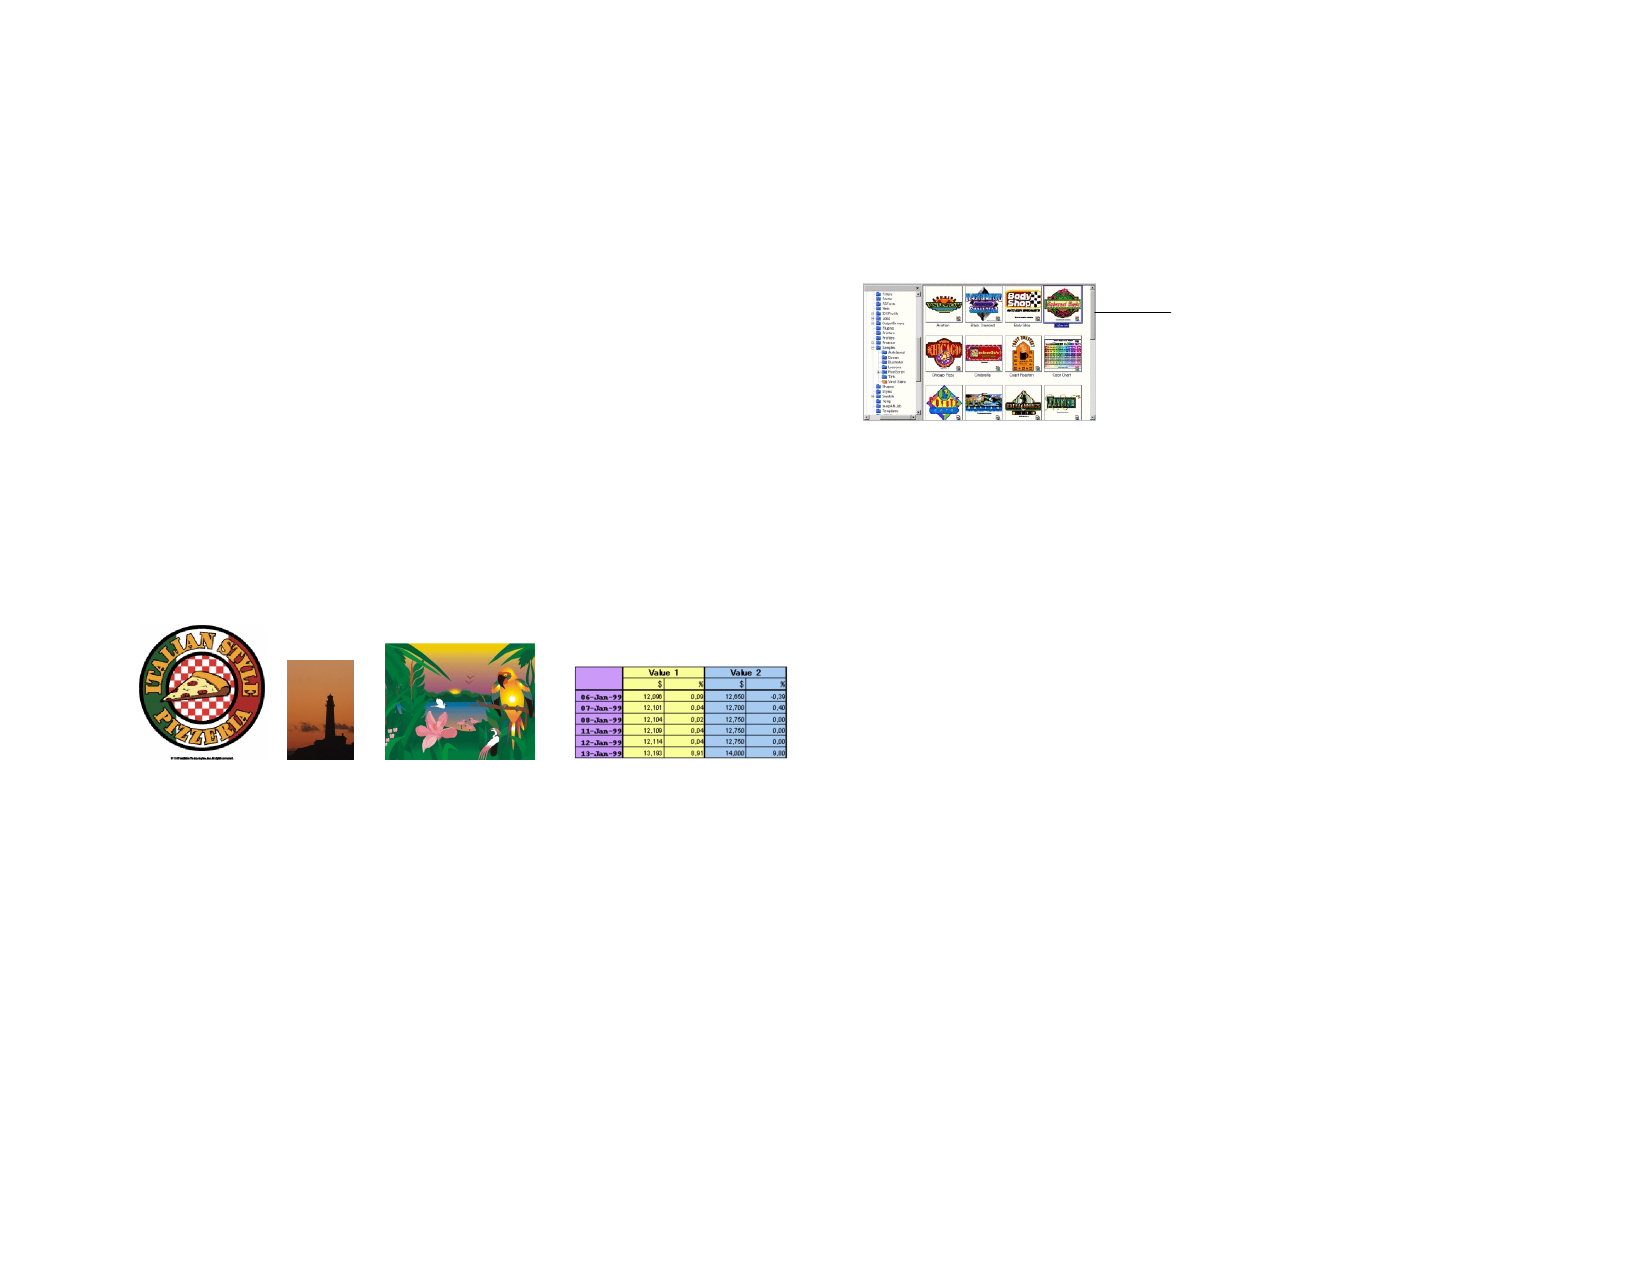
Your document can contain any combination of vector, bitmap, OLE or
PostScript objects.
Vectors
Bitmaps
PostScript
OLE
Vectors are a collection of straight or curved segments. These
objects can be scaled to any size without losing detail or clarity.
Shapes like rectangles, circles and text are vector objects.
Also called raster images, bitmaps are formed by a grid of small
dots, known as pixels to represent images. Each pixel is
assigned a specific location and color value. A low resolution
bitmap image can appear jagged when printed.
Images described using a page-description language known as
PostScript. These objects can contain a combination of vector
and bitmap images. When imported into your document,
PostScript objects can be parsed or previewed.
OLE is the abbreviation of Object Linking and Embedding
and it is available only for Windows. OLE is a compound
document standard developed by Microsoft and it enables you
to create objects with one application and then link or embed
them in your document.
Vector objects
Bitmap
object
Parsed PostScript
object
OLE object
Creating New Documents
To create a new document, from the File menu, select New.
Opening Files
1 From the File menu, select Open.
2 Select the file format, folder and the file that will be opened. See
“Appendix B - Supported File Formats” for all supported file
formats.
3 Click Open.
If the file contains fonts that are not installed in your system, a dialog
box will appear, allowing you to select a replacement font.
© 2006 SA International
Or
• Double-click the file icon in Windows Explorer.
• Drag the file icon to your software icon on the desktop will start
the application and open the file.
Double-click to open the file
Importing Files
1 From the File menu, select Import.
2 Select the file format, folder and the file that will be imported.
See “Appendix B - Supported File Formats” for all supported
file formats.
3 Click Import.
If the Auto-place on paste and import option in Paste preferences is
enabled, the file will be imported immediately after clicking the Import
button.
4 Click the design area and place the imported objects.
If the file contains fonts that are not installed in your system, a dialog box
will appear, allowing you to select a replacement font.
Layering is ignored during import, so that multiple imports do not create
many unnecessary layers. To preserve layer information, use Open from
the File menu instead.
Saving Documents
1 From the File menu, select Save or Save as.
2 If you have selected Save As or you are saving the document for
the first time, a dialog box is displayed. Enter the name and the
location that will be used to save the document.
3 Click Save.
Exporting to Files
1 Select the objects that will be exported.
17


