
One set for all
copies
Advance after
plot
Cut page
crossings
Optimize
cutting order
Auto-weld
Weed border
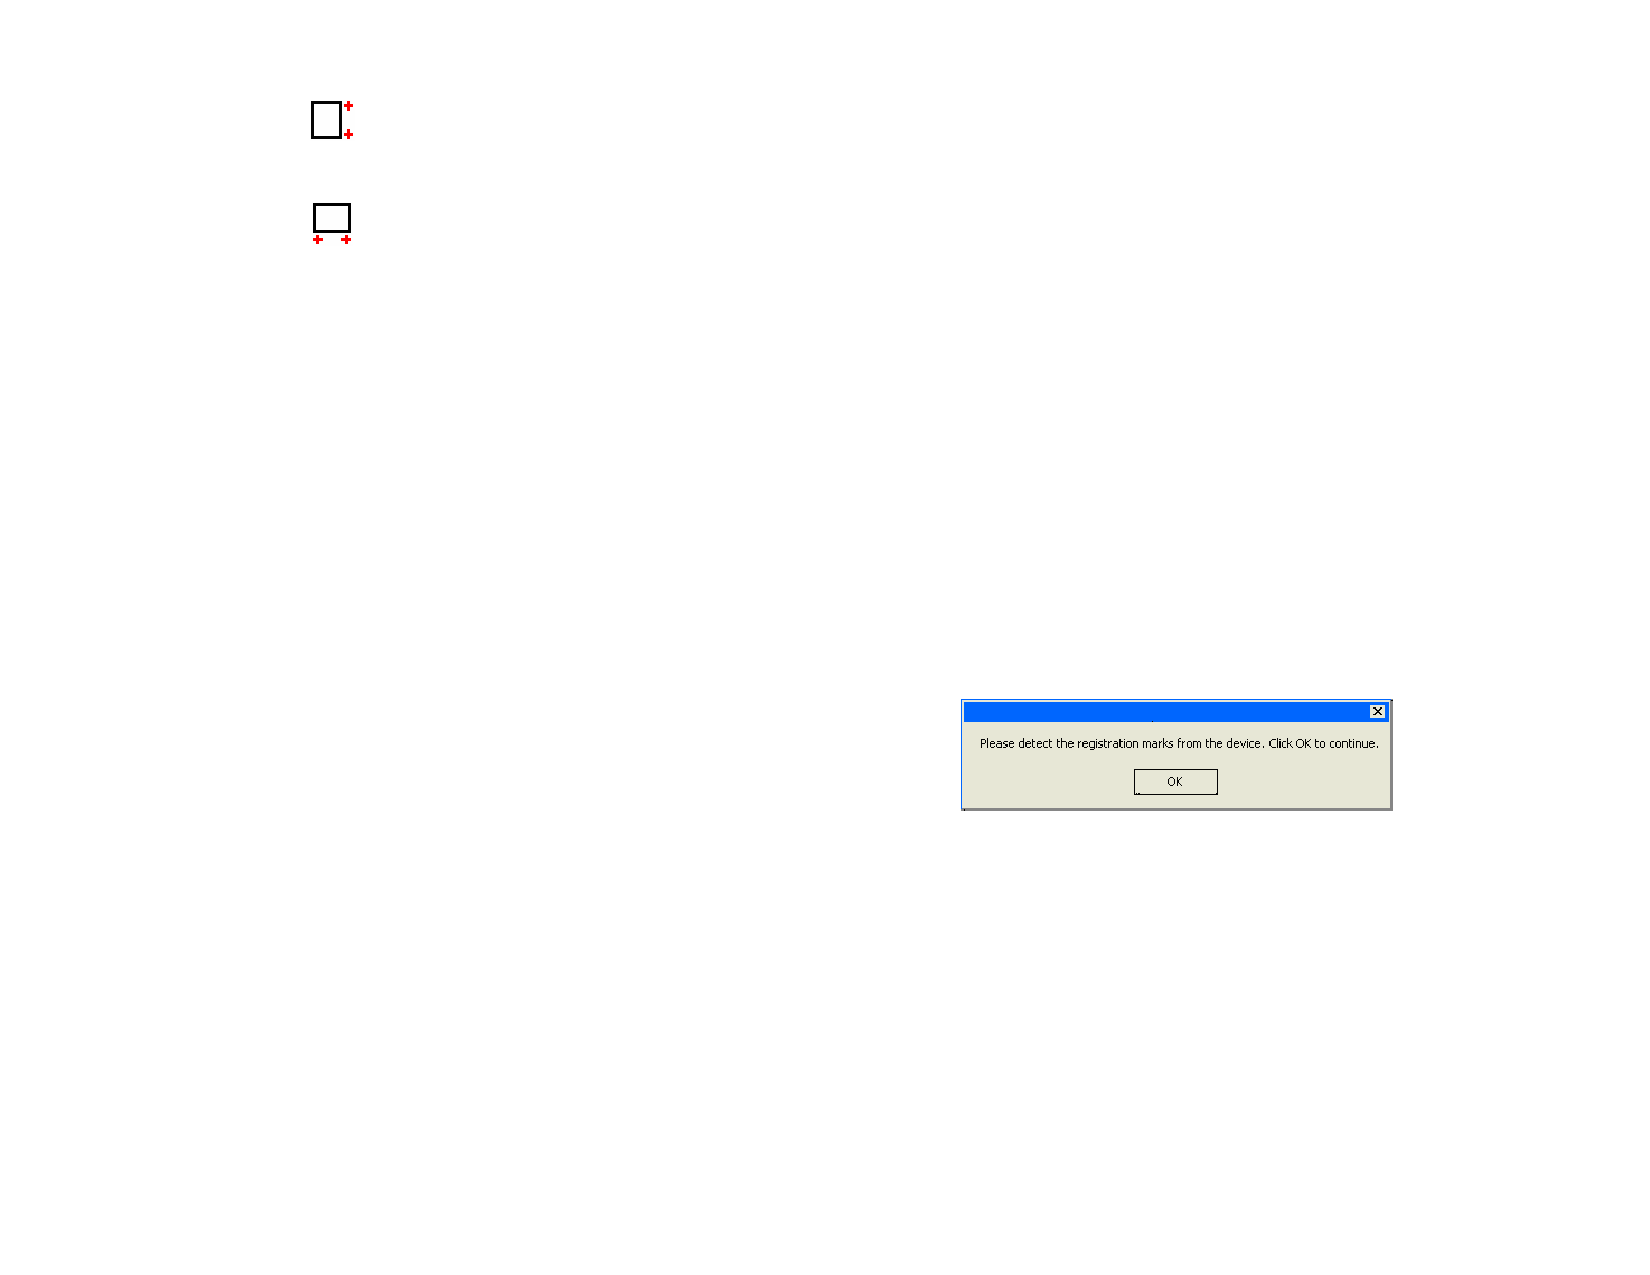
Vertical
Places registration marks on the
right side of the image. The arrow
in the registration mark indicates
the media feed direction for cutting.
Horizontal
Places registration marks on the
bottom of the image. The arrow in
the registration mark indicates the
media feed direction for cutting.
If checked, only one set of registration marks will be printed
for the entire job.
Check to lift the knife and advance the media after output,
then reset the origin.
Cuts the borderline of a page when the output is tiled into
several pages.
When this option is not selected, the objects are cut or plot in
the order they were created. When selected, the software
processes the objects within the specified section of length
before moving to the next section.
Removes intersections of overlapping objects of the same
color.
Cuts a border around all objects in the selected color.
Send
Specify how the job will be sent to the output device:
As hybrid
job
Sends both printing and cutting data as a single
job. This option is available for hybrid
printer/cutter devices.
As
separate
jobs
Sends printing and cutting data as separate jobs.
This option is available if you use different
devices for cutting and printing. This is also
known as virtual hybrid output.
Print job
only
Sends only the printing job.
Contour
job only
Sends only the cutting job
Cutter Driver
Options
Click to edit the cutter driver options. See “Setting Cutter
Driver Options” page 144 for more information.
3 Click Done.
© 2006 SA International
Cutting the Contour on a Hybrid Device
If you are using a hybrid device, the contour will be cut automatically after
printing.
Cutting the Contour as a Separate Job
If you send the print and cut data as separate jobs, the software will output
the print job first. The cut job will be put in the queue of the selected
cutting device, and its status will be set to Holding. You can then load the
output media from the printer into the cutting device and send the cut job
to the device.
In order for the contour to line up properly on the print job, you must align
the cut job to the printed output using either automatic alignment or
manual alignment.
Cutting the Contour on a Cutter with Automatic
Alignment
1 RIP and print the job.
2 Remove the output media from the printer and load it into the
cutter.
3 Output the cut job in the Hold Queue as you would a normal
print job.
4 Align the cutting head over the first automatic registration mark
(lower right if not marked) using the controls on the front panel
of the cutter.
5 Click OK to cut the contour.
Cutting the Contour on a Manually Aligned Cutter
1 RIP and print the job.
2 Remove the output media from the printer and load it into the
cutter. Make sure the output media is straight, and align the
registration marks to the origin for the cutter.
3 Output the cut job in the Hold Queue as you would a normal
print job.
156
 Flexi Help")
 Flexi Help")
 Flexi Help")
 Flexi Help")
 Flexi Help")
 Flexi Help")
 Flexi Help")
 Flexi Help")