
Delete
Reset
Reset All
Saturation Higher values increase the amount of color in
the image, but can reduce the contrast and
detail. Lower values reduce the amount of color.
Reset
Click to reset all sliders to their defaults.
Click OK to accept changes and return to the color adjustment
tab.
Click to delete the selected point from the linearization curve.
Click to restore the values and settings for the current channel
to its original states.
Click to restore the values and settings for all channels to their
original states.
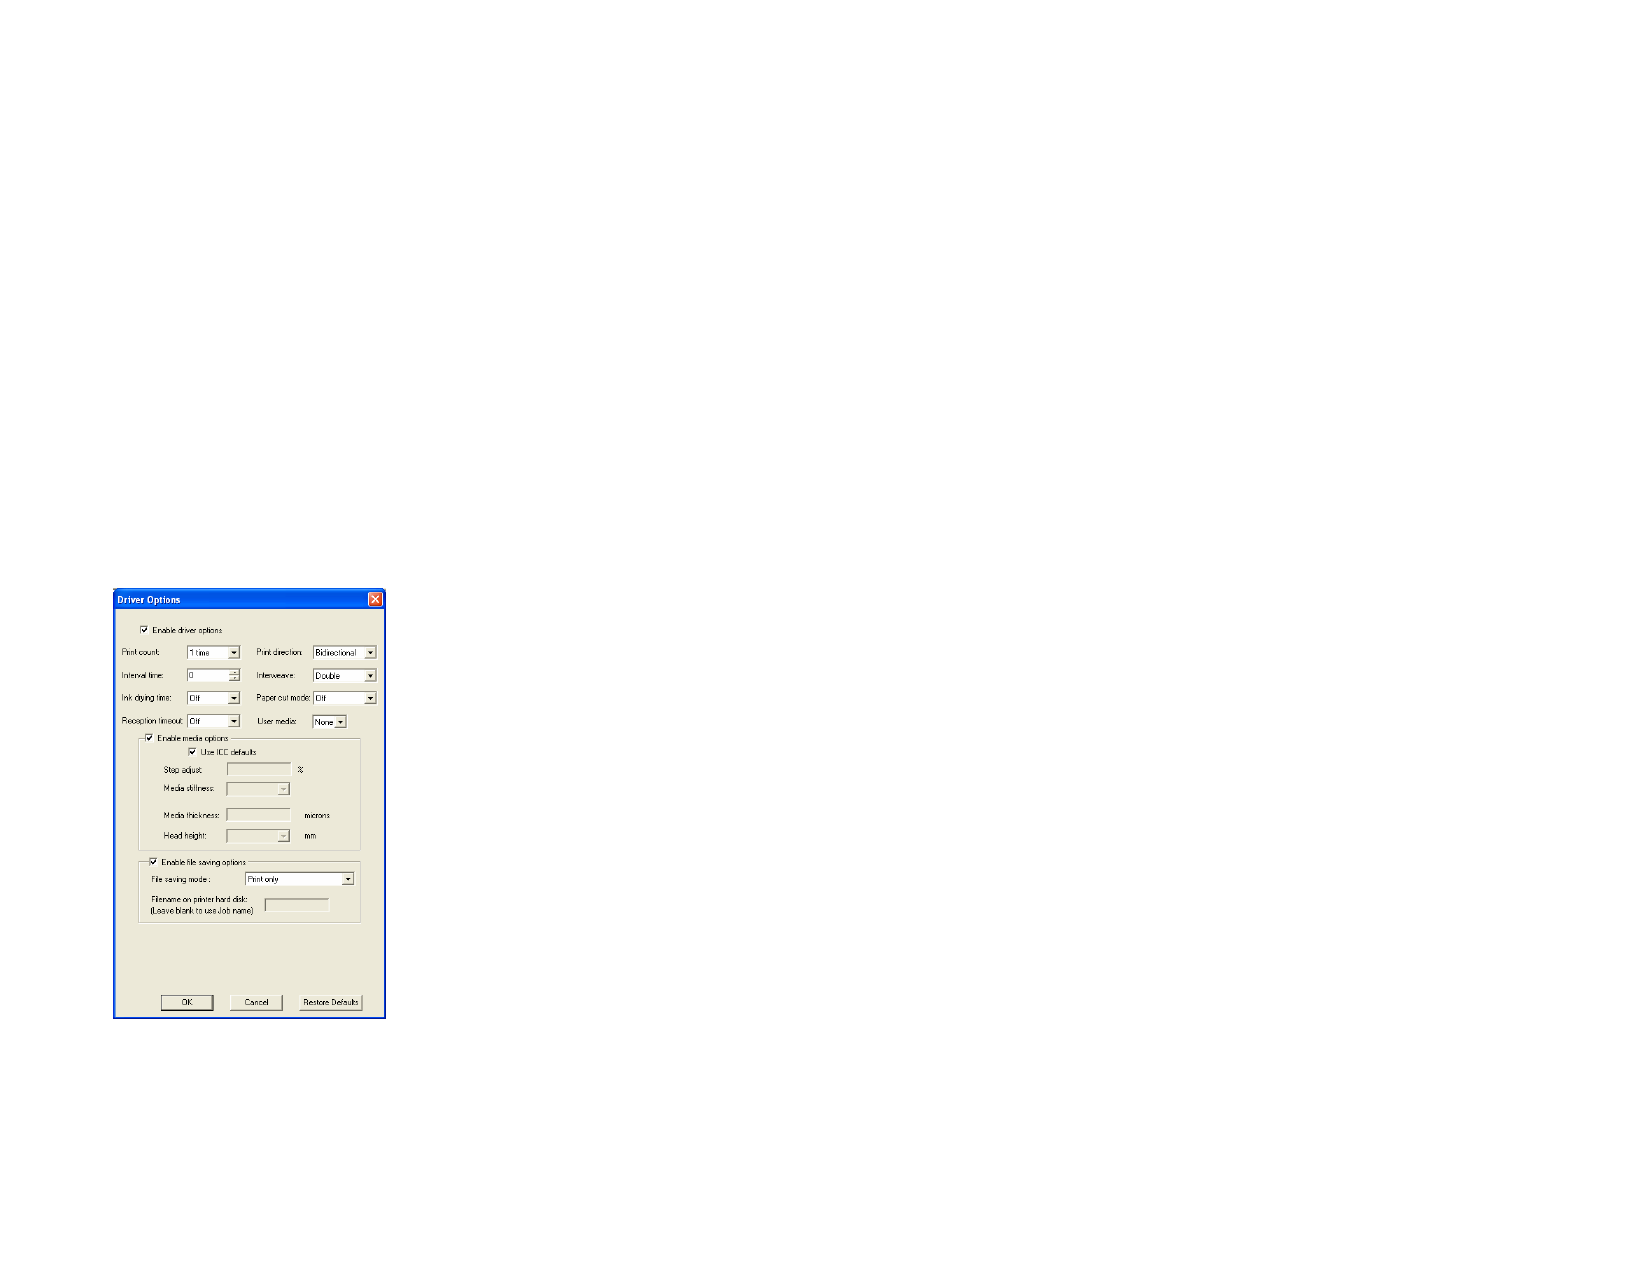
Setting Driver Options
The Driver Options dialog displays settings related to the selected output
device.
The options displayed may vary depending on your output device.
Enable driver
options
Allows you to use the available driver options for your output
device. When driver options are enabled, you can set special
options from within the driver options dialog. When driver
options are disabled, the printer’s own settings will be used.
Overprint
Page Spacing
Dry Time
Print Direction
Media feed
calibration
Cut sheet after
printing
Advance after
print
Restore
Defaults
Number of times you would like the printer to print over the
same area. This setting increases the number of ink layers
placed on the media.
The amount of space between each separate job.
This is the amount of time the printer waits after it has
completed printing, allowing the ink to dry.
Direction the print heads move when printing. In Bi-
directional mode the print cartridges print from left to right,
then from right to left. In unidirectional mode, the cartridges
print from right to left only. Bi-directional mode prints faster,
but unidirectional mode usually produces a better quality print.
If checked, the printer will use the value provided to
compensate for variations in feed rates during the output
process. This provides more accurate output.
Cuts the media after the print is complete. If a drying time has
been set, the media will be cut after the dry time is finished.
If checked, the media will feed past the heads and remain there
at the end of the job.
Click to return all settings on the tab to their default values.
Printing with Spot Colors
Some printers support spot color inks. Spot colors are used to reproduce
colors that are difficult to produce using standard inks. If your printer
supports spot colors, you can use the following steps to print them.
1 Use the spot color swatch tables for your printer to create your
design.
The software already comes with spot color libraries specific for
printers that support spot color printing. If a certain color is not listed
in the color library you should create the color and define it as a spot
color.
2 From the File menu, select RIP and Print.
3 Select the Advanced tab.
4 In the Miscellaneous settings group, check Print spot colors.
5 Click the Spot color mapping button.
© 2006 SA International
154
 Flexi Help")
 Flexi Help")
 Flexi Help")
 Flexi Help")
 Flexi Help")
 Flexi Help")
 Flexi Help")
 Flexi Help")