
Applying Transparent Effect
With this effect, the object where the effect was applied will have a
transparency that allows you to see the objects underneath.
1 Select the objects.
2 From the Effects menu, point to Lens and select Transparent.
3 In DesignCentral, adjust the following parameters:
Opacity
Degree of opacity applied to objects. This value can
range from 0 to 100 %.
Hide Stroke
Check this option to apply the transparency to the
object’s stroke.
Applying Invert Effect
The colors of all vector and bitmap objects under the object where the
effect is applied will be inverted.
1 Select the objects.
2 From the Effects menu, point to Lens and select Invert.
3 In DesignCentral, adjust the following parameters:
Hide Stroke
Check this option to apply the effect to the object’s
stroke
Applying Brighten Effect
The colors of all vector and bitmap objects under the object where the
effect is applied will be brightened.
1 Select the objects.
2 From the Effects menu, point to Lens and select Brighten.
3 In DesignCentral, adjust the following parameters:
Brightness
Degree of brightness applied to objects. This value can
range from 0 to 100 %.
Hide Stroke
Check this option to apply the effect to the object’s
stroke.
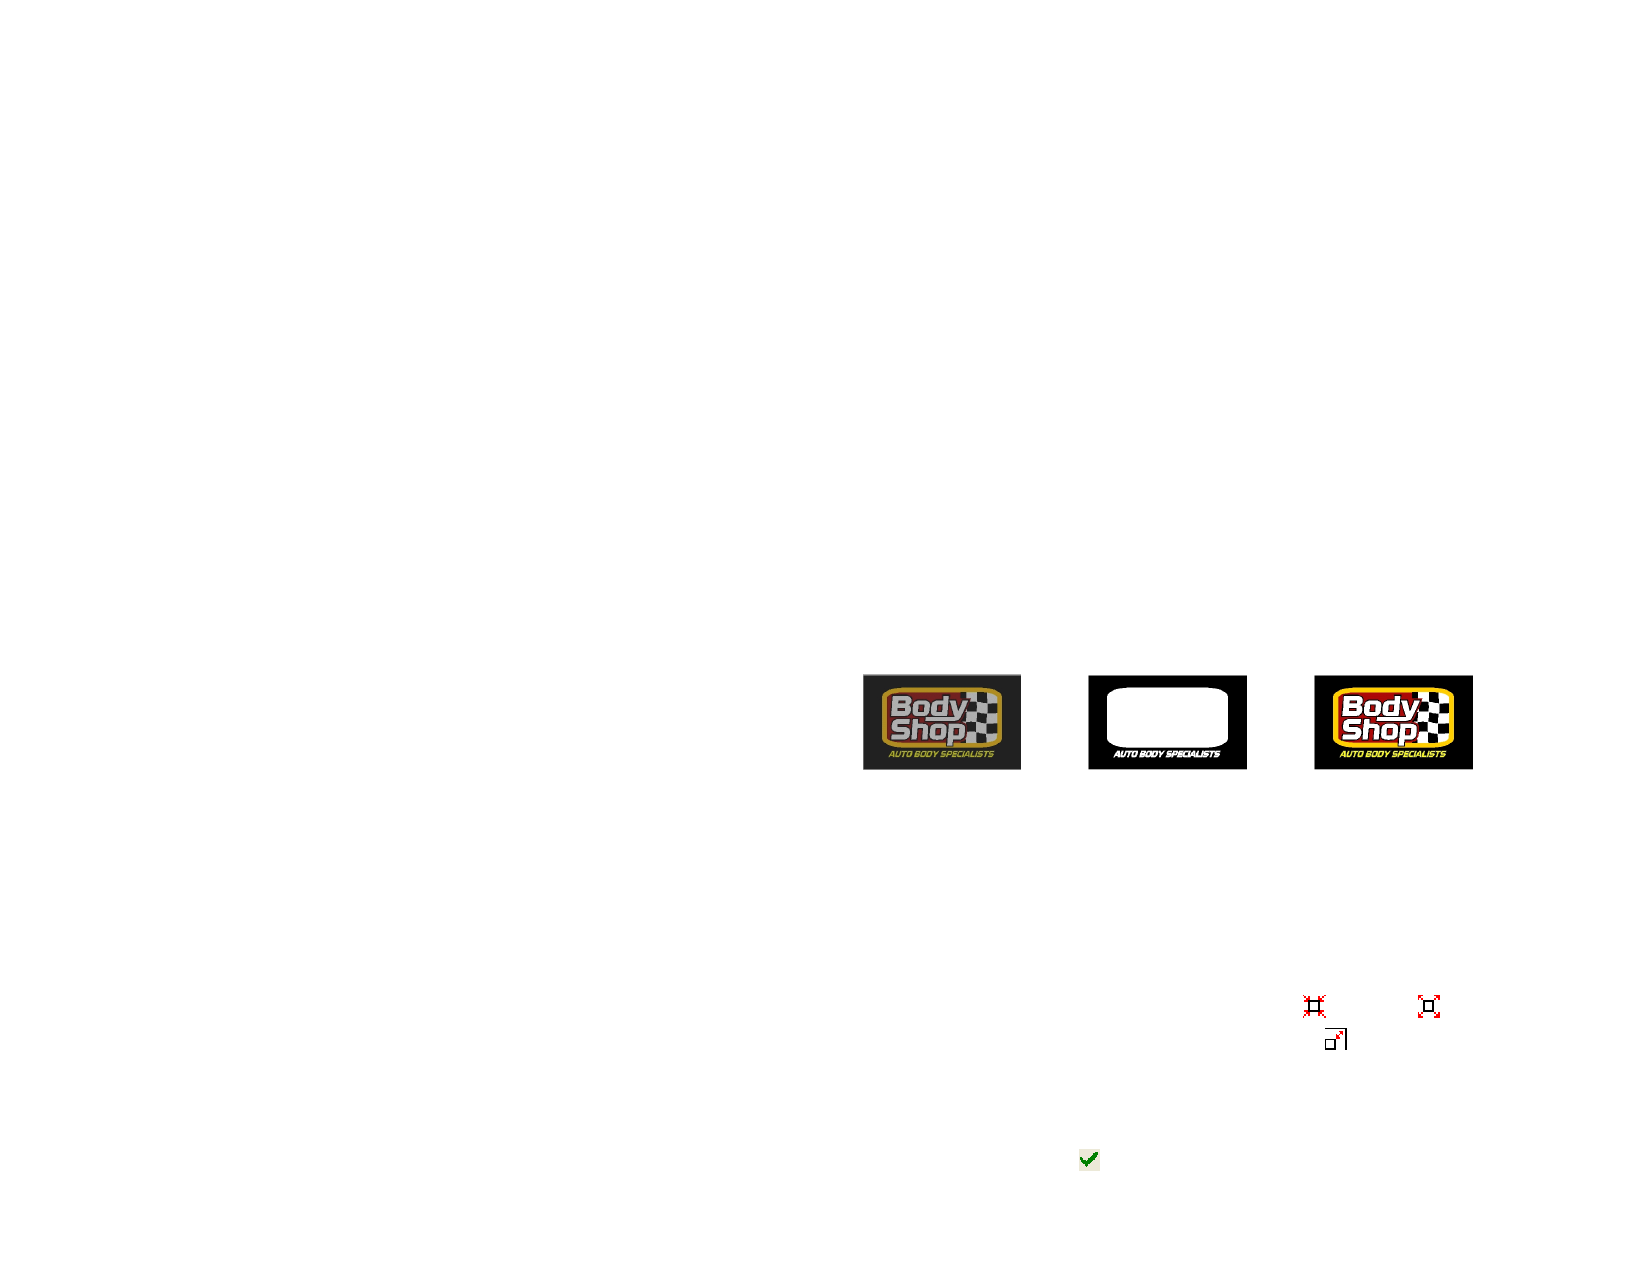
Applying Wireframe Effect
The vector objects underneath the object where the effect is applied are
displayed without any fills.
1 Select the objects.
© 2006 SA International
2 From the Effects menu, point to Lens and select Wireframe.
3 The following options can be adjusted in DesignCentral:
Hide Stroke
Check this option to apply the effect to the object’s
stroke.
Applying Magnify Effect
The objects under the object where the effect is applied are magnified.
1 Select the objects.
2 From the Effects menu, point to Lens and select Magnify.
3 The following options can be adjusted in DesignCentral:
Zoom Scale
Degree of magnification applied to objects. Values
above 100% will magnify the objects; values below
100% will reduce the objects.
Hide Stroke
Check this option to apply the effect to the object’s
stroke.
Using the Underbase Effect
The underbase feature is used to create a “primer” coat of base color that
the actual image will be printed on top of.
+=
An underbase can only be output on a thermal transfer device, or by using the
Print as Separations feature.
Creating a Solid Underbase
1 Select the objects.
2 From the Effects menu, select Underbase, then Solid
Underbase.
3 In DesignCentral, select either Choke or Bleed .
4 Set the size of the Choke or Bleed in the field.
5 Check With Holes to make holes in the underbase underneath
holes in the selected objects above.
6 Select the color of the underbase from the list.
7 Click Apply.
115
 Flexi Help")
 Flexi Help")
 Flexi Help")
 Flexi Help")
 Flexi Help")
 Flexi Help")
 Flexi Help")
 Flexi Help")