
Changing the Brush
In the Brush tab, you can select the shape and the size of the brush.
Some brushes display a small number in the lower left corner. This number
is the size of the brush in pixels.
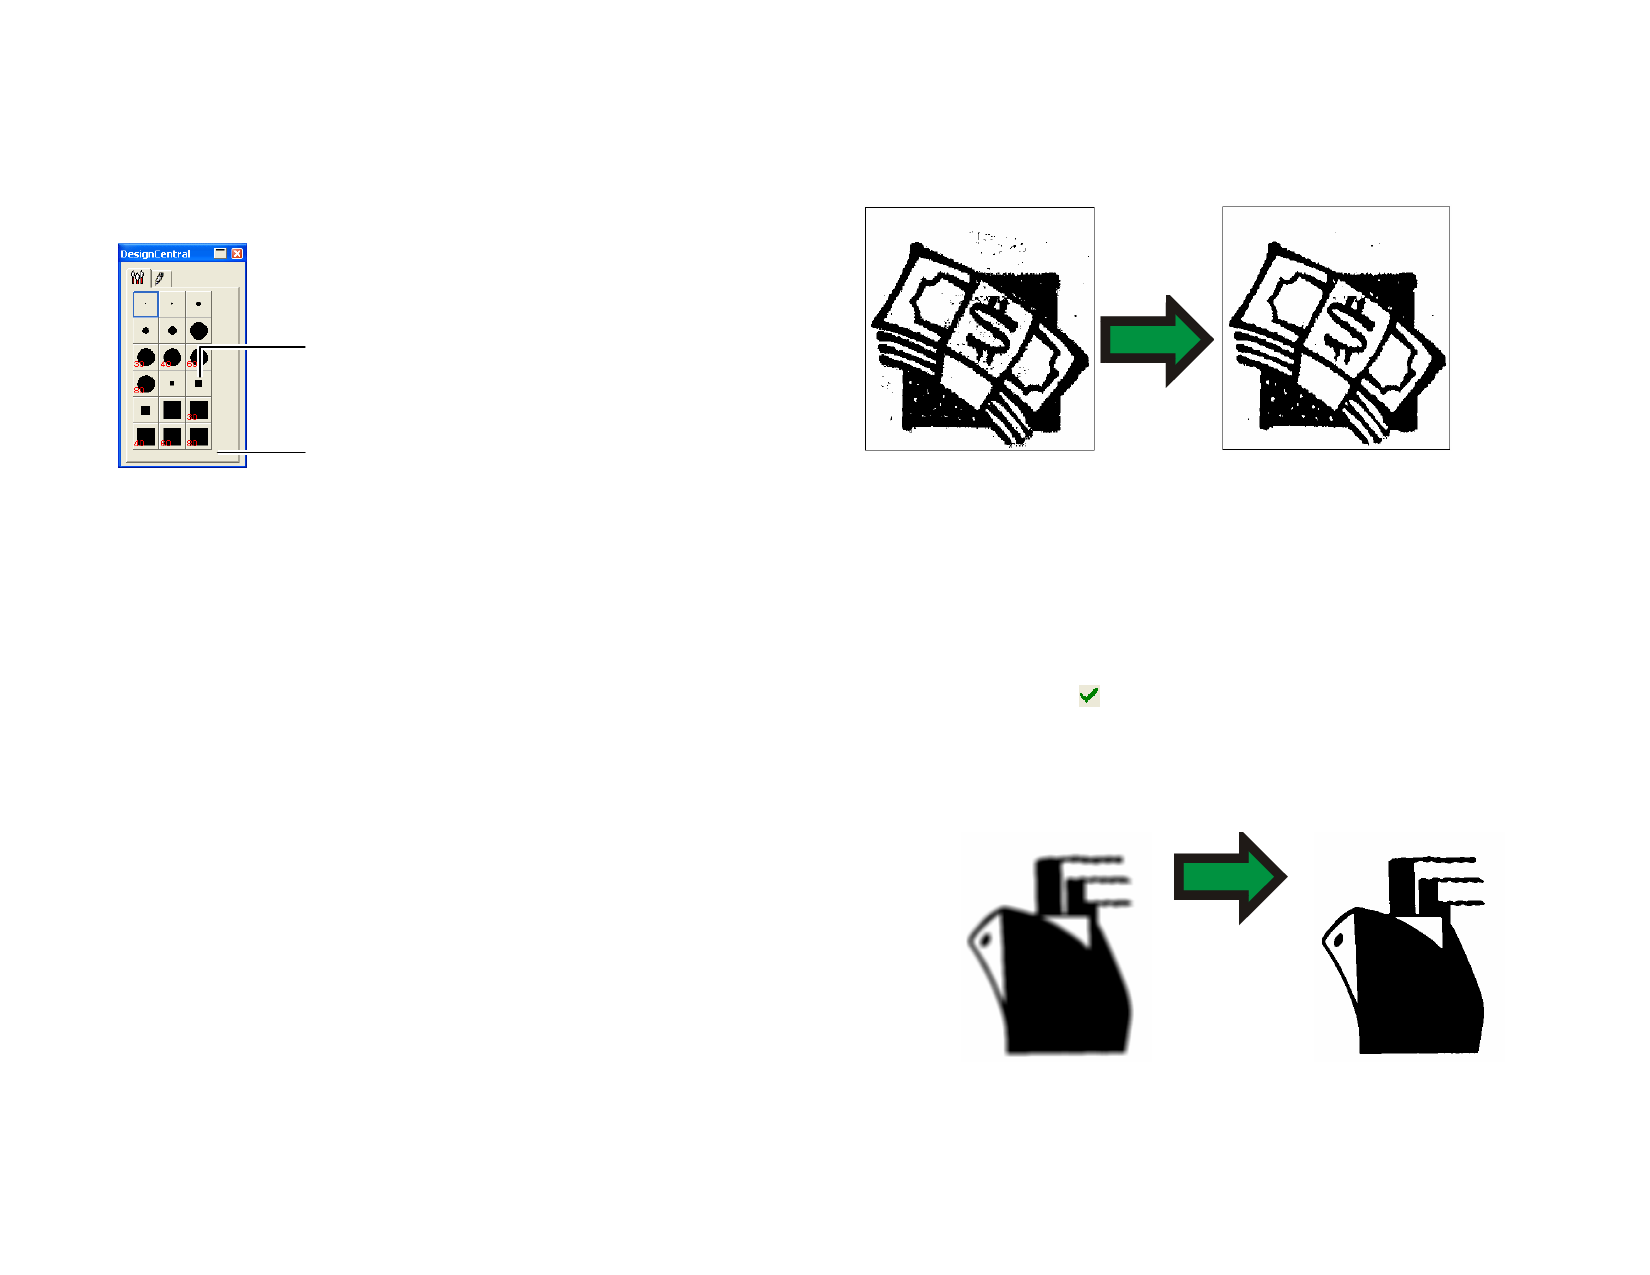
Reduce Noise Filter
Use this filter to clean up scanned images with small imperfections, known
as noise.
Double-click to change the shape of an
existing brush
Click here to create a
new brush
Brush tab
You can add a new brush or change the shape and size of an existing brush.
Click the blank area in the Brush tab to create a new brush or double-click
an existing brush button to change its properties.
You can enter or change the following brush properties.
Size
Hardness
Rotate
Style
Width and Height of the brush.
Adjusts how the brush will dissolve with the original image.
Angle of rotation.
The brush can have either a rectangular or ellipse shape.
Using Filters
Your software allows you to filter bitmaps. The following filters are
available:
• Reduce
Noise
• Sharpen
• Color Balance
• Blur
• Level
•
Not all filters are available for all color modes.
Brightness/
Contrast
While applying a filter, an on-screen preview will be displayed. You can
resize or move the preview area. Also, the area where the filter will be
applied can be limited using a marquee.
1 Select the bitmap.
2 From the Bitmap menu, point to Filters and select Reduce
Noise.
3 In DesignCentral, adjust the following parameters.
Radius
The size of the noise that will be cleared.
Preview
When this option is checked, you will see a preview
while adjusting the Radius parameter.
4 Click Apply.
Blur Filter
This filter creates a softening effect by averaging the pixels next to the
edges.
1 Select the bitmap.
2 From the Bitmap menu, point to Filters and select Blur.
3 In DesignCentral, adjust the following parameters.
© 2006 SA International
101
 Flexi Help")
 Flexi Help")
 Flexi Help")
 Flexi Help")
 Flexi Help")
 Flexi Help")
 Flexi Help")
 Flexi Help")