
1 Select the bitmap.
2 Select the Paintbrush tool.
3 Select the foreground color you want to paint in.
4 Click and drag.
Using the Pencil Tool
The Pencil tool will create freehand lines on a bitmap using the foreground
color.
In DesignCentral, adjust the following parameters:
In the Brush tab, you can select the shape and the size of the pencil point.
See “Changing the Brush” on page 101 for more information.
In the Pencil tab, the Opacity determines the percentage of each stroke
that will be added to the bitmap image. Lower numbers will create
transparent strokes.
100%
75%
50%
25%
Pencil tab
1 Select the bitmap.
2 Select the Pencil tool.
3 Select the foreground color you want to draw in.
4 Click and drag inside the marquee.
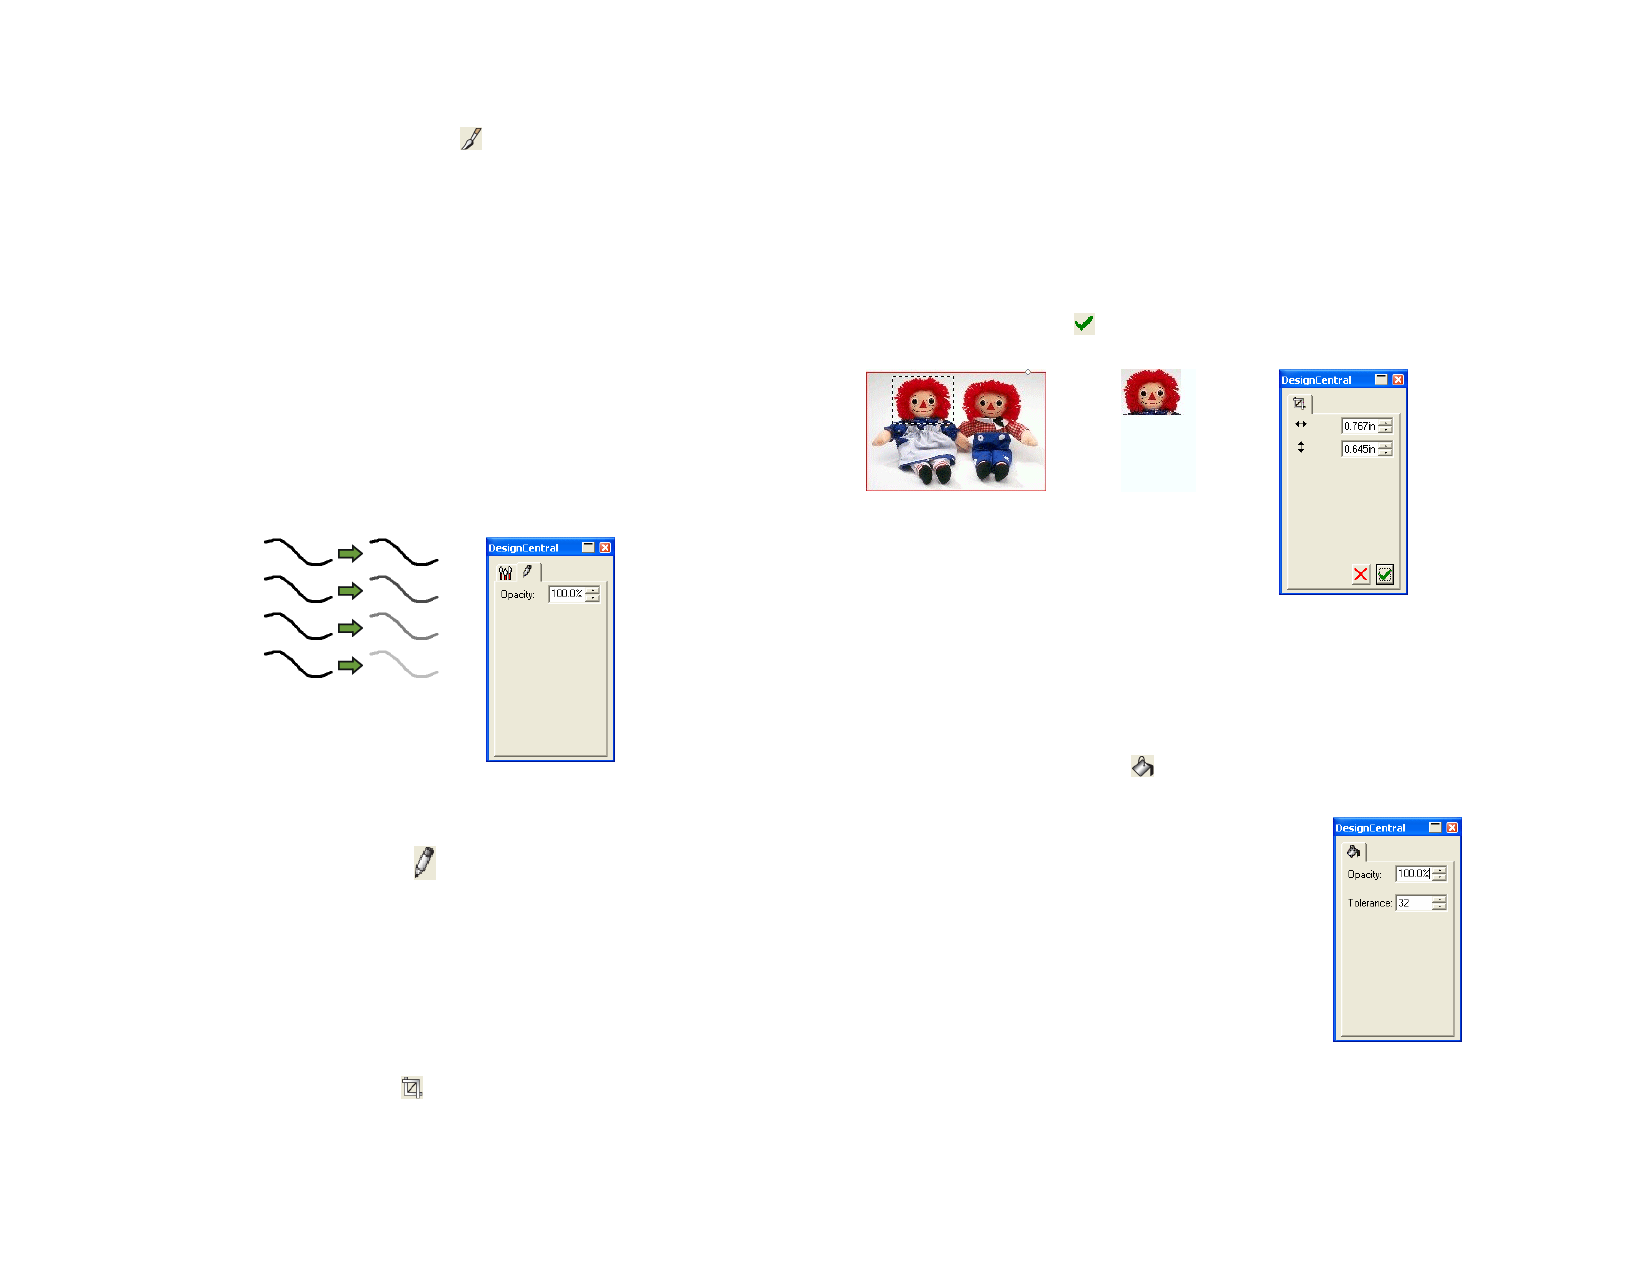
Using the Crop Tool
The Crop tool allows you to select part of a bitmap and delete the rest of it.
1 Select the bitmap.
2 Select the Crop tool.
3 Click and drag the cursor over the bitmap to create a rectangular
marquee. (Hold Shift and drag to create a square marquee).
© 2006 SA International
The marquee selection for the Crop tool must be a simple rectangle or
square. You cannot use the Ctrl or Shift to create a more complex
marquee with the Crop tool.
4 Adjust the width and height values of the marquee in
DesignCentral. You can also adjust the cropping size by dragging
the marquee’s borders and corners.
5 Click and drag a point inside the marquee to move it to a new
position.
6 Click Apply or double-click inside the marquee to crop the
bitmap to the selected size.
Original image with a cropping Cropped Image
marquee
DesignCentral for
Crop
Using the Fill Tool
The Fill tool fills areas of a bitmap with the foreground color.
1 Select the Fill tool.
2 In DesignCentral, adjust the following parameters:
Opacity
The percent to which the
fill will overwrite the
bitmap. At 100%, the fill
will be completely
opaque. At lower
numbers, the fill area will
get less color, but will
retain more detail.
Fill tab
99
 Flexi Help")
 Flexi Help")
 Flexi Help")
 Flexi Help")
 Flexi Help")
 Flexi Help")
 Flexi Help")
 Flexi Help")