
2 From the Bitmap menu, select Convert Marquee to Shape.
Shape to Marquee
Marquee to Shape
Editing Bitmaps
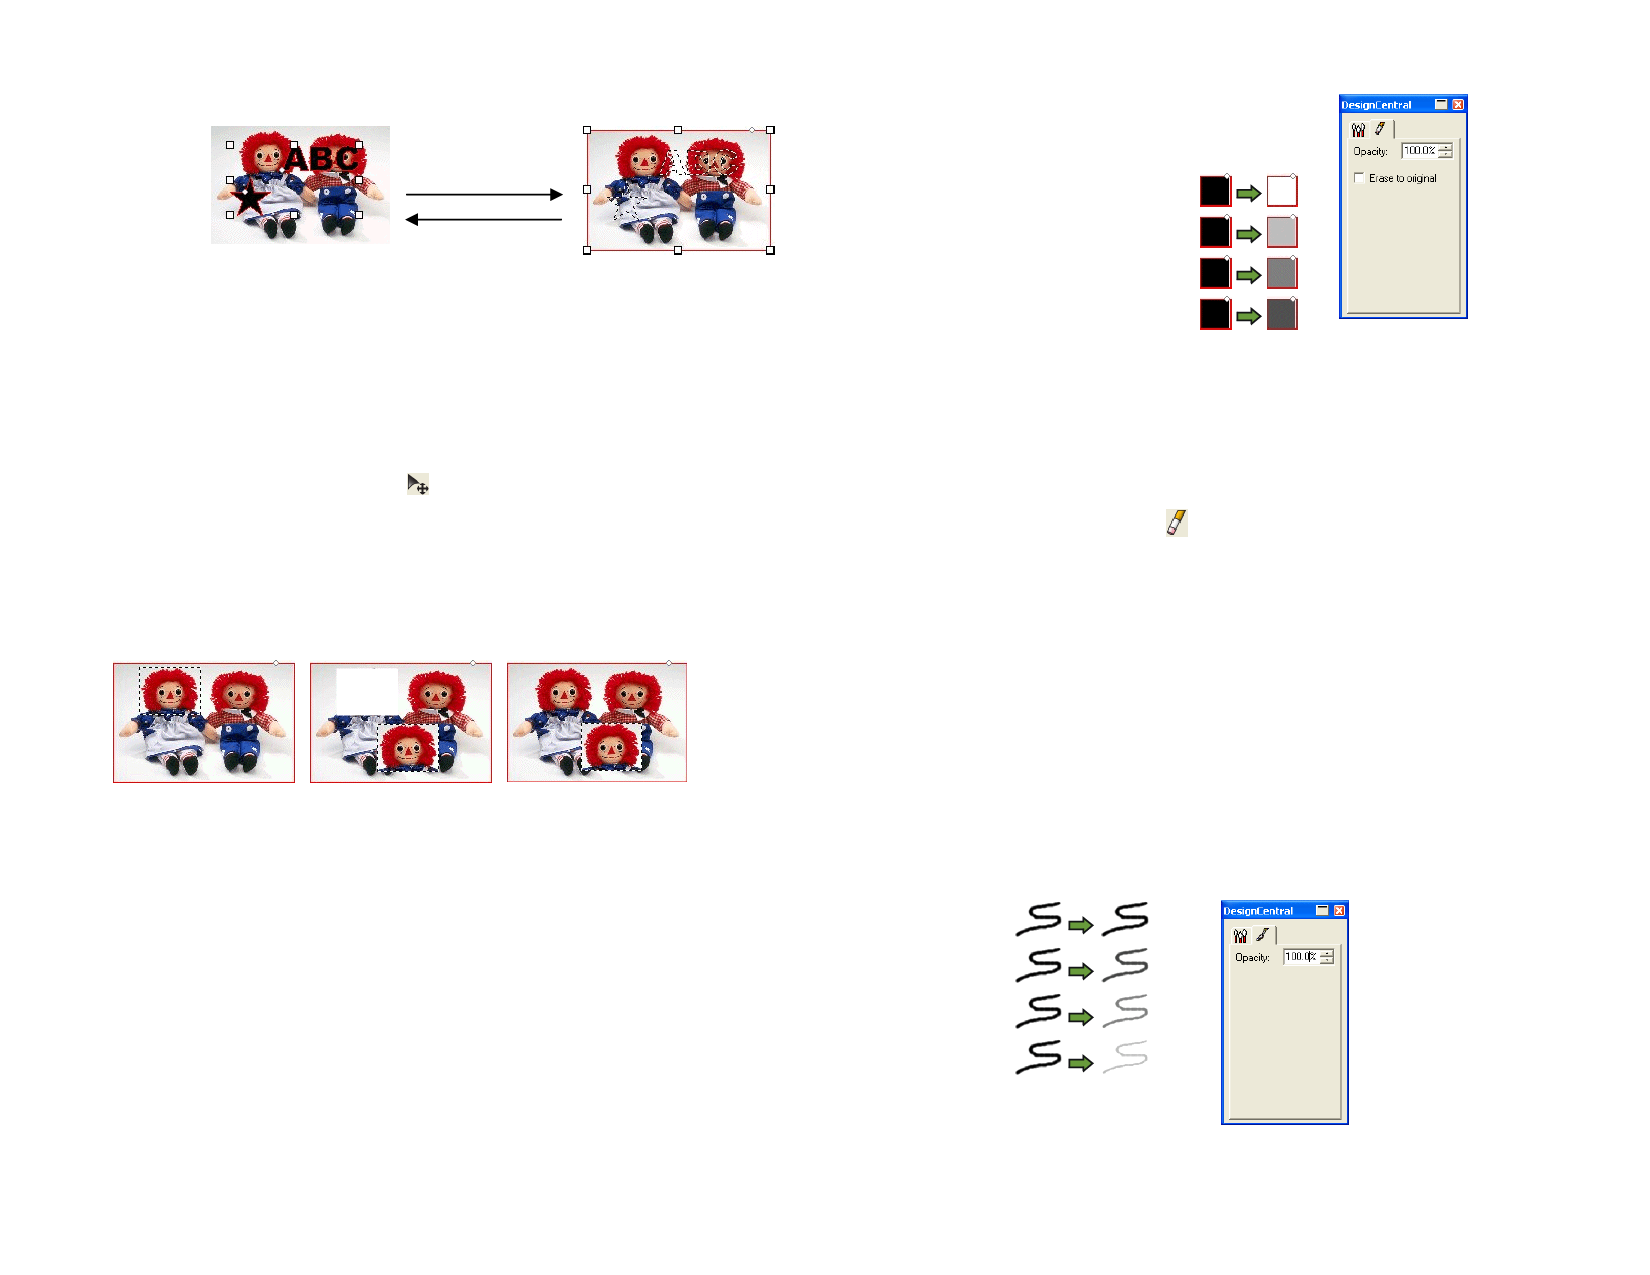
Using the Move Tool
The Move tool copies selected portions of bitmaps, marked by marquees.
1 Select the bitmap and create a marquee.
2 Select the Move tool.
3 Click and drag inside the marquee and drag to a new position.
See “Setting the Background / Foreground Color” on page 53 for more
information.
Hold Ctrl and drag the marquee to move a copy of the image enclosed by the
marquee, while leaving the original in its place.
Original bitmap with a
marquee
After dragging the
After dragging the
marquee with Move tool marquee with Move tool
and Ctrl
Using the Eraser Tool
The Eraser tool is used to remove unwanted parts of a bitmap, to restore an
edited bitmap to its original image or fill an area with the background color.
The Eraser tool has the following options in DesignCentral:
In the Brush tab, you can select the shape and the size of the brush. See
“Changing the Brush” on page 101 for more information.
In the Eraser tab, you can adjust the following parameters:
© 2006 SA International
Opacity
Erase to
original
The percentage of the image that
will be removed by each pass of
the eraser.
100%
75%
50%
25%
Eraser tab
If checked, the eraser will remove only the changes to
the bitmap, returning it to its original state.
Erasing a Bitmap
1 Select the bitmap.
2 Select the Eraser tool.
3 Click and drag inside the marquee.
Use the Undo feature to remove bitmap editing errors.
Using the Paintbrush Tool
The Paintbrush tool paints brush strokes on a bitmap.
In DesignCentral, adjust the following parameters:
In the DesignCentral - Brush tab, you can select the shape and the size of
the brush. See “Changing the Brush” on page 101 for more information.
In the Paintbrush tab, the Opacity determines the percentage of each stroke
that will be added to the bitmap image. Lower numbers will create
transparent strokes.
100%
75%
50%
25%
Paintbrush tab
98
 Flexi Help")
 Flexi Help")
 Flexi Help")
 Flexi Help")
 Flexi Help")
 Flexi Help")
 Flexi Help")
 Flexi Help")