Page 8 of 14
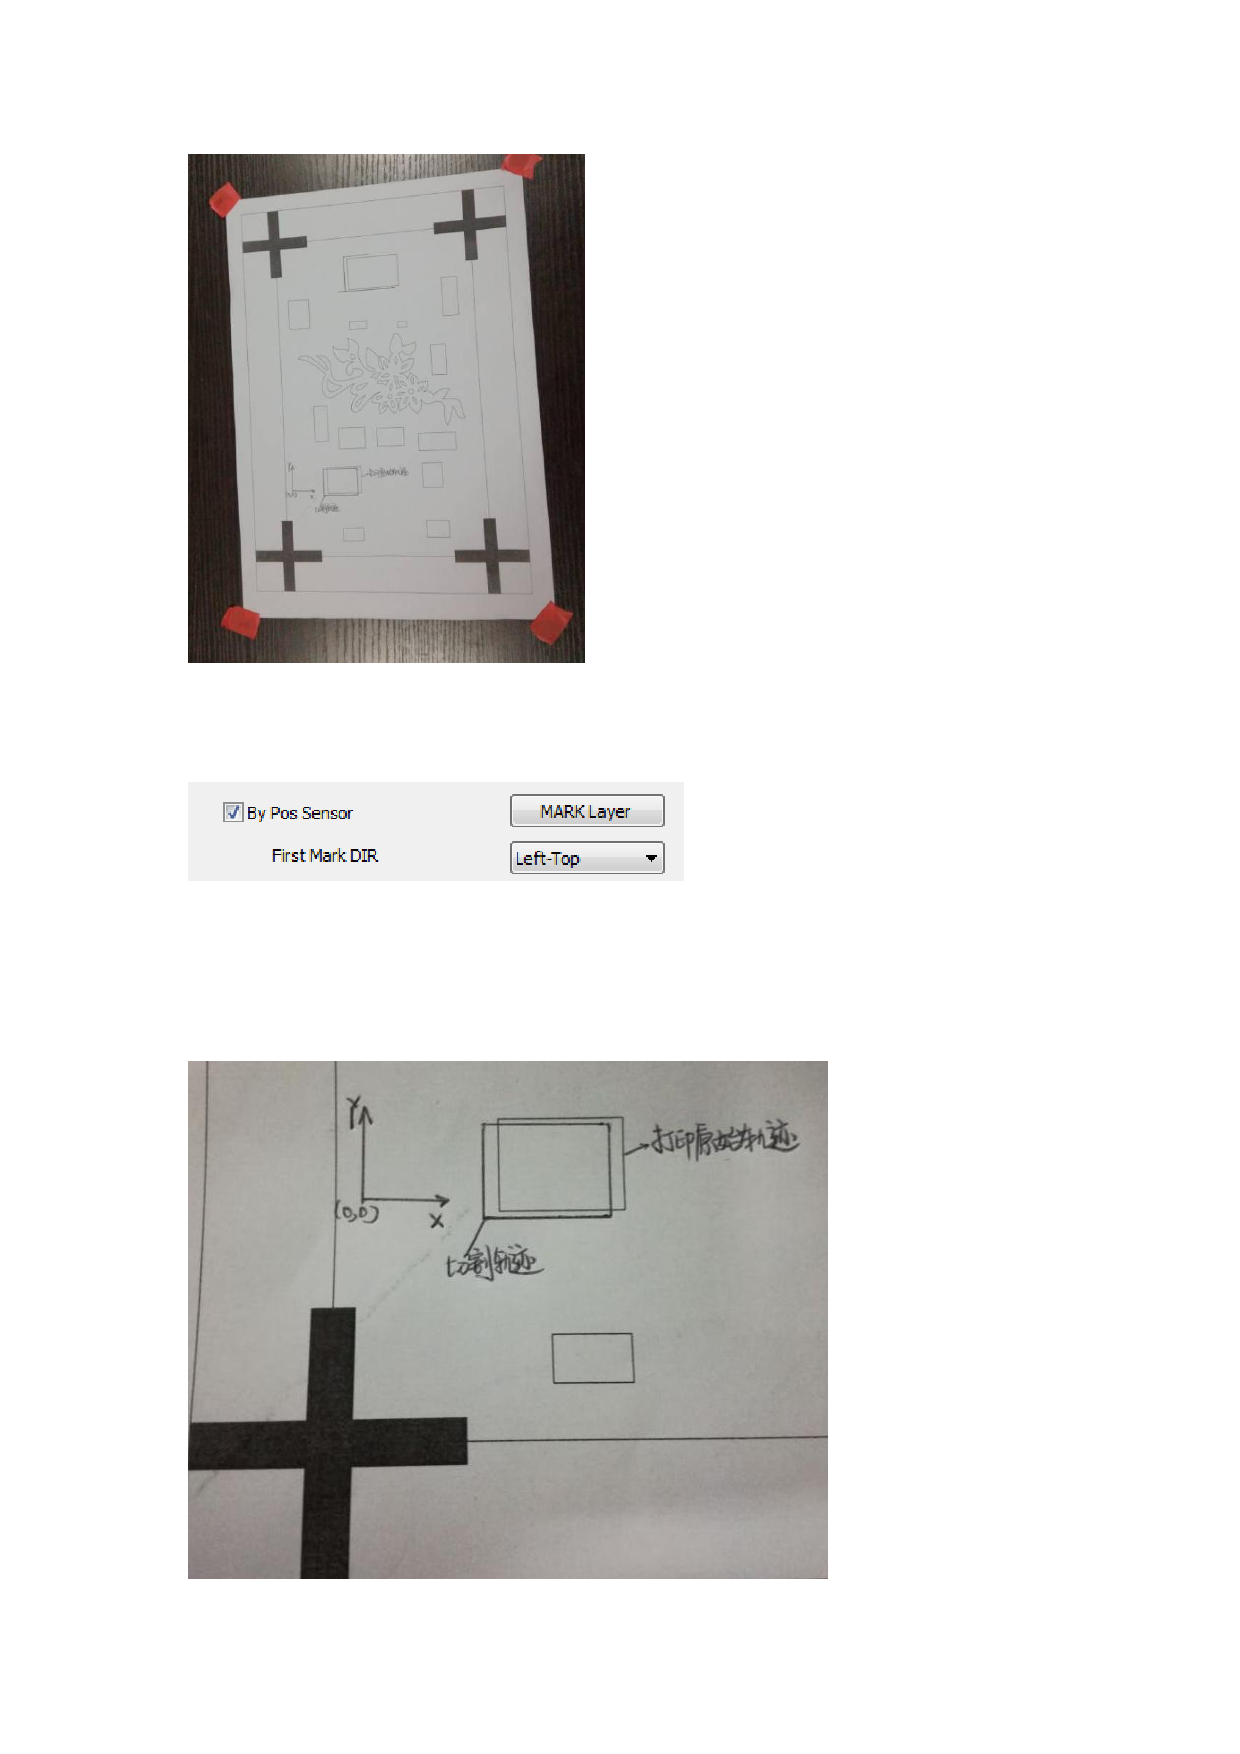
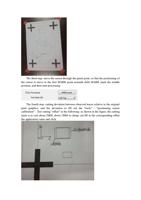
The third step: move the cursor through the panel point, so that the positioning of
the cursor to move to the first MARK point azimuth (left) MARK mark the middle
position, and then start processing.
The fourth step: cutting deviation between observed traces relative to the original
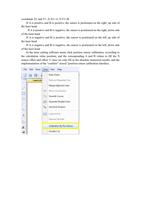
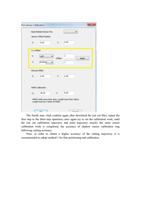
print graphics, and the deviation to fill out the "tools" - "positioning sensor
calibration" - Test cutting "offset" in the following: as shown in the figure, the cutting
track is to cost about 2MM, down 1MM in cheap; cut fill in the corresponding offset
the application value and click.

