Draw ROI
After ROI (Region of Interest) being configured, the system only acquires the image data within the ROI, which improves the acquisition efficiency.
Make sure you have exited the AOI drawing mode.
You can also go to and then configure Width, Height, Offset X, and Offset Y to set ROI. The value of Width plus the value of Offset X should not be larger than the Max. Width, and the value of Height plus the value of Offset Y should not be larger than the Max. Height.
-
Click
 or double-click the camera to connect it with the Software.
-
Click
 to display the ROI features.
-
Perform one of the following operations.
-
Manually adjust the OffsetX, OffsetY, width of ROI, and height of ROI.
-
Move the cursor to the edge of the blue rectangle, and then drag the two-way arrow to adjust the size of the ROI.
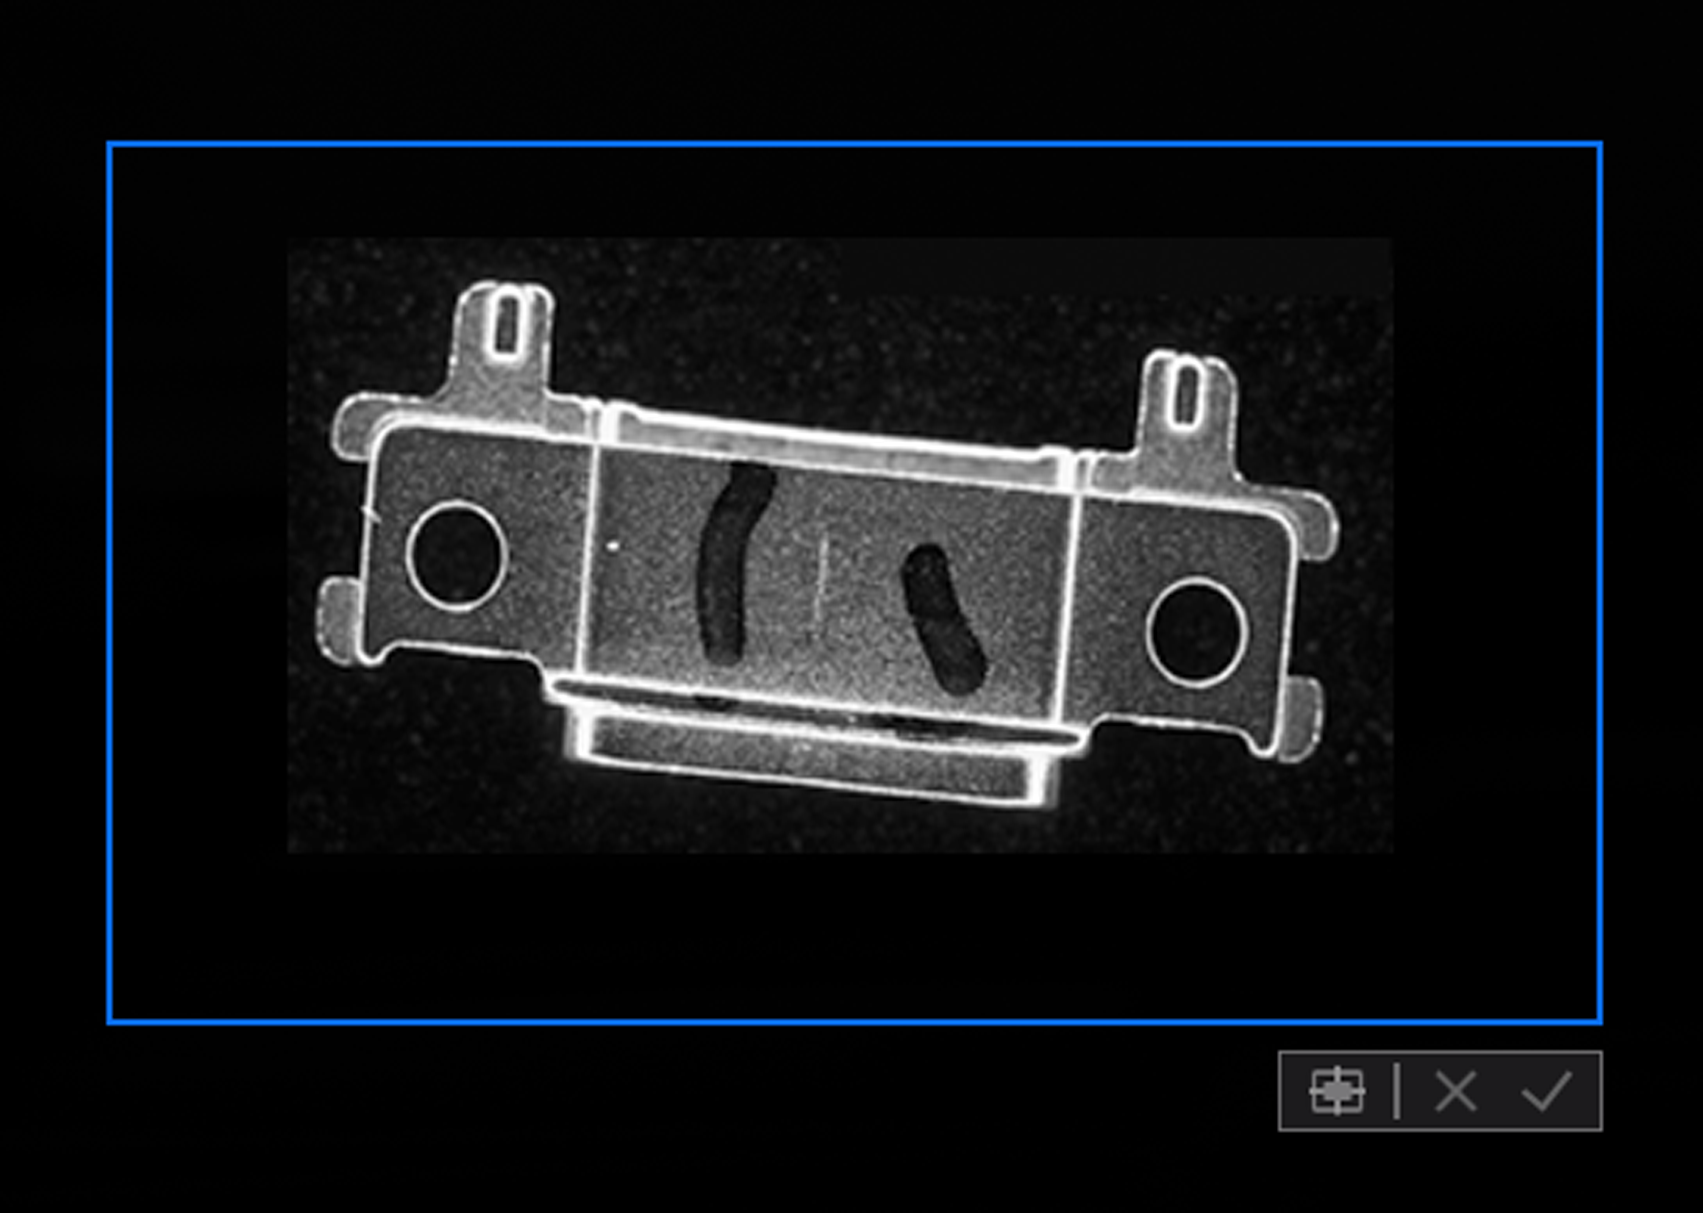 Figure 1 ROI
 -
- Optional:
Adjust the position of the ROI.
-
Click
 to move the ROI to the center of the
Live View window.
to move the ROI to the center of the
Live View window. -
Hover the cursor onto the ROI until the cursor turns into a hand icon and then drag the ROI to adjust its position.
-
-
Finnish drawing.
-
Right-click the image and then click Finish.
-
Click
 .
.
Note:The image resolution will be lower after setting ROI.
Only the selected ROI will be displayed.
-