
7. Send your print job.
a. After the printing, be sure to advance AT LEAST 6”
before cutting the sheet.
b. Allow the graphic time to dry and finish with laminate,
overcoat, etc.
b. Set Registration mark to Roland VersaCAMM.
If you are using PhotoPRINT, the software automatically adds the
appropriate registration marks to the job when you select the output
device in the Workflow tab of Job Properties.
c. Set Send to Print job only.
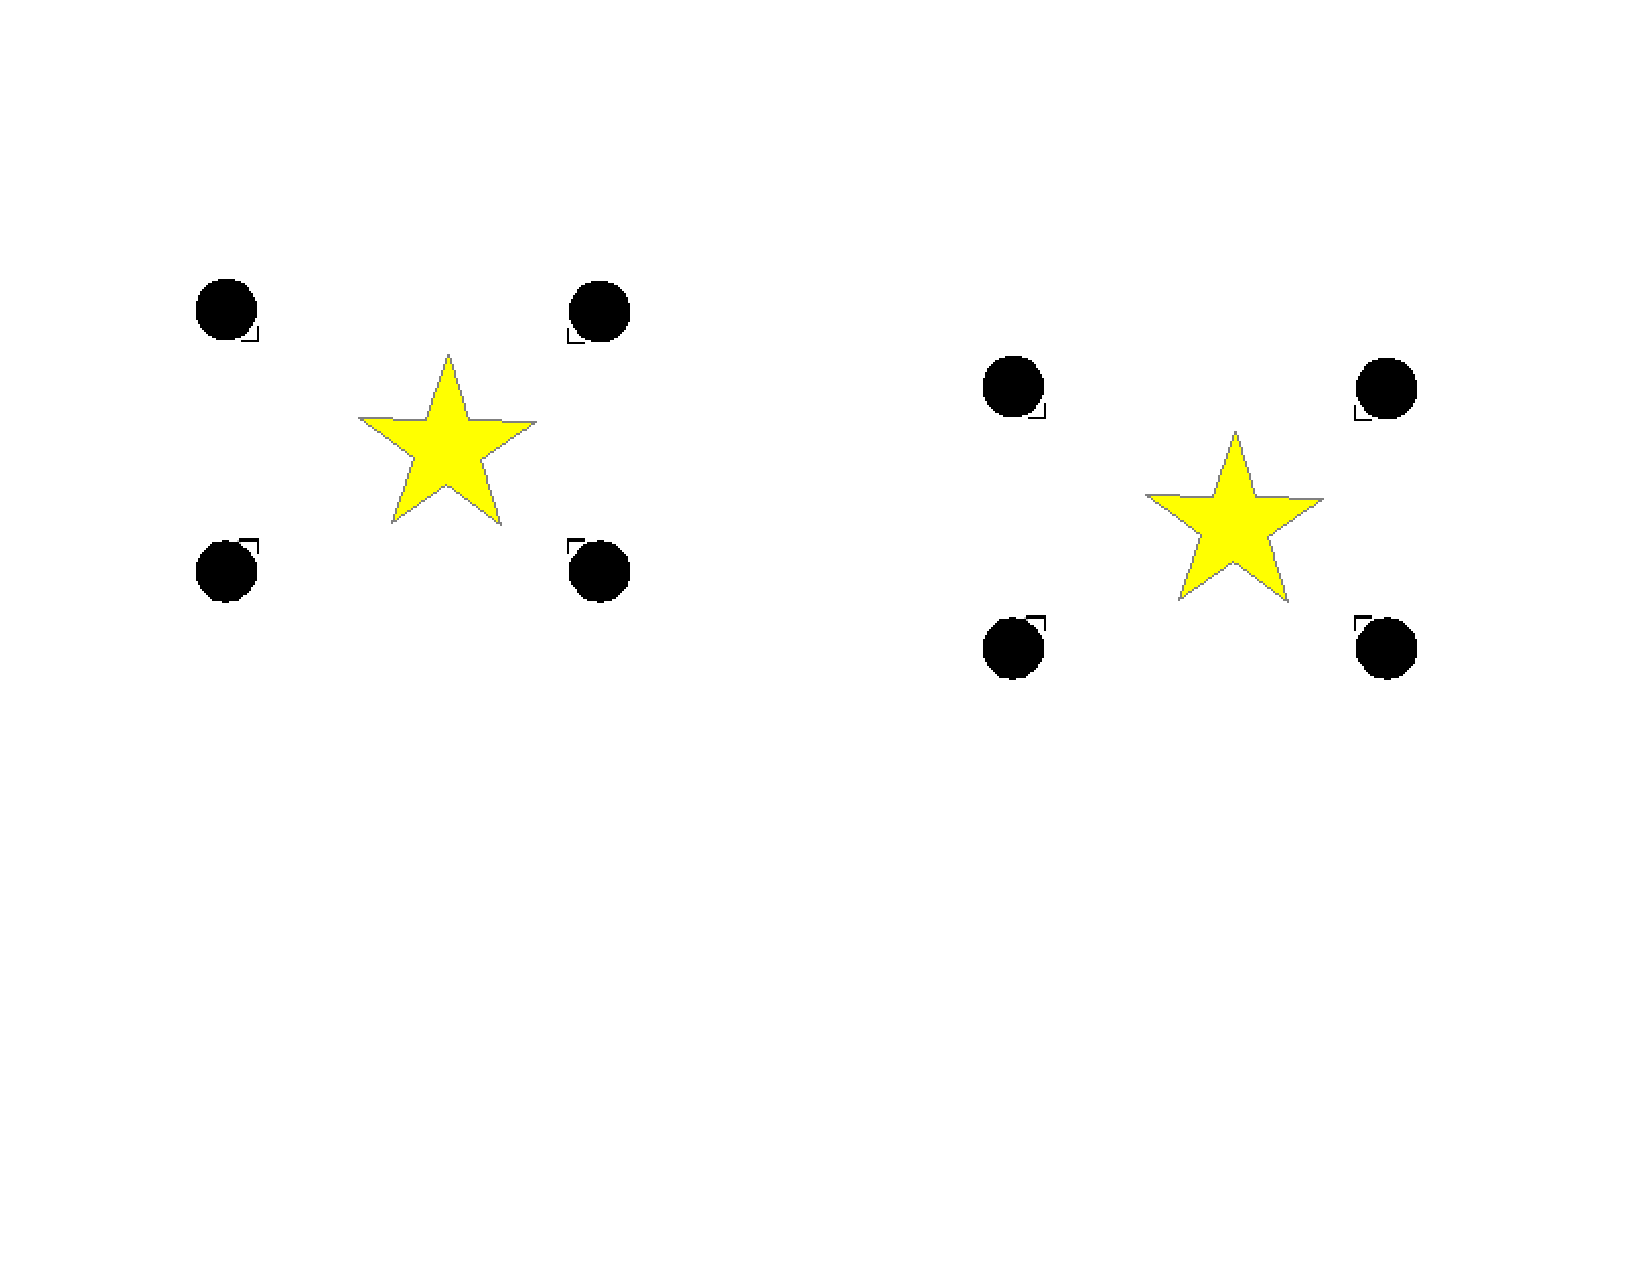
12. Print the job. The print out should look similar to the image
below, with black circles and crop marks added by the
printer.
8. Reload the output into the printer:
a. Replace the graphic into the printer, aligning the crop
marks with the cutter protection strip.
b. Place the pinch rollers outside of the graphic area.
c. Close the handle to lock the pinch rollers and ready the
machine.
9. Set Send Mode to Contour Only.
10. Click the Send button to send the contour cut to the
device. The device will then cut the contour, automatically
compensating for any media skew
Using a VersaCAMM as a Virtual Hybrid
To print a job on another device and use a VersaCAMM as a
cutter:
11. When printing the job:
a. Select the VersaCAMM as the cutter.
© 2006 Scanvec Amiable, Inc.
13. Remove the media from the printer.
14. Load the media in the VersaCAMM.
15. Set Send Mode to Contour Only.
16. Click Send. The device will automatically detect the
alignment marks and cut the contour.
24
 Contour Cutting Guide")
 Contour Cutting Guide")
 Contour Cutting Guide")
 Contour Cutting Guide")
 Contour Cutting Guide")
 Contour Cutting Guide")
 Contour Cutting Guide")
 Contour Cutting Guide")