Connect Camera by Command
You can use CMD commands to run the Software and connect cameras to it.
-
Enter "cd" and "the directory of MVS.exe".
If the directory of MVS.exe is "C:\Program Files (x86)\MVS\Applications\Win64", you should enter "cd /d C:\Program Files (x86)\MVS\Applications\Win64".
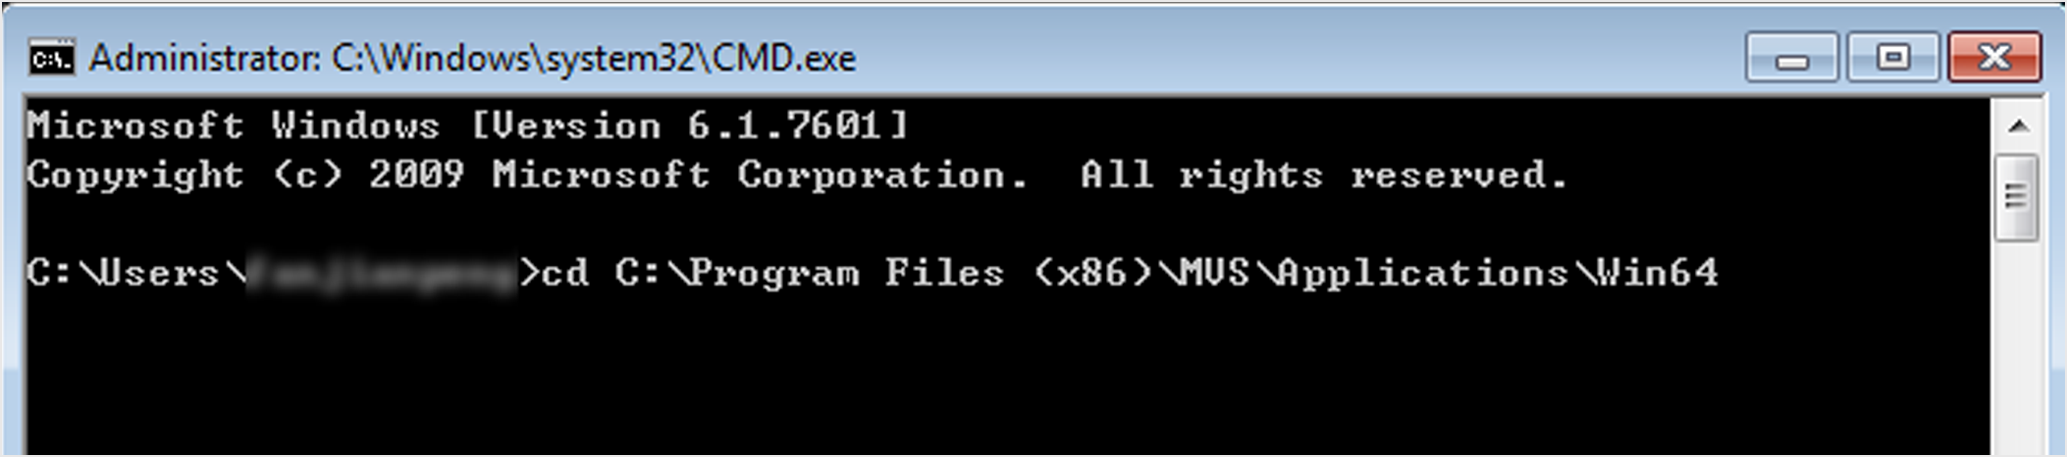 Figure 1 Connect Camera by CMD
 -
Connect the camera to the client software in the following four ways:
-
Connect by Camera IP Address: Enter "MVS.exe/IP xx.xx.xx.xx".
Note:Connection by IP address is not supported by USB3 Vision camera, Camera Link camera, and CoaXPress camera.
 Figure 2 Connect Camera by CMD
 -
Connect by Camera Serial Number: Enter "MVS.exe/SN xxxxxxxx".
Note:xxxxxxxx here refers to the camera serial number.
-
Connect by Camera Mac Address: Enter "MVS.exe/Mac xx.xx.xx.xx.xx.xx".
Note:-
Connection by Mac address is not supported by USB3 Vision camera and Camera Link camera.
-
xx.xx.xx.xx.xx.xx here refers to the camera Mac address.
-
-
Connect by Opening Project File: Enter "MVS.exe/mcfg" +"the directory of the mcfg file"+"mcfg file name.mcfg".
Note:You should have saved camera features as project file. For details about how to save camera features as project file, see File.
If the directory of the mcfg is "C:\Users\VB2100\Desktop\CDE" and the name of the mcfg file is "CDE", you should enter "MVS.exe/mcfg C:\Users\VB2100\Desktop\CDE\CDE.mcfg".
-
The Software will start running and parsing the entered parameters such as camera IP address, and then the camera will be connected automatically.