- You are here:
- AM.CO.ZABuythisCNC Utilities Homepage
- EasyRoute-CNC-Router
- Component Manuals
- HSD Spindle Instructions for Use.pdf
- Page 169 of 183
HSD
8.8.17
i
Adjusting sensor S4 (HSK versions only)
Only for HSK versions: for the adjustment of HSK F63 sensors, a kit of gauges
and thickness spacers is available, described in section 8.8.18.
The use of the kit allows a quicker and more precise adjustment: HSD S.p.A.
strongly recommends the use of the kit, given the importance (for safety purposes)
of a correct sensor adjustment.
After replacing the sensor as described in paragraph 8.8.12, calibrate it as follows:
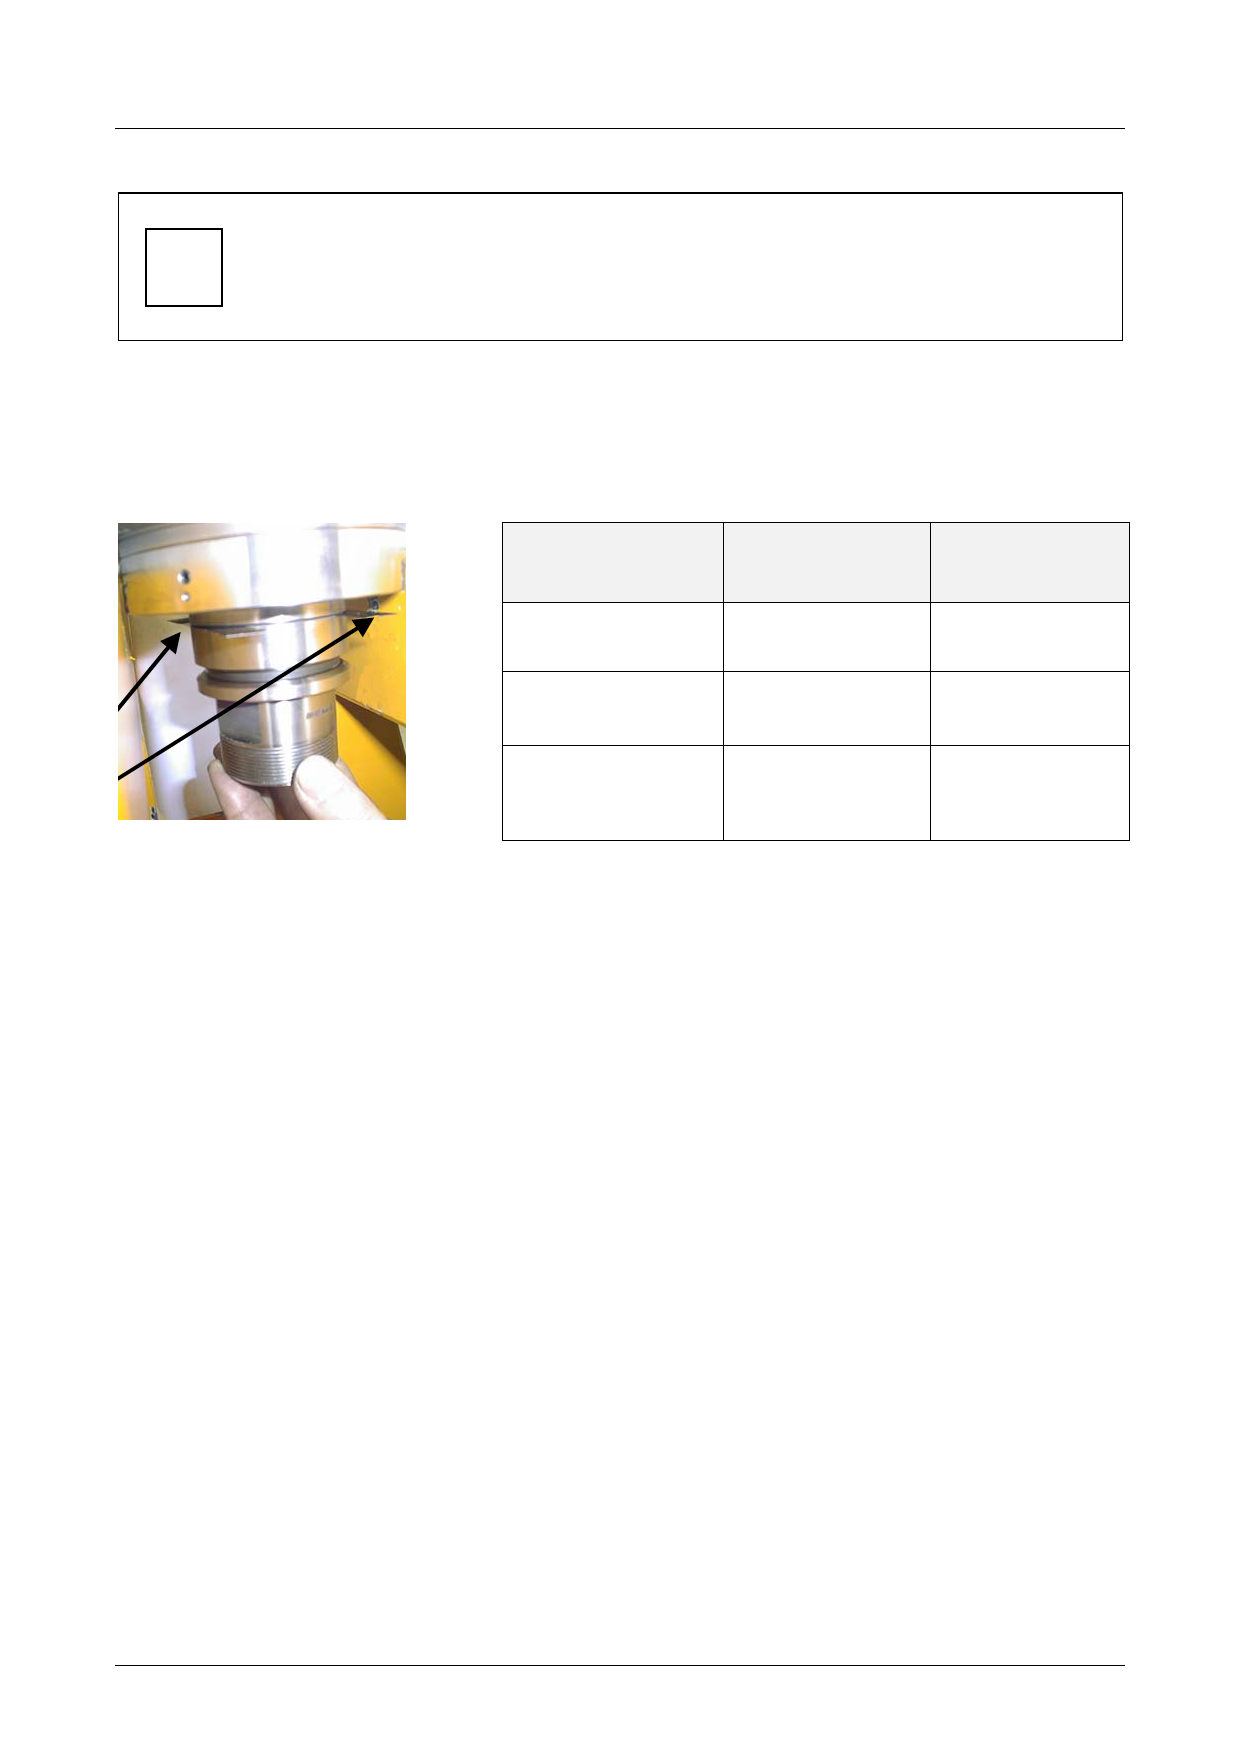
1. take thickness spacers of 0.12mm and 0.16mm, which will be interposed between the stop
surfaces of the tool-holder cone and the spindle shaft, as shown in the figure below;
2. insert and block the tool-holder cone in the spindle, and check that the signal supplied by
sensor S4 corresponds to that described in the following table:
Figure8 16.
CONDITION
Tool-holder
blocked
Tool-holder
blocked
Tool-holder
expelled
(collet open)
THICKNESS
SPACER
INTERPOSED
0.12mm
0.16mm
S4 OUTPUT
ON
OFF
OFF
3. rotate the shaft manually and check that the conditions of the table are satisfied for all 360° of
the rotation;
4. if this is not the case, rotate the sensor until you find the position at which you obtain the
output described in the table;
5. definitively tighten the screw (3);
6. perform a cycle of 10 tool changes;
7. at the end of the cycle, check that the condition in point [2] of the table is satisfied for all 360°
of the rotation of the shaft; if this is not the case, repeat the procedure from the start;
8. if the conditions of the table are satisfied, perform a cycle of 100 tool changes with the
machine, using the maximum possible number of different tool-holders;
9. at the end of the cycle, check that the condition in point [2] of the table is satisfied for all 360°
of the rotation of the shaft; if this is not the case, repeat the procedure from the start;
10. if the condition in point [2] of the table is satisfied, the adjustment of S4 is complete.
5801H0056 ______________________________________________________________ 169/183

