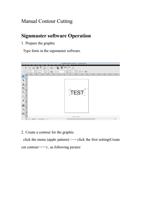




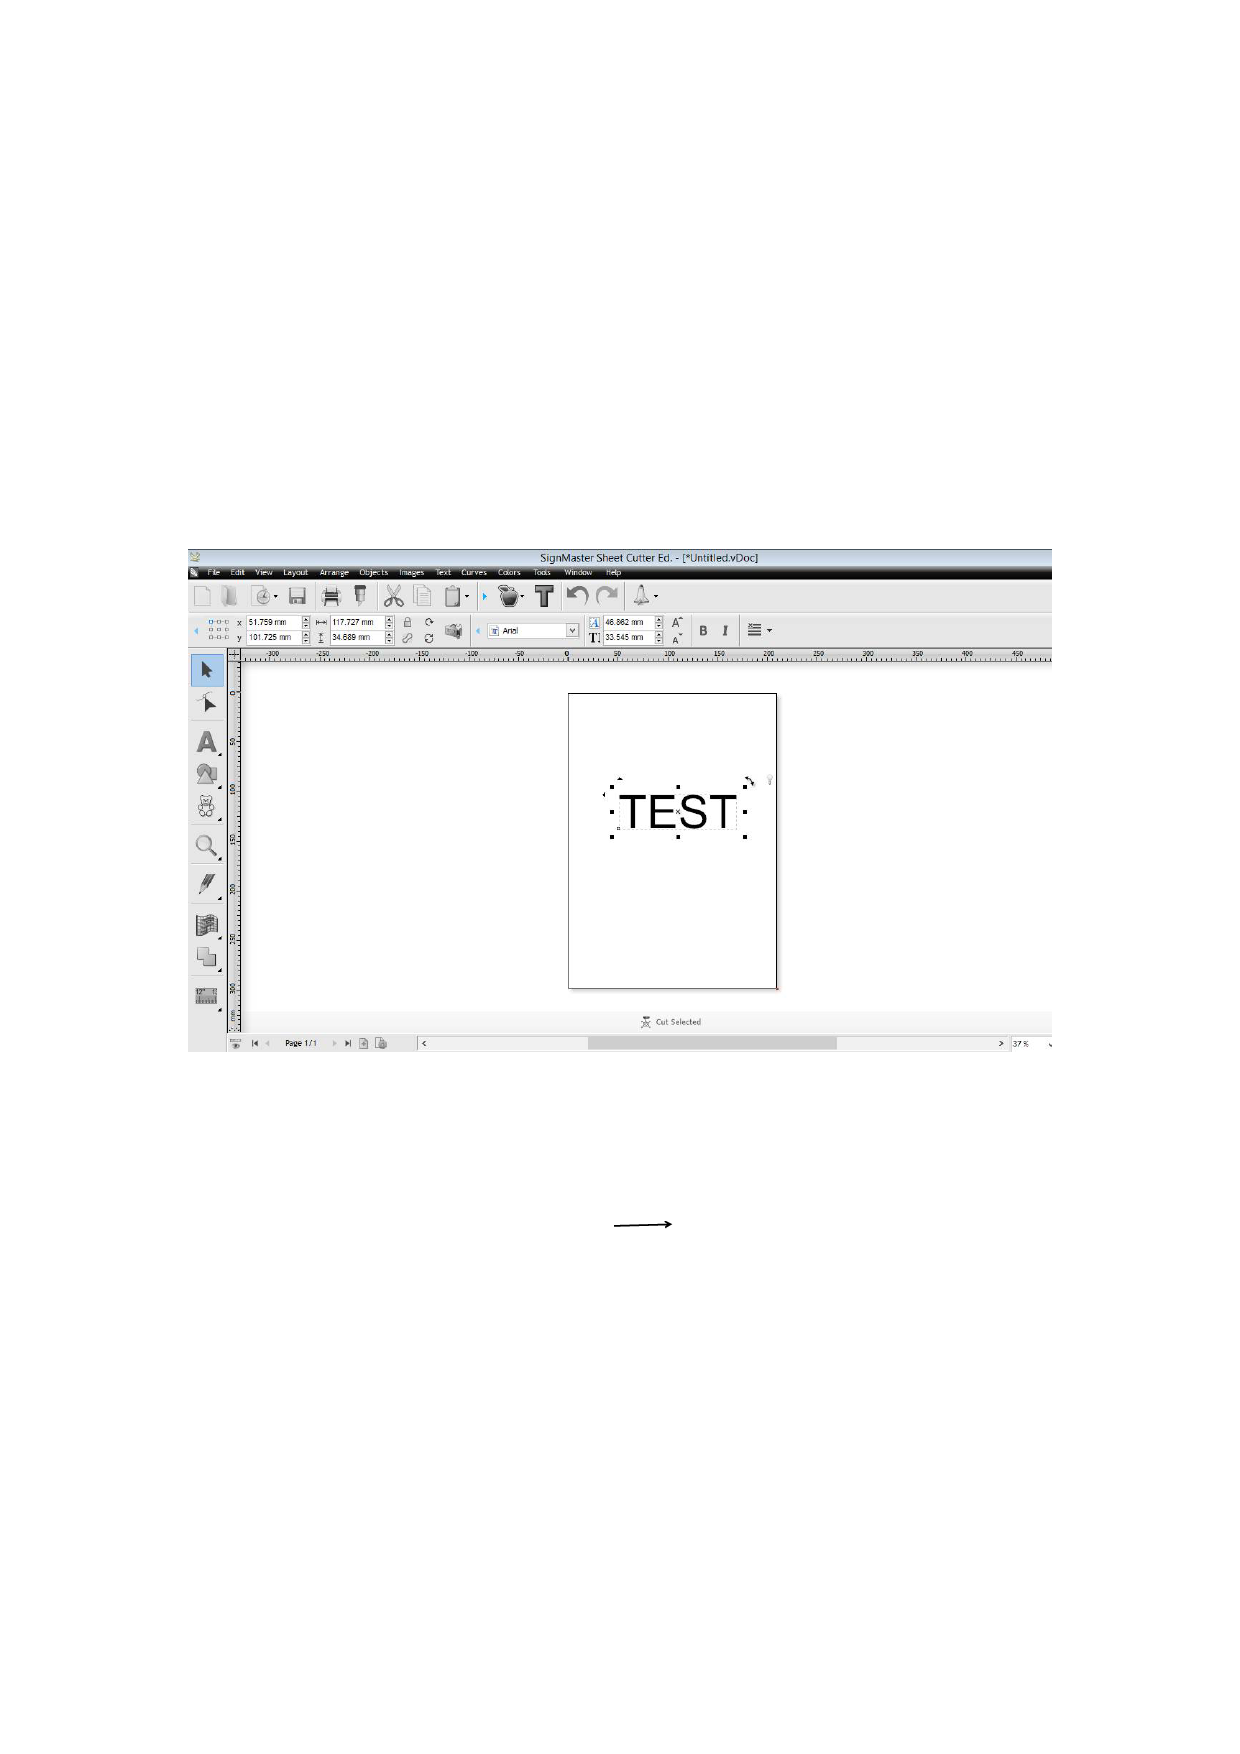
ManualContourCuttingSignmastersoftwareOperation1.PreparethegraphicTypefontsinthesignmastersoftware.2.Createacontourforthegraphicclickthemenu(applepattern)clickthefirstsetting(Createcutcontour),asfollowingpicture
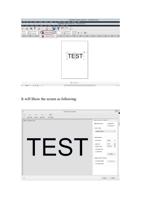
ItwillShowthescreenasfollowing:
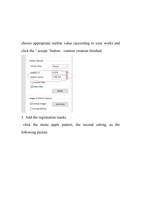
chooseappropriateoutlinevalue(accordingtoyourwork)andclicktheacceptbuttoncontourcreationfinished.3.Addtheregistrationmarksclickthemenuapplepattern,thesecondsetting,asthefollowingpicture
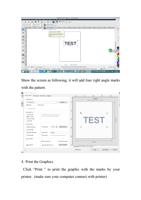
Showthescreenasfollowing,itwilladdfourrightanglemarkswiththepattern.4.PrinttheGraphicsClickPrinttoprintthegraphicwiththemarksbyyourprinter.(makesureyourcomputerconnectwithprinter)
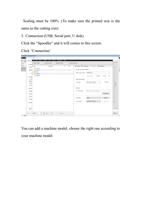
Scalingmustbe100%.(Tomakesuretheprintedsizeisthesameasthecuttingsize)5.Connection(USB,Serialport,Udisk)ClicktheSpoodleranditwillcomestothisscreen.ClickConnectionYoucanaddamachinemodel,choosetherightoneaccordingtoyourmachinemodel.
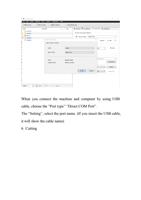
WhenyouconnectthemachineandcomputerbyusingUSBcable,choosethePorttypeDirectCOMPort.TheSetting,selecttheportname.(IfyouinserttheUSBcable,itwillshowthecablename)6.Cutting
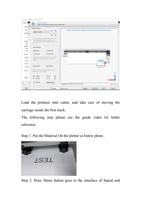
Loadtheprintoutontocutter,andtakecareofmovingthecarriageinsidethefirstmark.Thefollowingsteppleaseseetheguidevideoforbetterreference.Step1.PuttheMaterialOntheplotterasbelowphoto.Step2.PressMenubuttongoestotheinterfaceofSpeedand
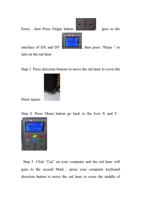
Force,thenPressOriginbuttongoestotheinterfaceofDXandDY,thenpressPausetoturnontheredlaser.Step3.Pressdirectionbuttonstomovetheredlasertocovertheblacksquare.Step4.PressMunubuttongobacktotheAxisXandY.Step5.ClickCutonyourcomputerandtheredlaserwillgoestothesecondMark,pressyourcomputerkeyboarddirectionbuttontomovetheredlasertocoverthemiddleof
mark,thenClicknexttothethirdoneandtheforthoneasvideo.Notice:itisimportantthatmustPressOriginbuttonontheplotterafteryoumovetheredlasertothefinalmark
    "