Page 16 of 42
WellPrint System User Manual
2. Software debugging steps
2.1Calibrated gear ratio
WellPrint
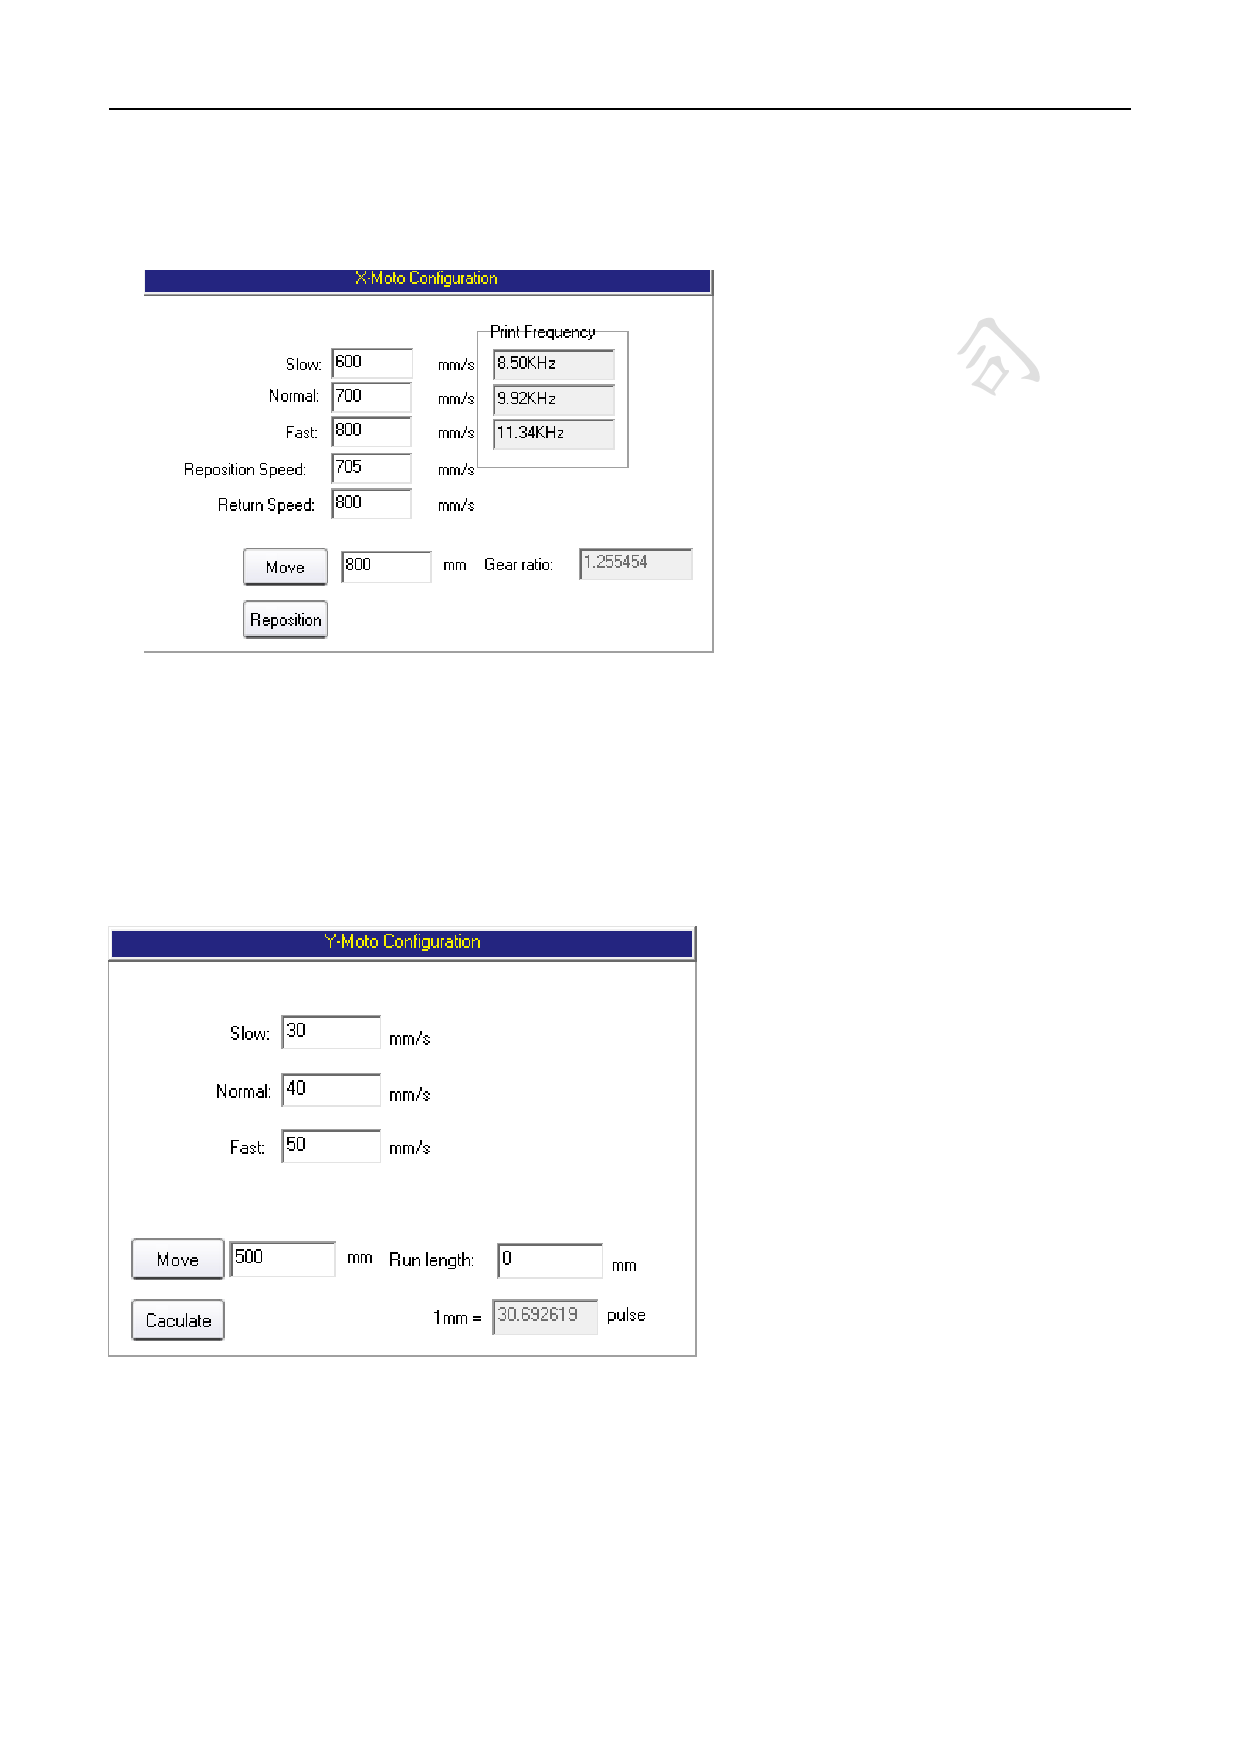
Click the Maintenance, Motion
setting,you can see the left picture as
shown. Firstly, fill in a smaller
value(100) after the Move, click the
Move, at the same time, the software
will display the cartridge position in
the left bottom corner(if it shows
negative,it means the raster decoder is
backwards in polarity, changing its A
and B line decoder sequence, eventually
restart the machine). Click the
Reposition, and then fill in a larger value,
half of the format width, and then click
the Move, click Reposition after the
cartridge position stops. Finally, fill in the
format width size; click Move, and the
click Reposition.
Firstly, mark the material, then fill in 100 after the Move, clicks the Move. Mark the material
again after its move is completed. Measuring the actual moving distance with a ruler, fills in the Run
length, and click Calculate.(Note: only click one time of Calculate each time)
The second time, fill in 300, click Move, measure the actual run length, and then click the Calculate.
The third time, fill in 600, click Move, measure the actual run length, and then click the Calculate.
第 16 页 /共 34 页

