5.8 Customize Sample
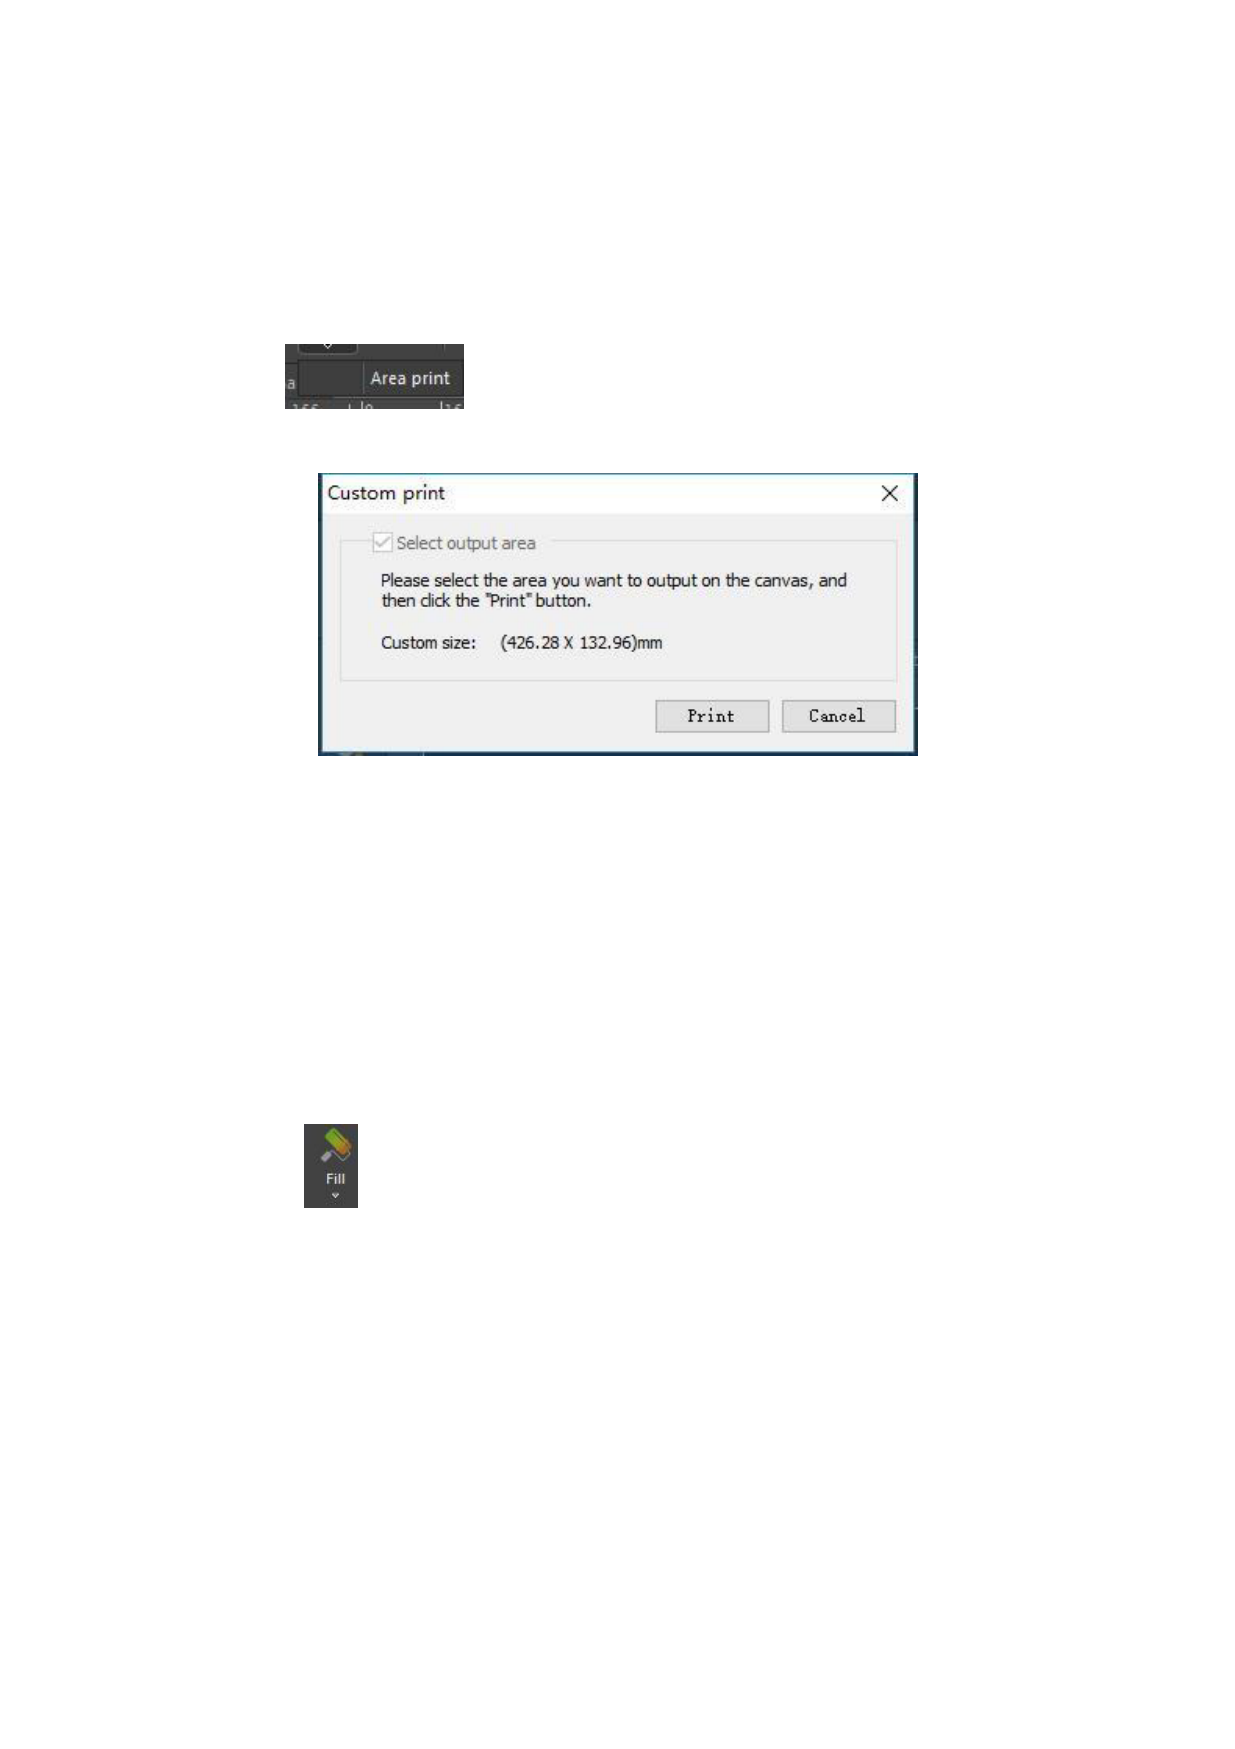
Sometimes you may wish to check the output effect of the canvas before it is output officially,
then you need to customize a small sample for the current canvas. Click the Print
Area button
following dialogue box.
in the menu bar of the software, the program will pop up the
After clicking Print Area, a red rectangular box will appear in the canvas. The image within
the rectangle is the sample to output. Before output, you can adjust the position and size of
the rectangular box with your mouse. After the adjustment, click the “Print” button in the
dialogue box of the sample to directly output it.
5.9 Filling
Sometimes you have drawn a rectangle or oval with the tool of the toolbar. You want to fill it
with color, then you can use the function of color filling. Select the rectangle or oval, click
the Fill button
in the menu bar of the software. You may use the colors from the
default list of common colors, or select the color you want from the color bank. After the
operation, the rectangle or oval will be filled with the color you want. The color bank
interface is as follows.
40 / 74

