created, you can see the scale in the interface of the software (like
) and a
rectangle with black edges, that rectangle is the canvas you have created. All subsequent
operations will be finished in the canvas area.
2.4 Open
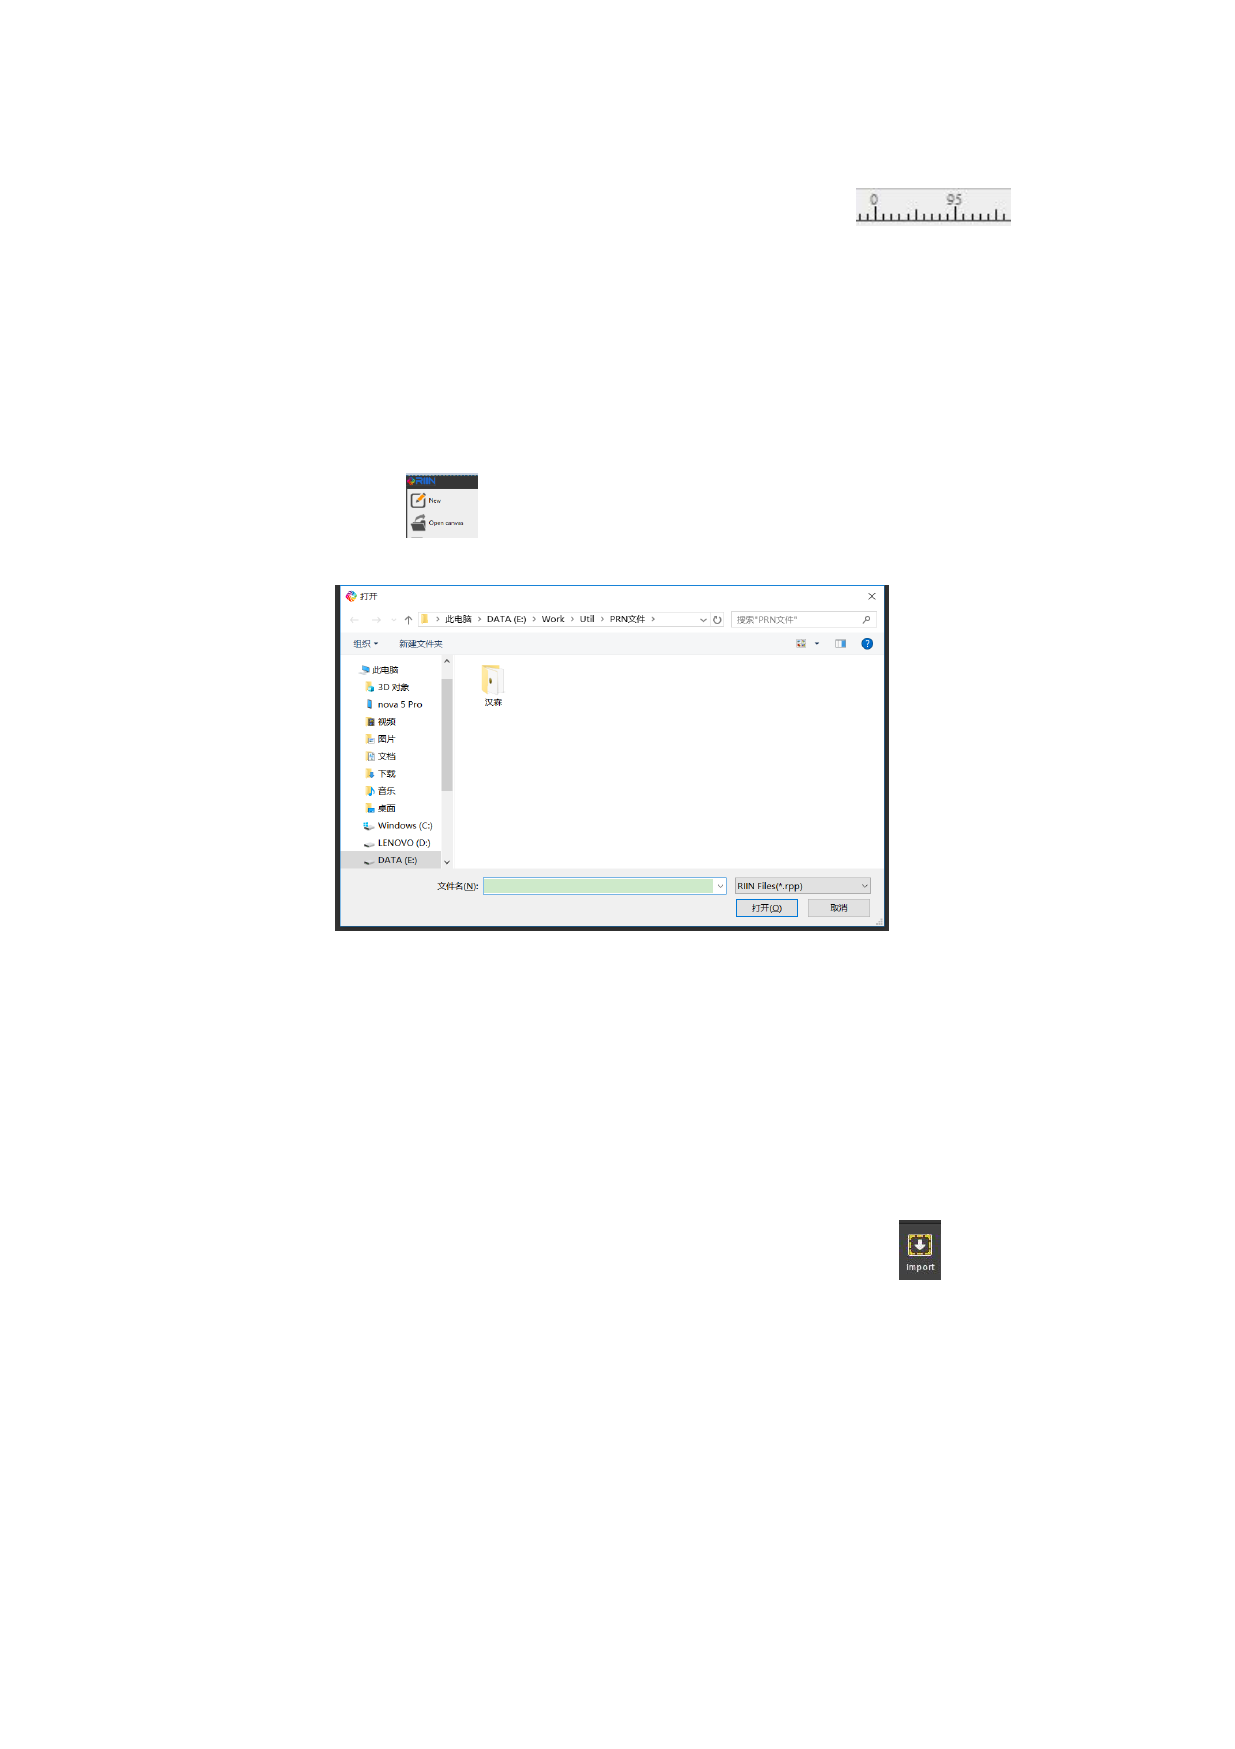
Click the “Open” button
the following dialogue box.
in the menu bar of the software, the program will prop up
Select the canvas file to be opened (the suffix of the canvas file is “.rpp”. Click “Open”, the
program will automatically load the saved state of a canvas, including its size, unit, display
scale, display mode, quantity of images, status of images.
2.5 Add Images
After the canvas is created, we can put the image to print on the canvas. This operation is
called “Import Image” in the software. You can click the “Import” button
in the menu
bar of the software (or the shortcut keys “Ctrl+O”) to select the image to add. The program
will pop up the following dialogue box.
11 / 74

