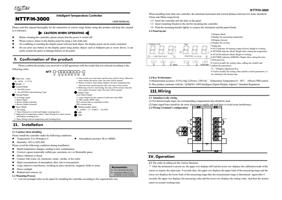






Setting of the temperature: Push the key X, the upper row displays the value of SP and push or key to make the
lower row display its needed value. And push the key to promote the system to the ST setting mode.
Setting of Timing: The upper row displays ST and push or key to make the lower row display the needed value.
Again push the key to promote the system return to its standard mode.
Setting of the control parameters: Push the key above 4 seconds, the upper row shows the prompt code of the
parameter (detail can see the schedule table of the control parameters) and than push or key to make the lower row
display its needed value. Continue push the key can make the upper row display the prompt code of each of another
parameter in turn. Again push or Key to update the value of parameter to its needed value, and again push the X
key above 4 seconds, the system returns back to its standard mode. (If no key has pushed down, after 1 minute the
system will come to its standard mode).
If under the red display the “ooo” is appeared, the thermocouple is in reverse connection, else above the red display
the “ooo” is appeared,the thermocouple is in open current or the measuring temperature exceeds the measurement
range.
The Auto-tuning function of the instrument’s parameters: After 20 seconds of pushing down the key, the AT
indicator is twinkle and the controller begins to start its Auto-tuning. The temperature goes through one to two times of
oscillation and the AT indicator extinguishes. The instrument will control the process with the updated parameters,
which will be permanently persevered.
The switch function of Celsius and Fahrenheit temperature: Hold down the key or simultaneously, the upper
row shows LK, again push the X key to prompt the upper row appears Sn and lower row appears K-C (Celsius
temperature) or K-F (Fahrenheit temperature) and push or key to carry out the transform of the scale of
temperature.
Selection of the measurement range: Hold down the key or simultaneously, the upper row shows LK, again
push the X key to prompt the upper row appears rL and lower row appears 0, and again push X key to make the upper
row appear rH, at that time the rower row appears the needed measurement range.
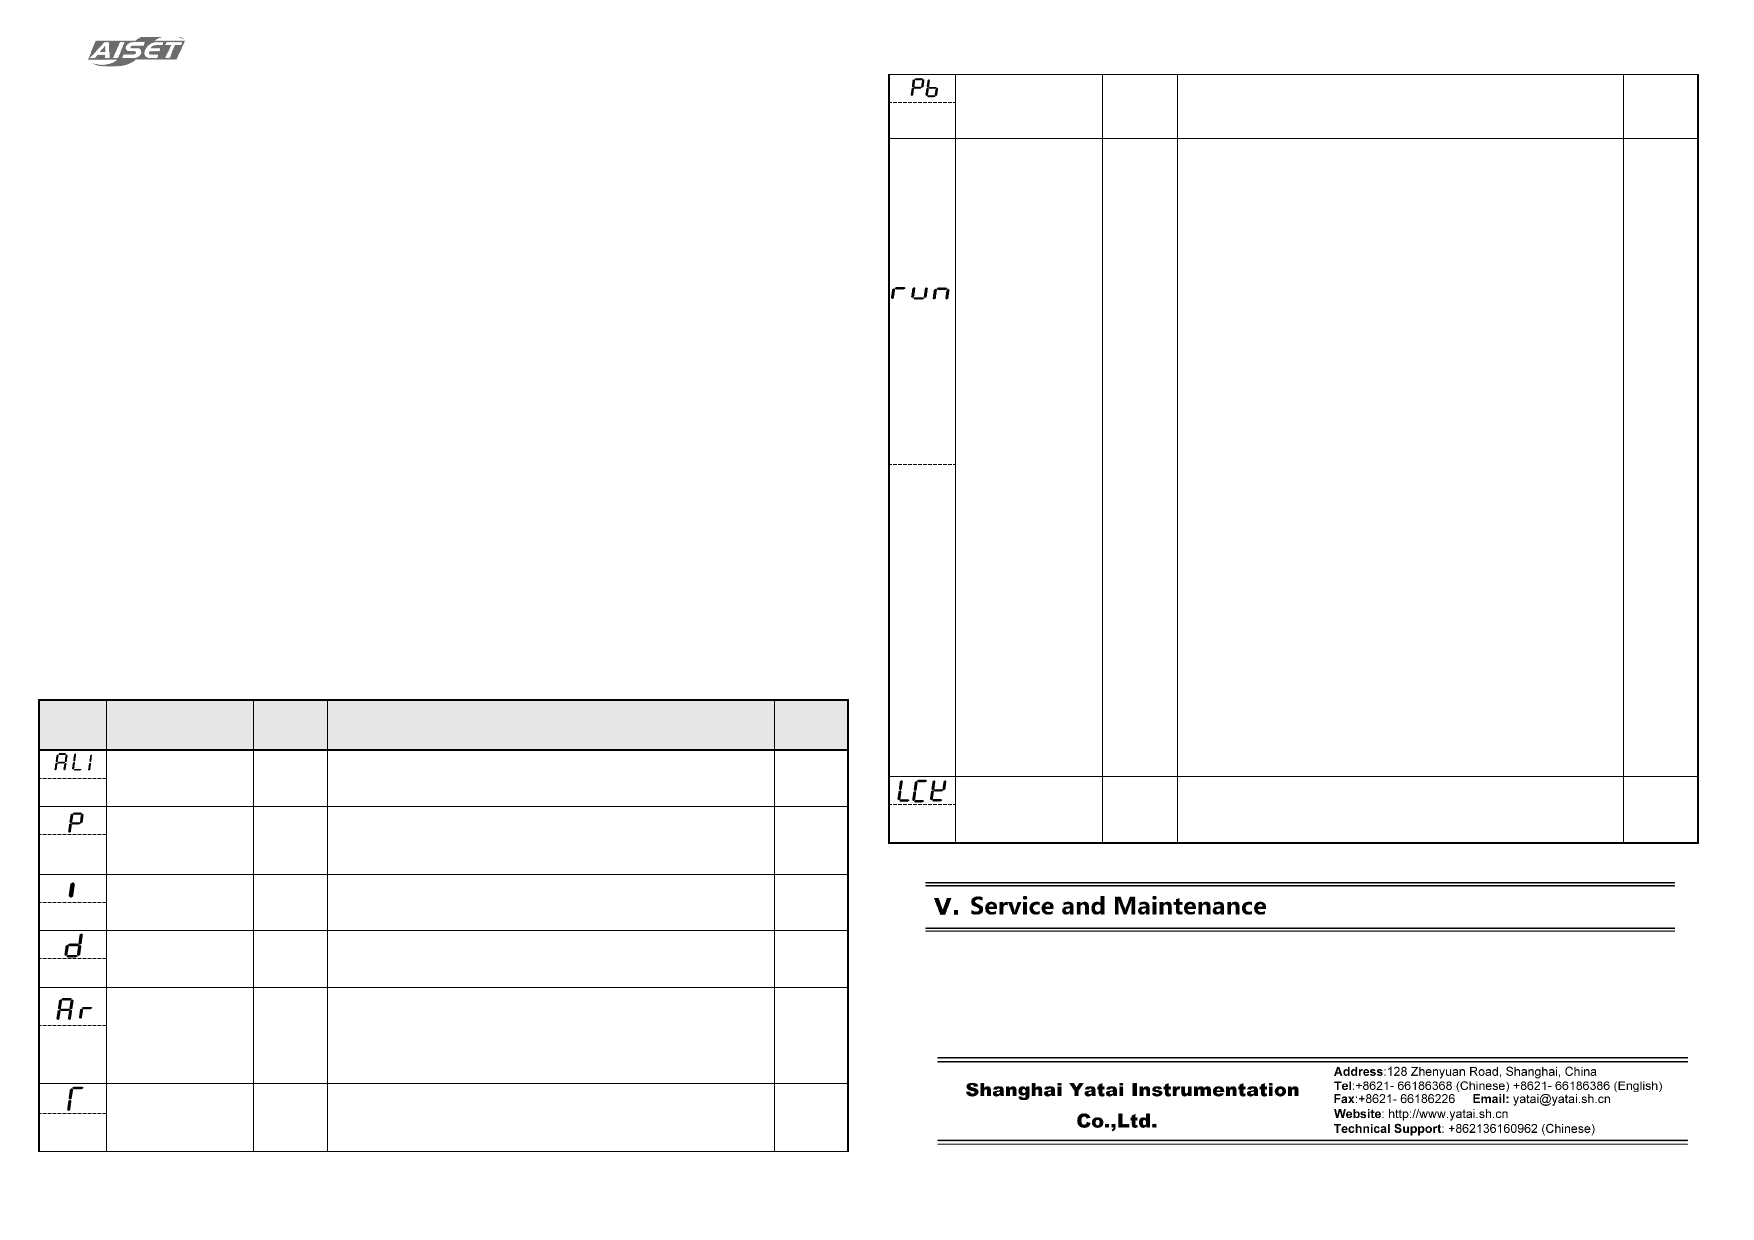
4.2 The schedule table of the control parameter
Prompt
Symbol
Name
Setting
Range
Illustration
Beginning
Value
AL1
Setting of Alarm
-199… Setting of Alarm 1,Insensitive interval of alarm is equal to a
Range ℃ constant value 0.4 (This value is meaningless)
50 or 50.0
P
Proportional band
(Heating Side)
Proportional Control: The more the value of P, the less the
0…400℃ proportional action and the less the system gain; only acting on the
heating side. (P=0 is ON/OFF Control)
30
I
Integral Time
0…990 Integral Time: The more the value of I, the less the Integral action
Seconds I=0 is PD Control,Ar=(Remained Error/P)×100
240
D
Differential Time
0…990
seconds
Differential time: The more the Value of D, the more the differential
action, which is able to overcome overshoot (D=0 is PI Control)
60
Ar
Overshoot restrain
(Proportion re-setting)
(Insensitive interval of
ON/OFF Control)
0~100%
Used to restrain Overshoot (Ar is set to 1.5~2 times of the output empty
ratio in the steady state of the system)
Reduce Ar energy and temperature overshoot, when SP is changing,
Ar must be adjusted; Ar must be confirmed and will be set according
to SP value automatically.
100
T
Control period
(Heating Side)
1…100
Seconds
When the relay output≮20s,SSR and Si-controlled switch
transwitch≮2s, continuous output T is equal to 1s, only acting on
heating side
20
NTTF/H-3000
Offset of the Process -198… Using for correct the measurement error caused by the sensor and the
Pb
Value
998℃ compensate line of the thermocouple
0
0 or 10:when switch is on, display will start counting down to 0.
When the relay is closed, the alarm will be turned on until the
switch is off and the relay is open. The alarm shall stop to complete
one cycle of operation.
1 or11:when switch is on, display will start counting down to 0 as
relay is closed. When relay is open, the alarm will be turned on
until the switch is off. The alarm shall stop to complete one cycle
of operation;
2 or 12:High and low temperature control. Output will be set when
the temperature is below the preset value. Output will be reset
when the preset value is reached. When the temperature of ON
switch is below than the high temperature preset value, output will
be set. When the high temperature preset value is reached, output
will be reset and the counting down will start.
3 or 13:Switch on to start counting down. The relay is closed or
the alarm is on when remaining time is 0 until it has been switch
Time control mode
0~16
off and on again. Once switch is cycled, the relay will be opened
and the alarm will be stopped to complete one cycle of operation.
0
4 or 14:Switch on to start counting down and the relay will be
closed. When remaining time is 0, the relay will be opened or the
alarm will be turned on. Cycle and hold on switch to complete one
cycle of operation.
5 or 15:Switch on and off to start counting down, when remaining
time is 0, the relay will be closed or the alarm will be turned on.
The relay will open or the alarm is off until the next time release
Run
the switch to start to complete one cycle of operation.
6 or 16:Releasing switch to start counting down, the relay will be
closed or the alarm will be turned on. When remaining time is 0,
the relay is open and one cycle of operation is completed until the
next release of the switch to start, the relay will be closed and the
alarm will be stopped.
Others: not applicable;
Note: when the digit segment of 10s is one, mute the device by
press any key.
0:All parameters can be updated
coded lock
0,1,2 1:Only the Set Point Value can be updated
0
LCK
2:All parameters cannot be updated.
Notice: Change of each function parameter in the table may alter the control effect of the system.
This controller is under warranty for 12 months since the day of purchase (the warranty only stands if the problem is
caused by the malfunction due to manufacturing). Any repairment for damages caused by improper use of the controller
will be charged. The controller is provided with lifetime maintenance and repair on cost.
Please keep the controller in a dry place with air and NO corrosive gas.