Capture and Recording Settings
You can set the recording parameters and capture parameters as required.
For details about capture and recording, see Capture and Recording.
Go to to configure the following parameters.
- Select Directory
-
Select Directory for the captured pictures and recorded videos.
- Saving Path
-
Set a saving path for the recorded video files or captured pictures during live view.
- Auto Save
-
When enabled, the recorded video files or the captured pictures during live view will be automatically saved to the saving path you set.
Note:The maximum pictures that can be auto saved depends on the storage space of the saving path you set.
- Recording
-
Set parameters related to recording.
- Video Format
-
Set format (AVI or RAW) for the recorded video files.
- Video Quality
-
If you set AVI as the video format, you can select Normal, Better, or Best from the drop-down list as the video quality, or drag the slider to adjust the compression ratio so as to set video quality.
The compression ratio for Normal is from 0 to 40, for Better from 41 to 70, for Best from 71 to 100.
Note:The higher the compression ratio is, the better the video quality. The better the video quality, the more image details can be displayed.
- Playback Speed
-
If you set AVI as the video format, you can set the playback speed for the recorded video files.
- Video Naming Rule
-
Customize a prefix and select Date and Time or Increasing No. as the naming rule.
- Date and Time
-
The video name will be a number which represents the data and time when the video file is saved. For example, if you set Video as the prefix of the name, the full name would be Video_20190424051532390.
- Increasing No.
-
The video names will be increasing No. For example, if a video file is the second one you saved and you set Video as the prefix, the full name of the video would be Video_02.
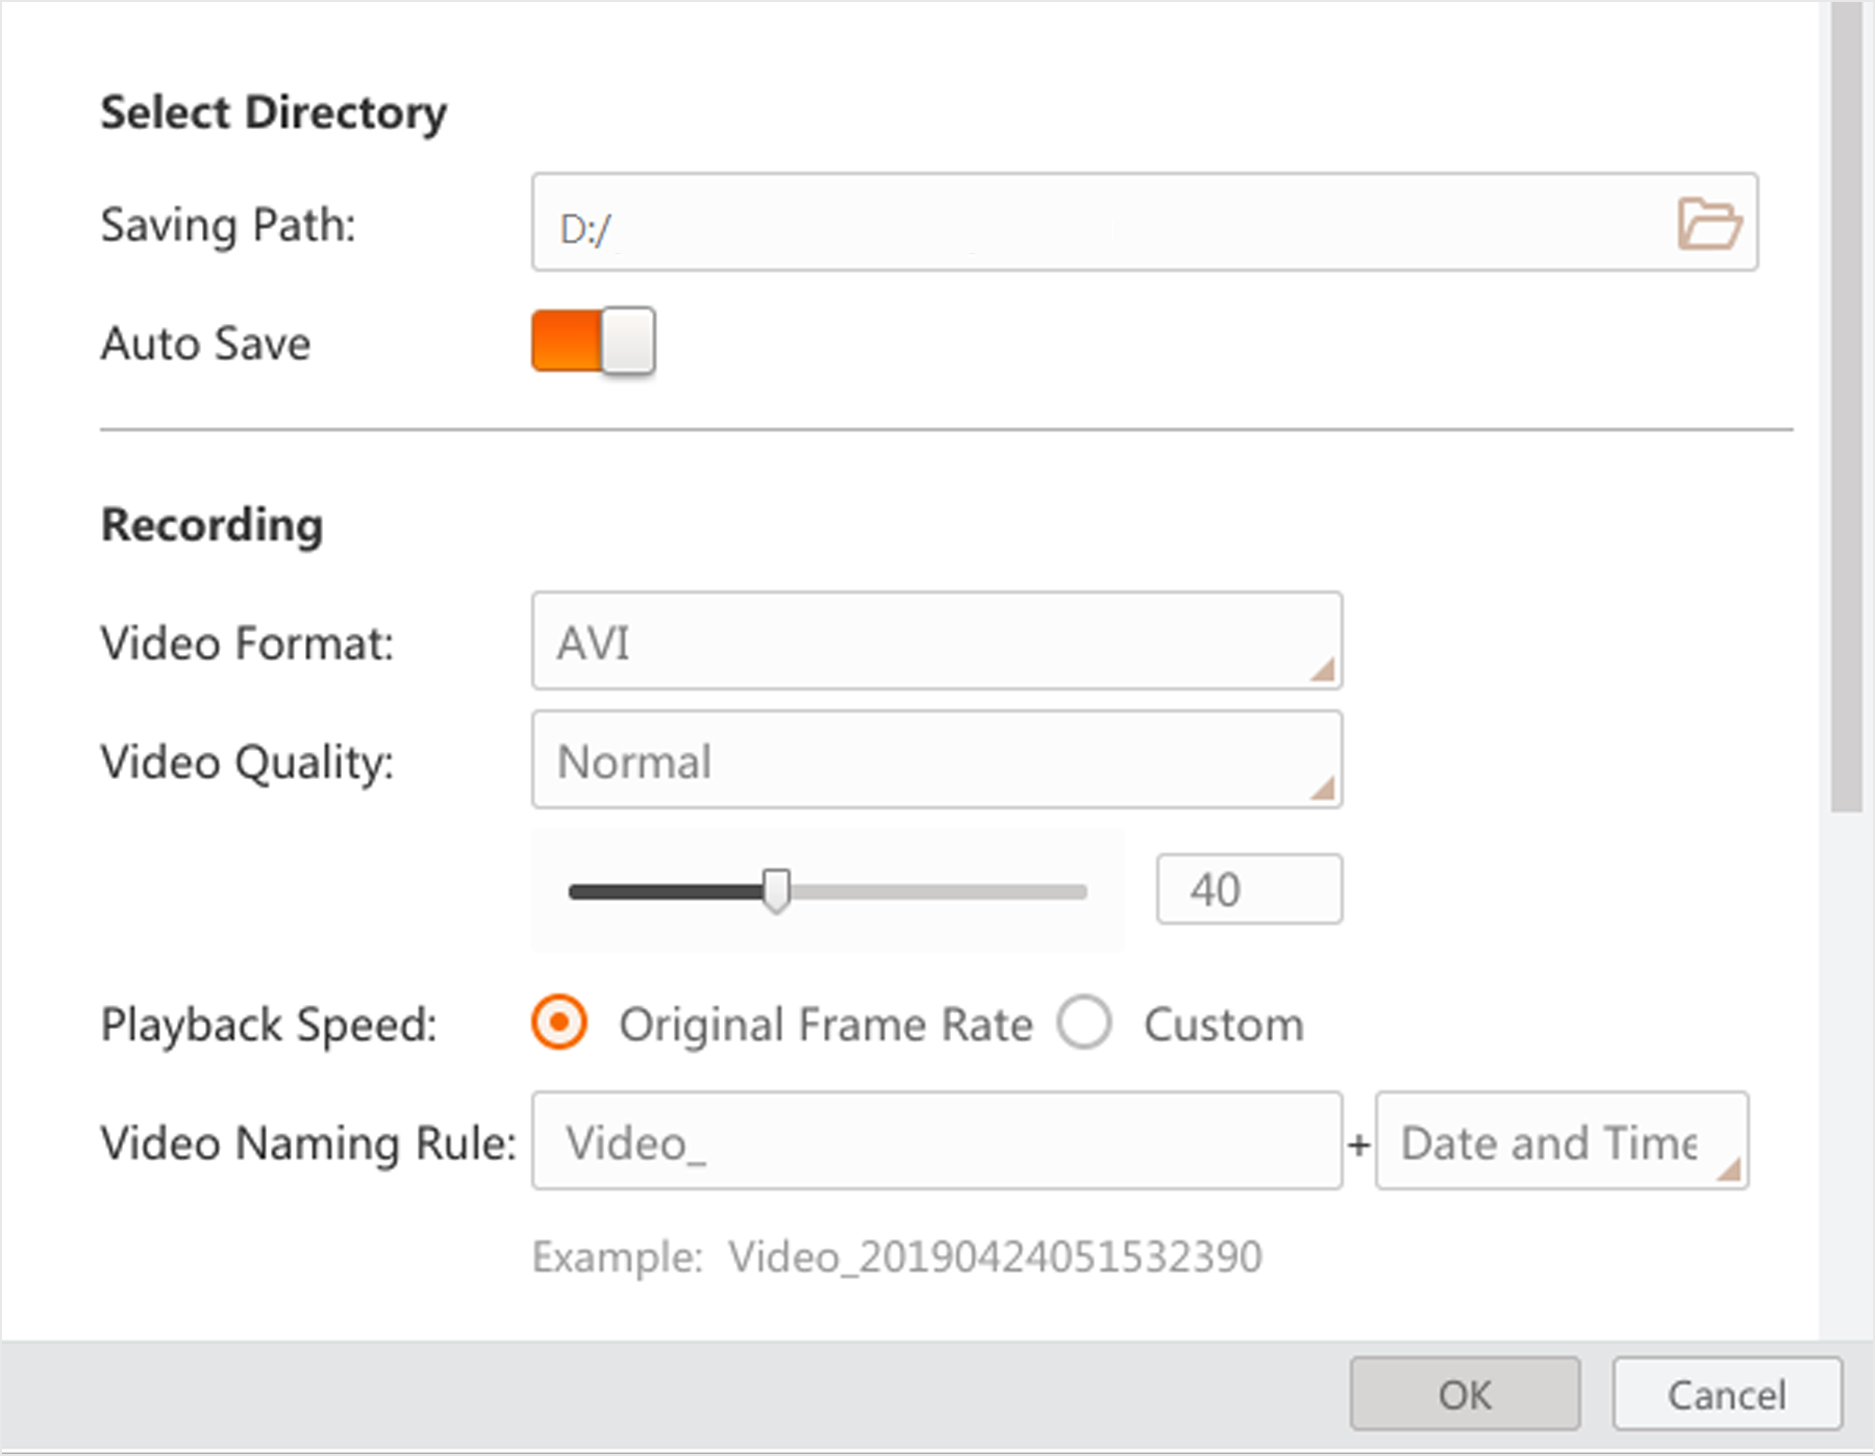 Figure 1 Recording
Settings
Figure 1 Recording
Settings - Capturing
-
Set parameters related to the capturing of pictures.
- Picture Format
-
Set format (BMP, RAW, JPG, PNG, TIFF) for the captured pictures during live view.
- Picture Quality
-
If you set JPG or PNG as the picture format, you can select Normal, Better, or Best from the drop-down list as the picture quality, or drag the slider to adjust the compression ratio so as to set picture quality.
The compression ratio for Normal is from 0 to 40, for Better from 41 to 70, for Best from 71 to 100.
Note:The higher the compression ratio is, the better the picture quality.
- File Naming Rule
-
Customize a prefix and select Date and Time, Frame No., or Time Stamp as the naming rule for the captured pictures.
- Date and Time
-
The picture name will be a number which represents the data and time when the video file is saved. For example, if you set Image as the prefix of the name, the full name would be Image_20190424051532390.
- Frame No.
-
The picture names will be frame No. For example, if a picture file is the second one you saved and you set Image as the prefix, the full name of the video would be Image_02.
- Time Stamp
-
The picture name will be a serial number which represents the timestamp. For example, Image_00000001576677065.
- Continuous Capture
-
Set the capture mode.
- Capture by Frame
-
The pictures will be captured by frame(s) and the capture will be stopped after the set number of frames . For example, if you set "Capture Every 3 Frame(s)" and "Stop Capturing after 1000 Frame(s)" as the capture mode, a picture will be captured for each 3 frames, and the capture actions end after 1000 frames being acquired.
- Capture by Time
-
The pictures will be captured by time and the capture will be stopped after the time period you set. For example, if you set "Capture Every 2 Second(s)" and "Stop Capturing after 5 Minute(s)" as the capture mode, one picture will be captured each two seconds, and the capture actions will last 5 minutes.
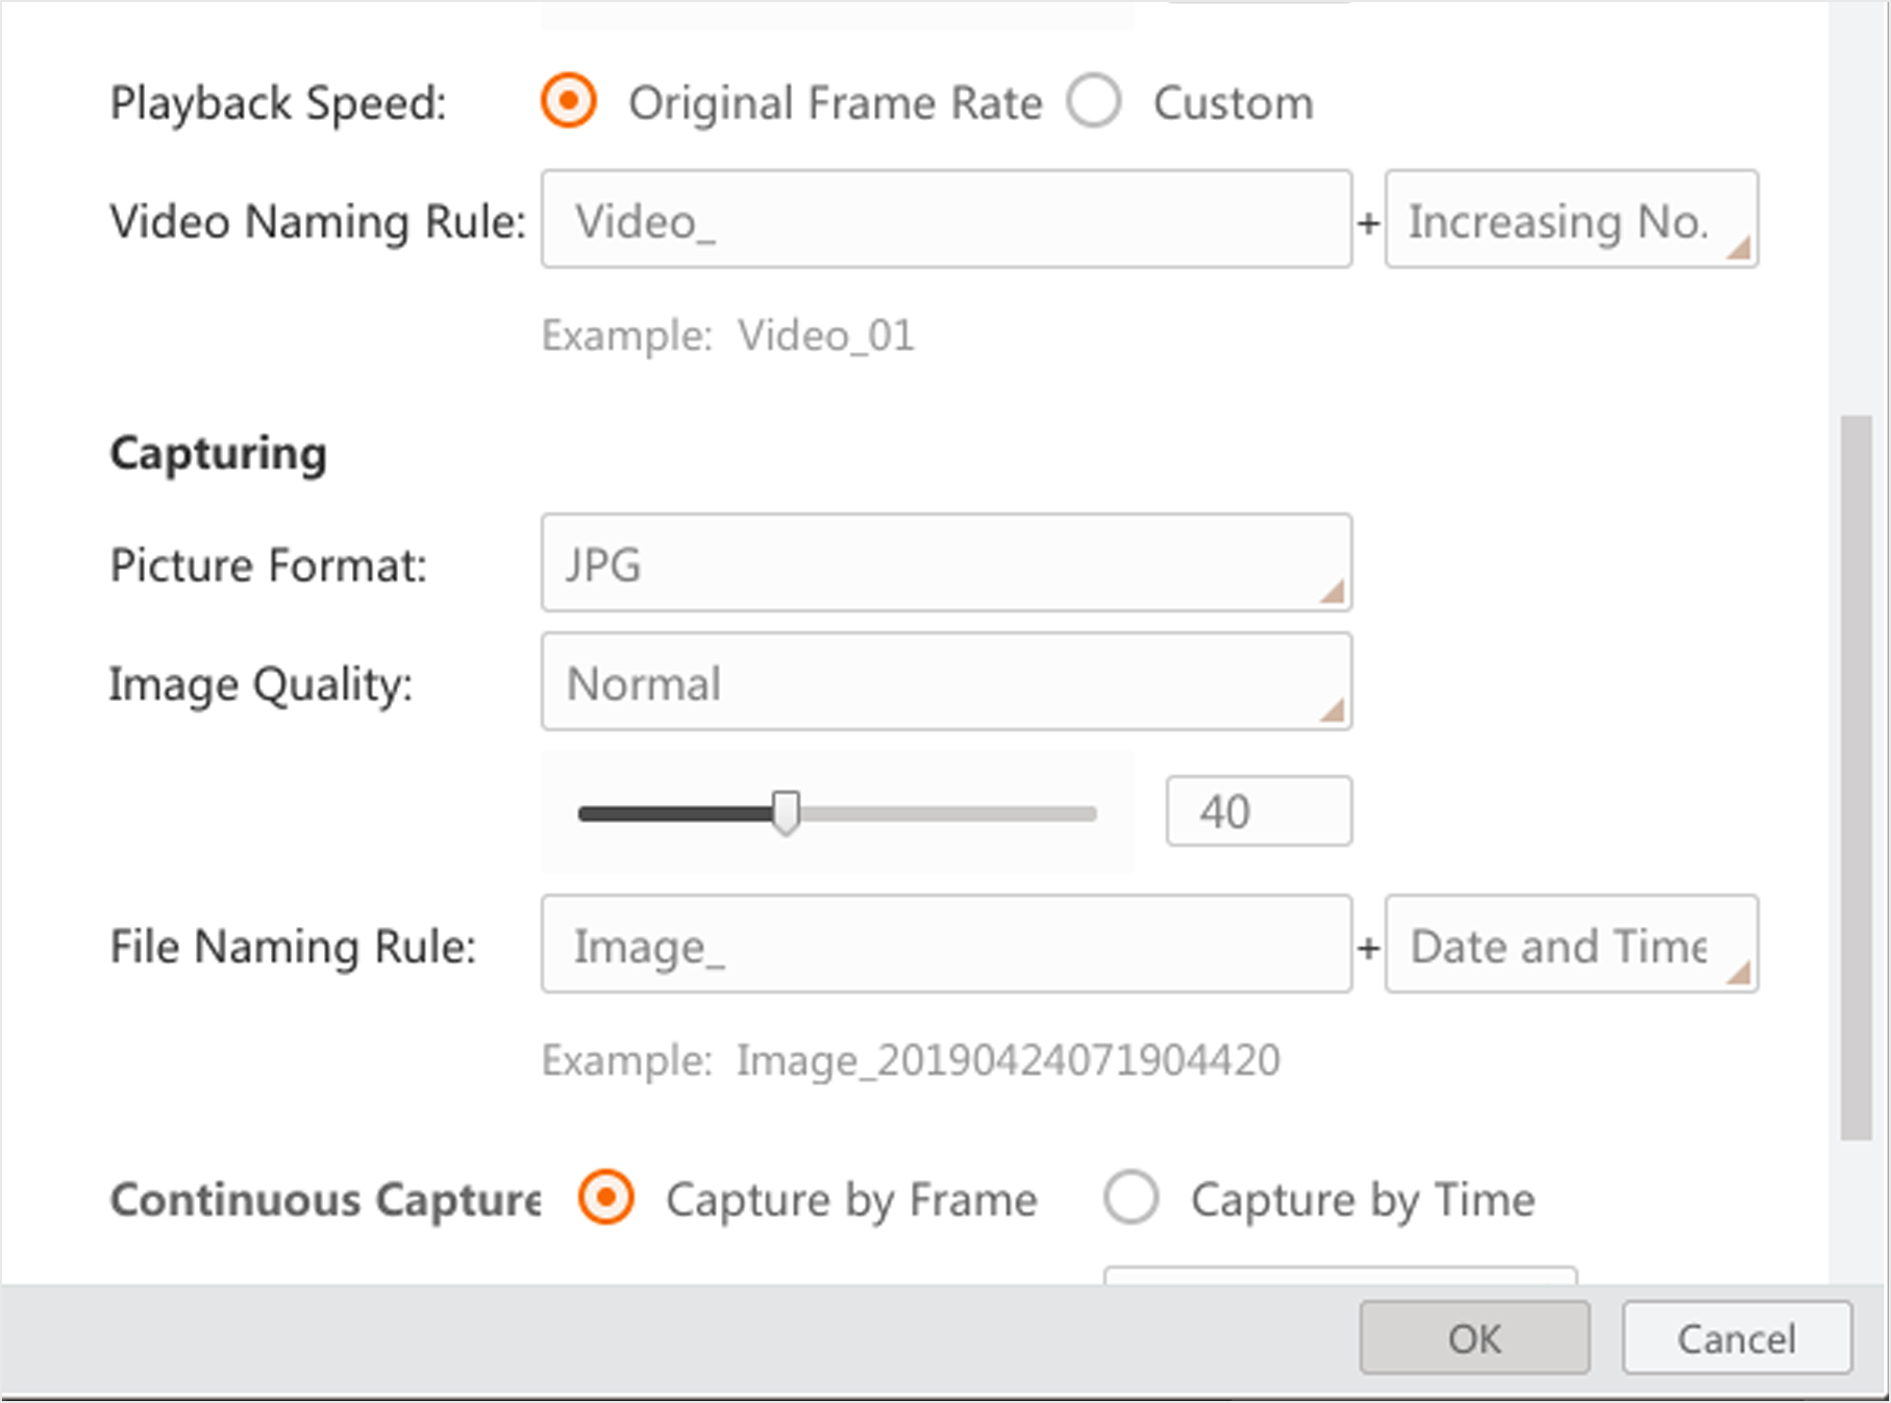 Figure 2 Capture Settings