Glider Ring Exchange Gleitringwechsel
Remplacement de
l’anneau de glissement
Sostituzione dell‘anello Cambiar el anillo グライダーリング
di scivolamento
deslizante
の交換手順
滑环更换说明
EN 5. Mount the i1Pro on the i1iO
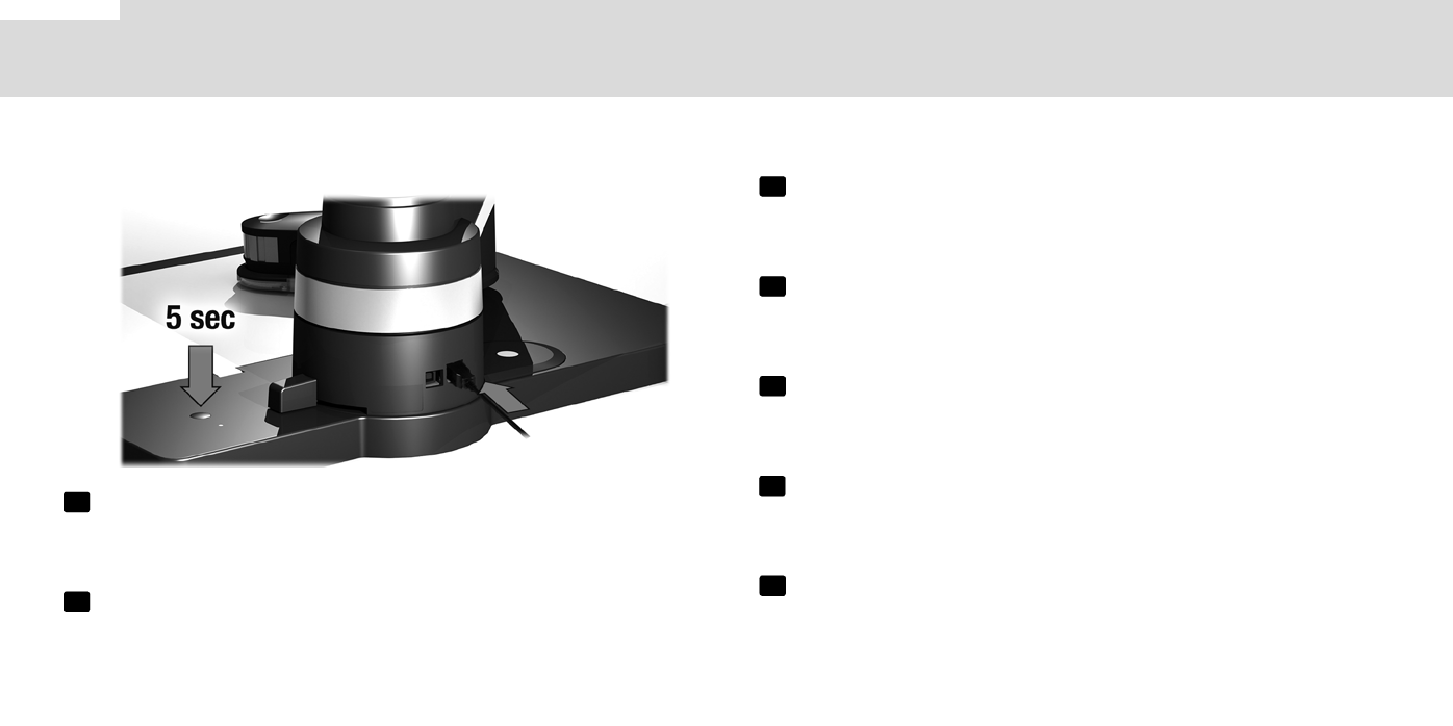
6. Reset the warning indicator by pressing and holding the button on the upper right of the base
plate and simultaneously connecting the i1iO power supply. Keep the button pressed for
about 5 sec until the red flashing stops.
DE
32
5. Setzen Sie das i1Pro in die vorgesehene Vorrichtung am i1iO Arm ein.
6. Um die Warnanzeige zurückzusetzen, drücken Sie die Taste auf der Basisplatte hinten rechts
und stecken gleichzeitig das Netzteil ein. Halten Sie die Taste für ca. 5 Sekunden gedrückt bis
das rote Blinken der LED erlischt.
FR 5. Montez le i1Pro sur le i1iO.
6. Pour réinitialiser le témoin d’indication, appuyez sur le bouton dans la partie supérieure droite de
la base et branchez la prise secteur de l’unité i1iO en même temps. Maintenez le bouton enfoncé
pendant environ cinq secondes jusqu’à ce que le témoin rouge arrête de clignoter.
IT 5. Montare i1Pro su i1iO.
6. Azzerare l‘indicatore tenendo premuto il pulsante situato in alto a destra sulla base e allo stesso
tempo collegando l‘alimentazione di i1iO. Tenere il pulsante premuto per circa 5 secondi fino a
quando la luce rossa non si spegne
ES 5. Acople el i1Pro sobre el i1iO.
6. Restablezca el LED indicador manteniendo presionado el botón, en la parte superior de la base y
simultaneamente conecte el cable de alimentación de i1iO. Mantenga el botón presionado durante
al menos 5 segundos hasta que la luz roja deje de parpadear.
JP 5. i1Pro 測定器を i1iO に取り付けます。
6. ベースプレートの上部右にあるボタンを押しながら、i1iO電源を接続し、警告イン
ジケーターをリセットしてください。ボタンは、点滅(赤色)が消えるまで約5
秒間押し続けてください。
CN 5. 将 i1Pro 安装到 i1i0。
6. 按住底板右上角的按钮,同时接通 i1iO 电源,即可复位警示灯。按住按钮大约 5
秒钟,直至红灯停止闪烁。
33


